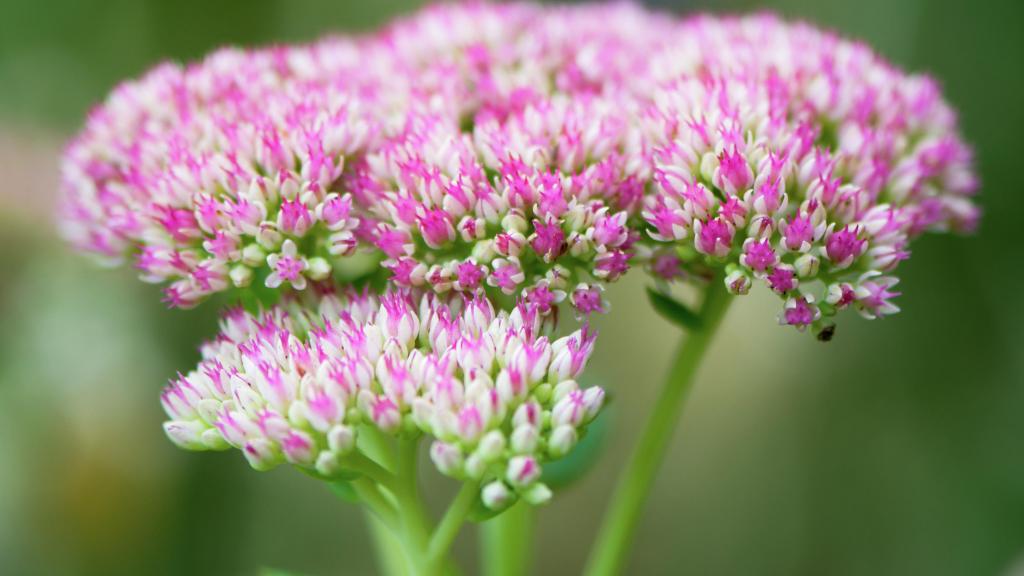
Three simple actions are all that’s needed to transplant sedum. Sedums are well-known for their use in so-called sedum tiles, but you can easily cultivate them at home. Start them in the greenhouse to ensure a strong start, and then follow the instructions below for a permanent move.
It’s safe to anticipate that growing and transplanting sedums isn’t going to require a lot of attention. They are able to grow in environments when other plants have given up. To ensure that the plants are healthy and long-lasting, they must be transplanted correctly.
Bạn đang xem: How To Transplant Sedum? Easy Step-by-step Guide
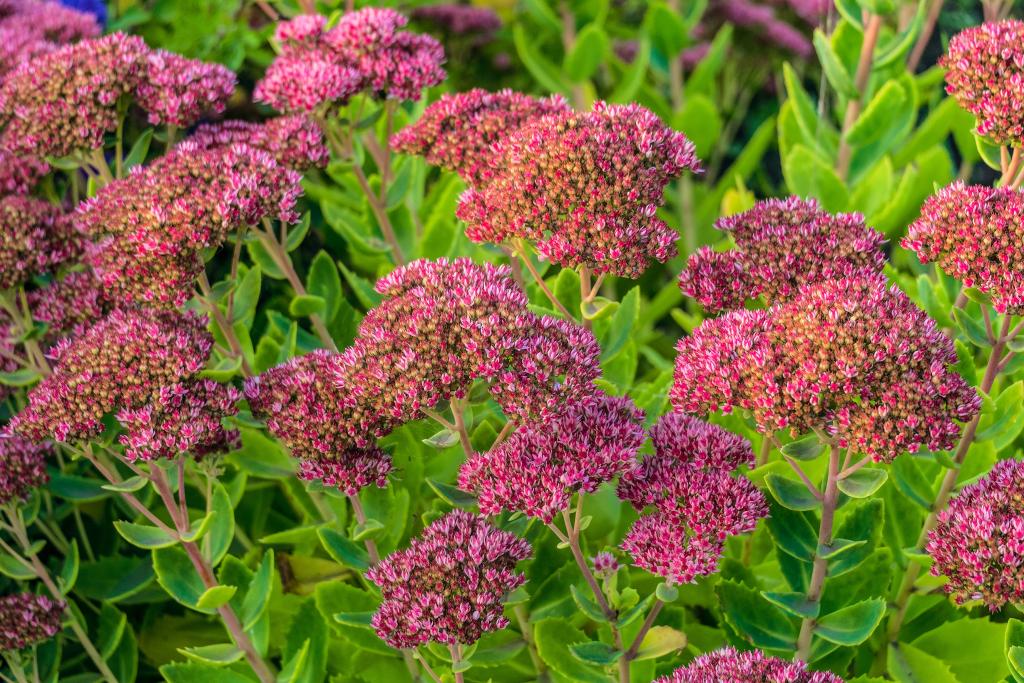
What Are Sedums?
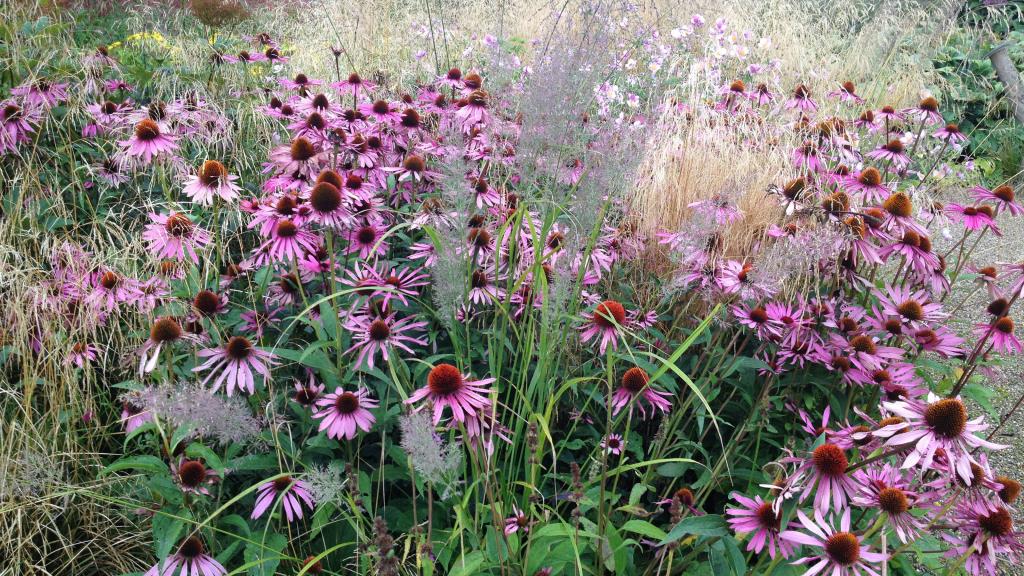
Sedums come in two varieties: tall and creeping. Tall sedums, according to Plant Delights Nursery, can reach a height of three feet in ideal conditions, but the majority of them are much smaller. Long stems allow Creeping Sedge to spread across the ground and form a dense mat of succulents.
Even though they are drought-resistant, sedums do best when watered weekly from spring through fall during their active growth season. Because clay and heavy, damp soil can cause the roots to rot, they also need well-drained, sandy or gritty soil for these plants.
Plants of the sedum genus are easy to divide, and once divided, they can be transplanted with minimal additional care. It’s possible for a plant to fall into transplant shock, which High Prairie Landscape Group explains as when the plant fails to form the root system it needs to survive. It’s ideal to divide and transplant sedums early in the spring, before the sedum blooms, to minimize transplant shock.
Dividing the Sedum
In colder climates, the best time to transplant sedum is in the early spring, following the last frost of the season. Because of this, it’s impossible to pinpoint the plant’s exact place until new growth springs forth.
Your sedum’s soil quality may be to blame if you’ve noticed that it’s flopping over. Spindly stems may also be to blame for the drooping, which can be produced by poor light conditions. To save your sedum, move them to a position with full sunlight and a more suitable soil.
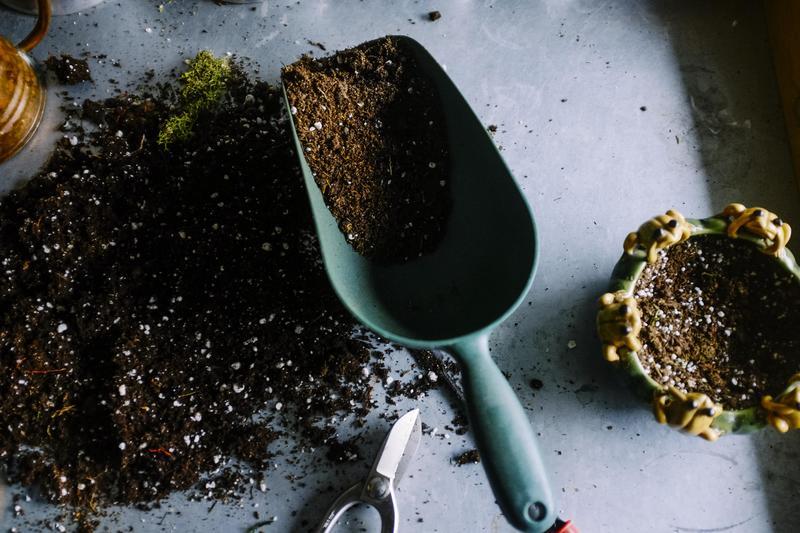
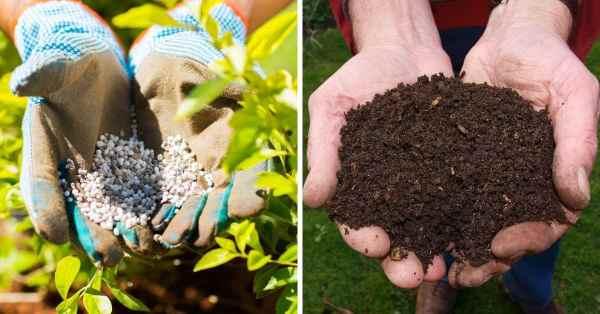
The first step is to get the planting place ready ahead of time so that the sedum may be swiftly transplanted before the roots become dried out. Avoid regions where rain puddles by selecting a location with adequate sunlight and sufficient drainage. In the new place, loosen the soil by 10 to 12 inches with a garden fork and mix in 2 to 3 inches of compost.
When to Divide and Transplant
Since sedum blooms in the fall, the greatest results are obtained by dividing and transplanting it in the early spring, as soon as the ground can be worked and the area’s annual average last frost date has passed. Transplant shock is reduced even further if you begin early enough for each divided root system to fully establish itself before the summer heat. Transplanting is best done on a cloudy day. Even better is a gloomy day with light rain expected for the next few days.
How to Prepare the New Site
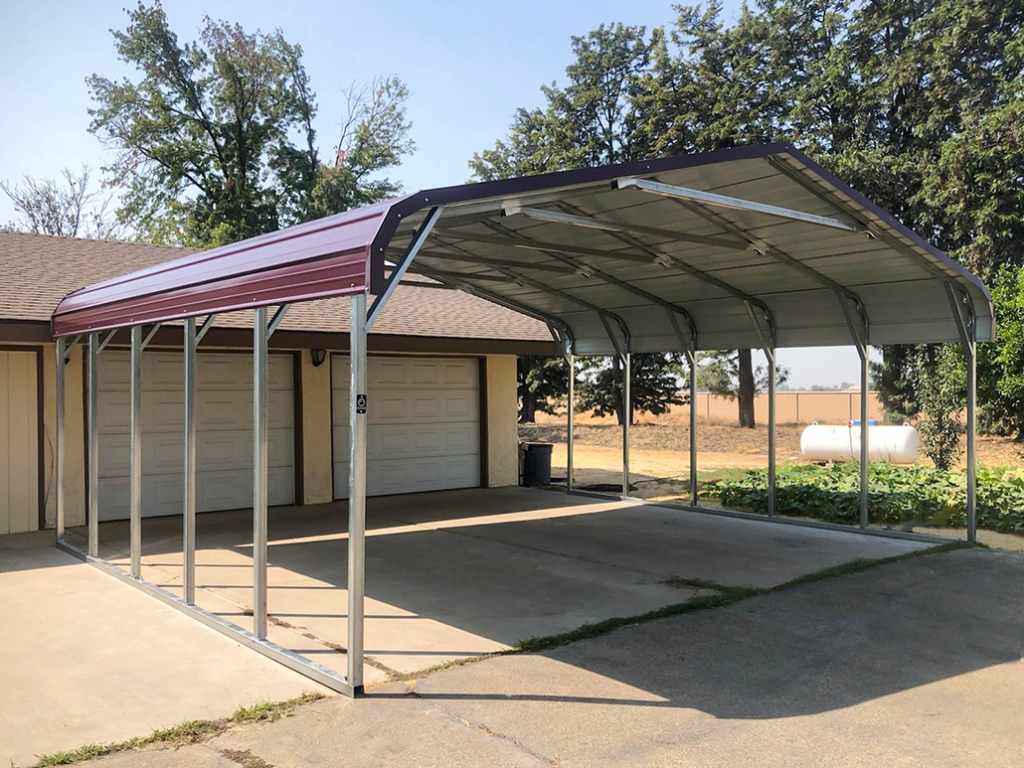
Xem thêm : How To Enclose A Carport? Things You Will Need
A sandy, well-drained, full-sun location is ideal for “Autumn Joy” sedum to flourish. Using a shovel, dig 15 inches deep into the new planting site’s soil to soften it up before you begin planting. Compost should be incorporated into the loosened soil at a depth of about 3 inches. The diameter of the future plant’s root ball should be twice as large as the planting hole’s depth, so plan accordingly.
How to Dig Up and Divide the Plant
The day before you intend to divide and transfer your “Autumn Joy” sedum, water it thoroughly. Plants do not suffer as much damage when dug out in moist soil than in dry soil. A spading fork can be used on all sides of the “Autumn Joy” to loosen the soil, digging about 5 inches from the plant. Lift the entire plant out of the ground by slipping the fork underneath it. Disinfect a sharp knife before using it to cut up the plant into smaller pieces so you can divide it. Clean the knife with ethanol or isopropyl alcohol or soak it in a bleach-to-nine-parts-water solution for 30 minutes before using it.
How to Place the Sedum
Space each “Autumn Joy” plant about 6 inches from other plants, and place it in its prepared hole so that the top of the root ball is level with the surface of the surrounding soil. To eliminate any air pockets, compact the dirt around the roots of each plant and thoroughly water it.
Each “Autumn Joy” plant should be spaced about six inches apart from each other and placed in its prepared hole so that the top of the root ball is level with the surrounding soil surface.. Water the soil surrounding the roots of each plant well after pressing down the soil firmly.
How To Transplant Sedum The Best Way
Each “Autumn Joy” plant should be spaced about six inches apart from each other and placed in its hole so that the top of the root ball is level with the surrounding soil. Water the soil surrounding the roots of each plant well after pressing down the soil firmly.
Step #1. Digging
Each “Autumn Joy” plant should be spaced about 6 inches apart from each other and placed in its hole so that the top of the root ball is level with the surrounding soil. To eliminate any air pockets, compact the dirt around the roots of each plant and then thoroughly water it.
Using this distance and depth, it will be easier to remove the plant without injuring its root structure. Using a shovel, dig into the ground around the plant and remove the roots. In order to avoid damaging the roots, you must obtain the soil mass in its whole.
Step #2. Sectioning
Remove the dirt by shaking the clump to expose the crown and roots, which will make division and sectioning easier. The root system has natural portions that can be used as a guide for further division. It’s also possible to break out the cluster into two separate halves.
To break the roots into pieces, you don’t typically need to employ tools. Multiple portions are possible if the plant is large enough. However, it is critical to make sure that each part is large enough to support the growth of a new plant.
Step #3. Planting
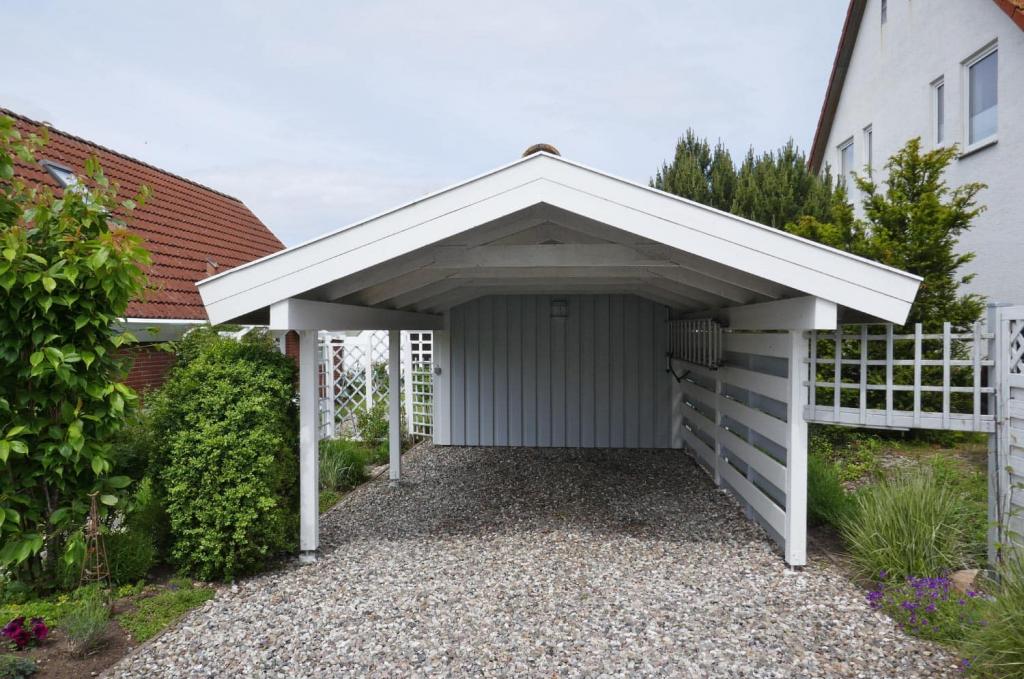
Xem thêm : How To Turn A Carport Into A Garage? Comprehensive Guide
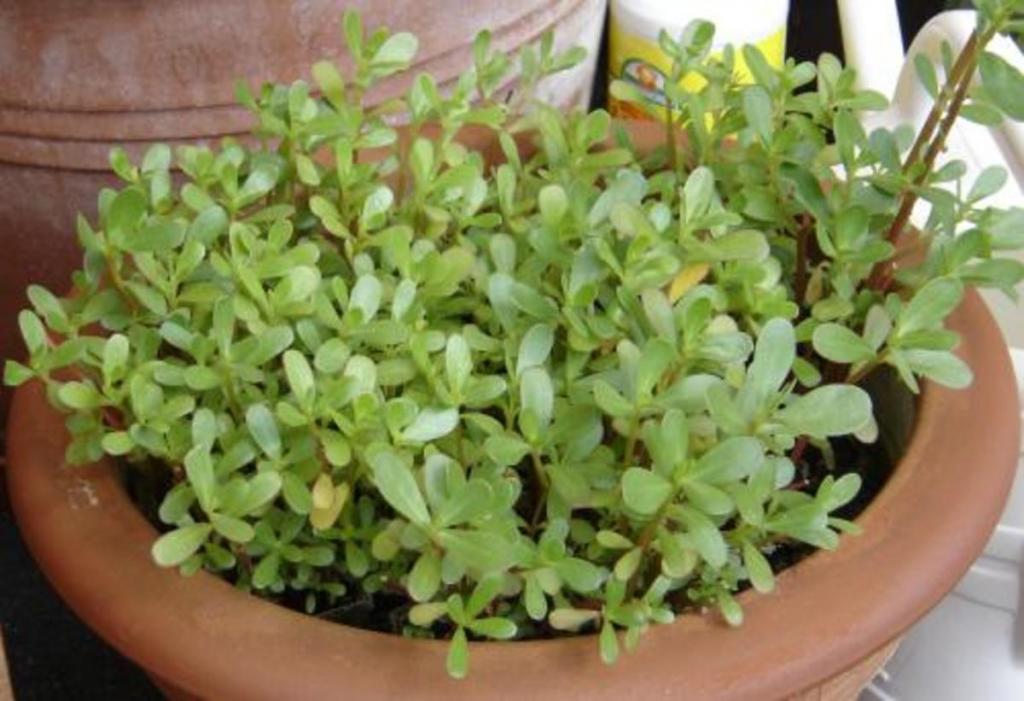
When it comes to planting or transplanting sedum plants, you won’t have to deal with as many difficulties as you would with other species. Growing them in a stable setting and protecting them from stressful or excessive environmental changes is still a necessary. Transplants can also be raised in the greenhouse, which can be turned into a sedum-friendly area.
Ideal location
To give you an idea, you should put the sedum transplants in healthy, well-draining soil. To encourage growth, the area should be exposed to direct sunlight, however grow lights can also be used. The transplants’ hole should be large enough to accommodate the roots, but not so large as to cover the crown of the root.
You could make the new holes twice as wide as the old ones if you used transplants from containers. When compared to their container, the depth may be comparable. When planting sedum plants, don’t forget to examine the species you’re growing to see how wide they will expand.
Maintenance
After planting, check to see that the roots of your plants are in contact with the soil and well-supported. It is important to provide the plants enough of moisture and keep the soil moist in order to aid in their establishment. After two weeks, you can reduce the watering to once a week because sedum plants don’t thrive in waterlogged circumstances.
It’s easy to maintain sedum transplants in general, and it doesn’t take a lot of time or effort. The most important thing to keep in mind is to avoid watering the base of the plant and to avoid overwatering. After a month of recovery, you may anticipate your sedum plants to fully blossom, and then again after a year.
Other Considerations When Transplanting Sedum
Sedum transplantation is a delicate process, and the first stage is critical. Sedum recovery might be affected by the timing of your sedum digging. Because of this, you’ll want to divide your sedum plants into spring- and fall-blooming varieties.
At the beginning of spring, you can remove spring-blooming sedum plants and those that bloom in the fall. Here’s what you need to know: You may have to dig before or after the blossoms have faded, depending on the weather. Sedums should never be dug up while they are in flower.
Flowering occurs around this time, therefore your plant won’t have the energy to recuperate from transplants. Transplanting can also be used to dig up established sedums, according to some gardeners. However, digging and dividing an overgrown plant will be difficult.
Conclusion
It’s easy to grow and spread sedums because they’re so tolerant of a wide range of circumstances. Sedum can be moved around your garden, new plants can be created from favorites, and the area can be maintained more rapidly if you know how to transplant it. Digging, sectioning, and planting are all you need to do in order to complete the process.
This time of year is ideal for removing sedum plants, as they are actively growing at this time. This is also a great option for dividing and replanting. Plants can then be transplanted into the garden or greenhouse, where they should flourish in about a month or two.
Nguồn: https://iatsabbioneta.org
Danh mục: Garage