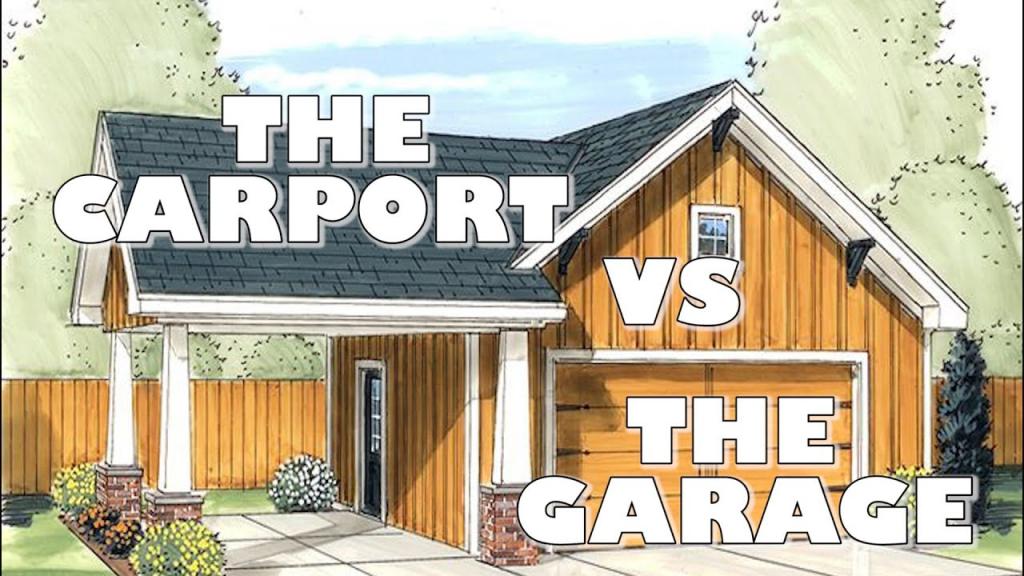
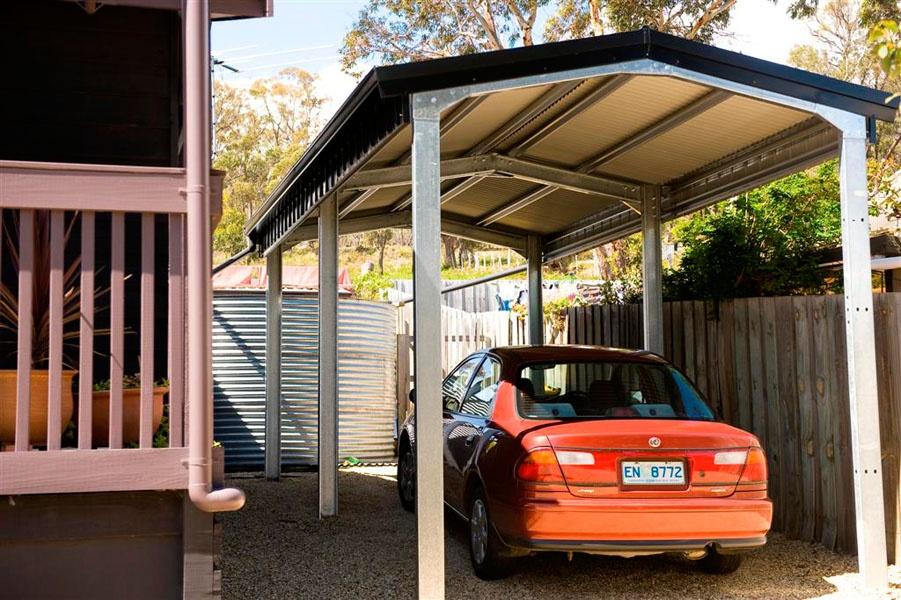
A carport is one of the most frequent types of automobile shelter in warm regions, but they are less common elsewhere. Compared to a garage, which can be closed and used to store bicycles, sporting goods, lawnmowers, and other home goods, a carport is significantly less secure and less usable. As a result, you may be wondering if and how you may turn your carport into a functional garage. If a total conversion is out of the question, another option is an enclosed carport.
If the carport’s slab, support posts, and roof are in good condition, converting it to a garage often saves 20% of the cost of having a contractor build a new garage. Finishing the walls and installing doors with a carpenter typically costs between $12,000 and $16,000 in labor costs alone. Total prices for a professional installation range from $25,000 to $60,000 when these expenditures are added to framing lumber and siding materials, windows, a garage door and entry door, as well as electrical service improvements, permits, and dumpster fees. Garage door installation is best left to the professionals, even if a skilled do-it-yourselfer can save money on the materials.
Bạn đang xem: How To Enclose A Carport? Things You Will Need
A carport can be converted into an enclosed garage if the necessary conditions are met, but there are numerous considerations to consider before you obtain bids or decide to undertake such a project on your own.
Things You Will Need
- Calibration tool
- Boards measuring two feet and four inches in width
- Plywood
- Sheetrock
- Hammer
- Cement
- Choosing a flooring material
- Coverings for the exterior of the house (siding, stucco)
- Make sure the carport’s floor is sanitized. Using 2 by 4-inch planks, make a form for any location that isn’t directly against a cement pad. Make use of stakes to keep your form in place, outside of the form. To ensure that the cement floor is level with the rest of the house’s flooring, get a cement dealer to come in and pour it. The manufacturer’s directions should be followed when it comes to letting the cement cure.
- The carport’s dimensions are its width, length, and height. Build the walls’ frameworks of framing. Using 2 by 4-inch planks, construct the walls. The distance between the studs in the wall should be 16 inches minimum. Frames of 2 by 4-inch boards fastened together on top and bottom of the longer walls (depending on length of the wall) will be needed for these larger areas. A chair should be positioned between the studs every three feet.
- Lag bolts should be used to secure the frames to the cement floor. If necessary, reinforce the walls with 2 by 4-inch planks. Carport roofs can be screwed in place with long screws.
- Plywood should be used to cover the exterior walls before applying the desired finish, such as siding or stucco. Install the windows if you built the frame with them in mind.
- If you’re adding more wall outlets, you’ll need to wire them in. You may need to employ an electrician to do this, depending on your county and state. In most places, an electrician must sign off on your job if you perform it yourself. Insulate the space between the studs.
- On the inside of the frames, put up drywall. The drywall can be painted or wallpapered. The floor cover of your choice is the final step (carpeting, tiling, wood floors).
The Drip Cap
- An additional room can be added to a home by enclosing a carport. If done correctly.
- Lag bolts should be used to secure the frames to the cement floor.
- If necessary, reinforce the walls with 2 by 4-inch planks.
- Insulate the space between the studs.
- The drywall can be painted or wallpapered.
Check Local Building Codes and HOA Regulations
A permission may be required, so make sure to find out if your project is approved. You should check with your local building code or HOA to see if there are any garage limitations. The house side of an attached garage, for example, will most certainly require a fire-rated wall and a fire-rated entry door.
Evaluate the Current Carport Structure
Carports with shingled or tiled roofs can be changed into garages with walls and doors if the vertical supports that keep the roof in place appear to be solid and in good condition. However, if the supports supporting the carport are damaged, leaning, or sized incorrectly, it may not be possible to convert the garage. To have a successful conversion, you’ll need a well-maintained and well-constructed carport.
Measure the Slab
For one car, a 20-foot-deep garage should have a width of 10 feet; for two cars, it should have a width of 18.5 feet wide. Adding 2 to 4 feet to each of these measures would make the garage more comfortable. You may choose to expand the slab to create a larger footprint, if the roof overhang is sufficient. These days, garages considerably larger than this are typical.
Check the Height
Will there be room for a horizontal header above the garage door opening? When you enclose a carport to form a garage, you will need a sturdy beam, or header, across the drive-through opening. A standard garage door requires a rough opening 8.1 feet high, with a double-thick 2-by-8 or 2-by-12 header spanning the opening. Your existing carport needs to have sufficient height to allow for this, or you will be faced with much bigger costs associated with raising the roof.
Consider the Carport’s Roofline
Is there enough area above the garage door opening for a horizontal header to go? For a garage, you need a strong beam or header across the drive-through opening when the carport is enclosed. There must be an aperture of 8.1 feet high and an 8-inch thick 2-by-8 or 12-inch thick header spanning the space in order for a regular garage door to fit. If you don’t have enough room in your current carport, you’ll have to spend a lot more money on a new one.
Check Condition of the Roof
You should have a contractor, home inspector, or structural engineer assess the roof if you intend to keep it. As a last resort, you may wish to remove the roof and start from fresh with your garage renovation. However, reusing the slab could save you money. You may be able to simply re-shingle the roof as part of your conversion job if the roof structure is in good condition.
Check Condition of the Slab
Ensure that your carport’s concrete slab is physically sound. Is the foundation sufficiently broad and deep? The perimeter foundation may not fulfill contemporary code standards for sustaining framed walls lying on the slab, even though the slab’s surface appears to be okay. A new building permit application may necessitate addressing this issue. The type of foundation you have and whether or not the walls of your garage will carry its weight can be determined by having a structural engineer or concrete contractor check your slab for you.
Plan for Mechanical Service
Find out in advance how the electricity will be supplied to your home. In order to use your garage as a workshop, you will need to establish an electrical subpanel or run multiple new circuits, which may necessitate installing a subpanel. Before beginning your conversion, speak with a plumber about your possibilities for adding plumbing for laundry or other functions.
Xem thêm : How To Treat Spider Mites During Flowering? Comprehensive Guide
If the answers to these eight questions are a resounding yes, then you should talk to a constructor about the cost of converting your carport. As a precaution, it’s a good idea to acquire quotes for a total demolition of your carport and the construction of a new garage.
What Is A Carport?
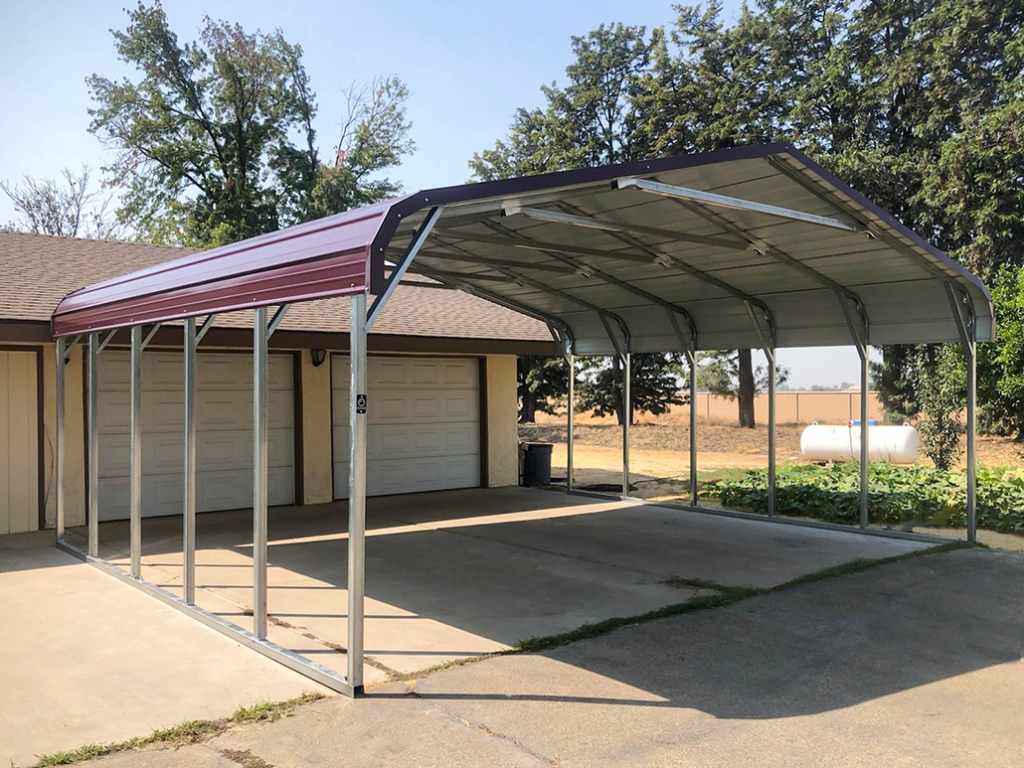
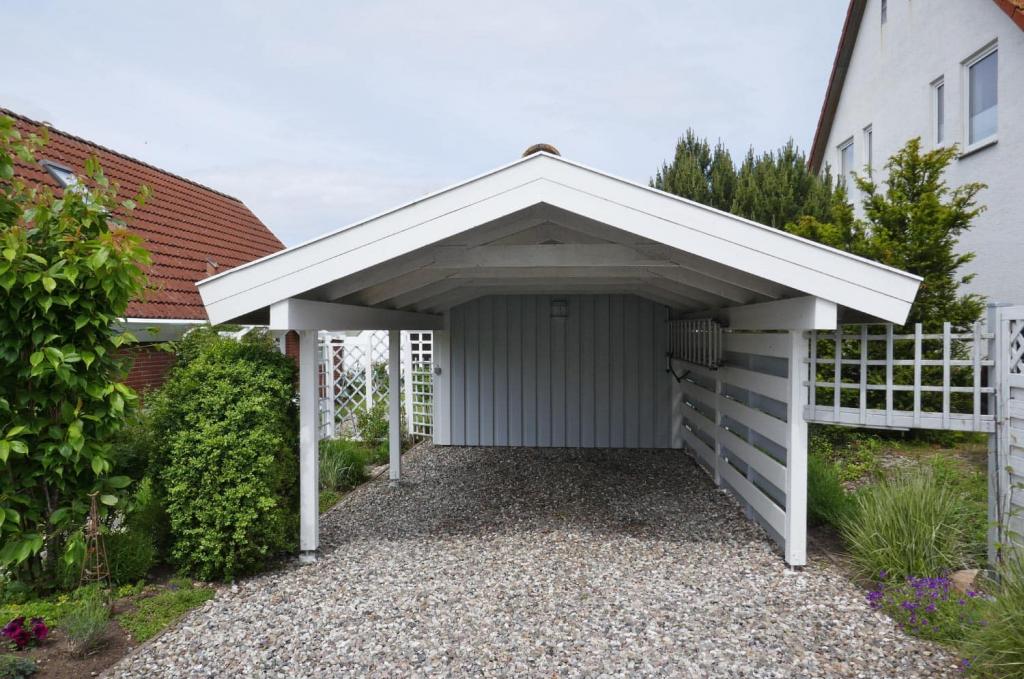
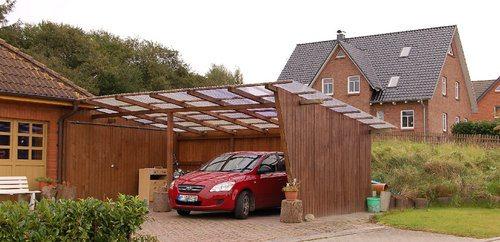
A semi-covered structure is what we refer to as a carport. Steel frames, wood, and steel posts are commonly used. To support your vehicles and other items, this open structure is strong enough.
There are a wide variety of carport designs that can be connected to your home and garage. Because of this, you have a lot of freedom to choose what works best for you.
The low-maintenance nature of a carport also makes it a cost-effective option for renovations.
The primary purpose of this construction is to shield your automobiles from severe weather conditions like snow and hail. In this section, we’ll cover the basics of building a carport at home.
Steps In Enclosing A Carport
For an enclosed construction, the following actions must be followed. To get the best results, be sure to take the time to carefully follow each of these instructions.
Step #1. Preparation
Getting the carport ready is the first step in the process of building an enclosure around it. For this, you’ll need to scrub the garage’s floor from top to bottom.
There must be a concrete and sturdy slab in place to support your covered carport if your construction doesn’t have a concrete floor.
First, construct a box from wood planks and set it within the garage. The next step is to slowly and evenly pour the concrete slab until it has hardened and confirm that there are no concerns with leveling.
Step #2. Build a partial wall
In order to create wall frames, you must first choose how large your construction will be. Wooden boards with 16-inch studs can be used.
I recommend building it on the floor, as you already know the dimensions of the entire wall. In the following days, you may easily install it as temporary partitions by just allowing it to rest on the floor.
It’s also possible to create a succession of frames that can subsequently be connected together if you are working on a long wall. You may also use these to build frames for doors and windows if you desire.
Because your walls are made of wood, water can readily seep in. To get rid of any standing water in your carport, make sure you have a well-designed drainage system.
Step #3. Fix the frames
Xem thêm : How To Sterilize Perlite? The Simple Secrets To Success
The next step is to make sure your frames can resist harsh conditions, now that you’ve already placed them. Bolts can be used to reinforce the concrete floor frames.
Long screws can be used to attach the roof to the freshly constructed walls. As a result of this, you can rest assured that the carport you select is built to your specifications.
Step #4. Cover walls
You can choose from a variety of wall coverings for your carport. Furthermore, before putting on the final exterior, you might cover the outer walls with plywood.
To put in doors and windows that already have frames is the finest time after you’ve done this.
Step #5. Install electronics and insulation
Get professional aid if you’re not sure how to properly install gadgets.
So that you have access to electricity in the region, the electrician will install electrical outlets all around your garage. In other words, if you aren’t sure of your abilities, don’t push through since you could get yourself into a lot of difficulty.
Insulation can also be added to the middles of the wall studs to make it easier to heat or cool. With this, you’ll be able to save a lot of money because it doesn’t take much work to heat or cool your carport.
Step #6. Add finishing touches
Finally, you’ll be able to fix drywall on the floor and even inside the wall. Tiles, carpets, and wooden planks are all options. It’s also a good idea to prime and paint your carport as a final touch.
Even more so, lighting and furnishings can help to make your structure feel more welcoming.
Conclusion
As far as low-cost options go, a carport is definitely one of the better ones. Carports are by definition open structures, hence they must be enclosed.
But don’t worry; you already know how to enclose a carport in six simple stages, so this should be a lot easier for you.
However, if you lack the necessary knowledge and experience to work with electronic components and wiring, you should pass on this project. To avoid an accident, immediately contact an electrician.
Thanks for reading this, and we hope you’ve learnt a lot from it. Greetings, and thank you for your consideration.
Nguồn: https://iatsabbioneta.org
Danh mục: Garage