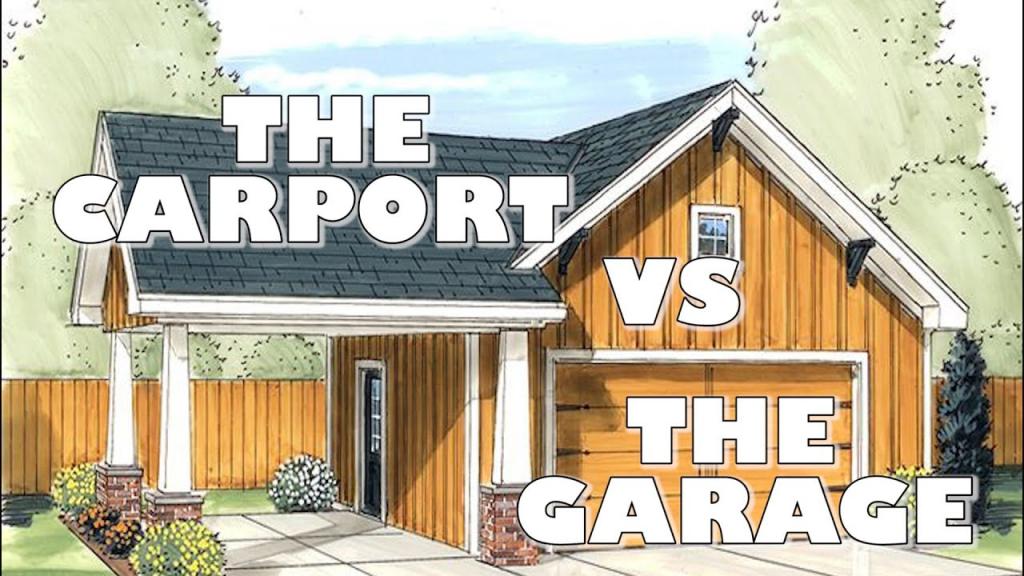
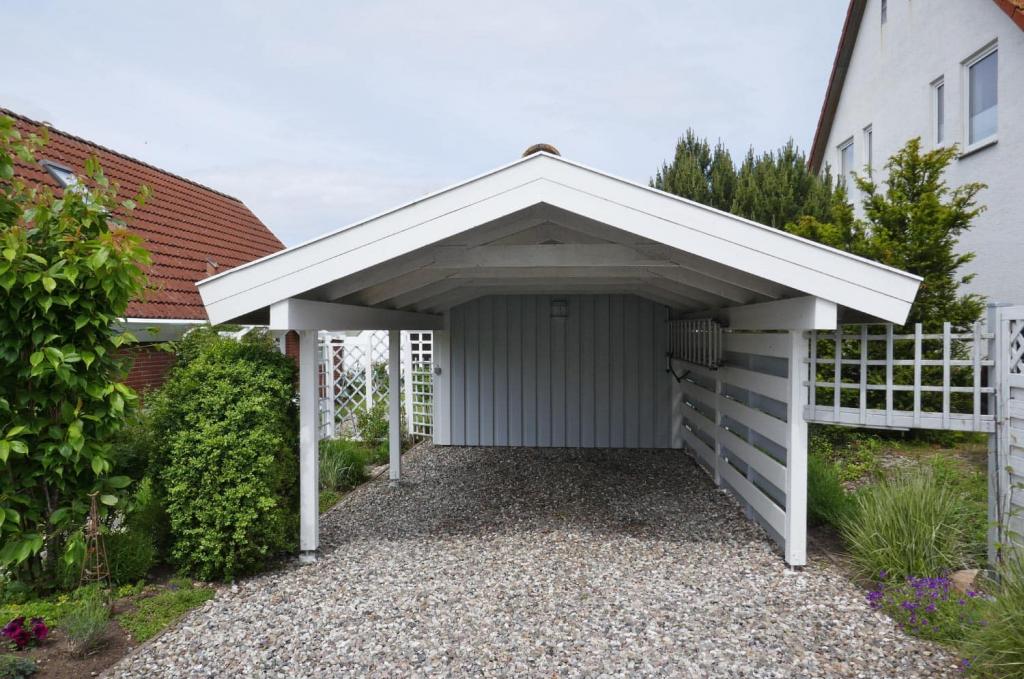
Trying to figure out the best approach to enclose a car port? You’ve come to the correct place; we’ll show you how to carry out these tasks on your own with a few simple instructions.
I know that enclosing a carport is a good idea! With this, you’ll have extra space at home, just perfect if you have a growing family.
Bạn đang xem: How To Enclose A Carport? Step-by-Step Tutorial
The concept of enclosing a carport strikes me as a smart one. Having this will allow you to expand your home, which is ideal if you have a growing family.
All of them can be done fast if you have all of the necessary materials and tools.
However, here’s what you need to keep in mind:
To make a perfect one, you’ll need to put in some effort.
Let’s get right to the point without further ado.
Preparation
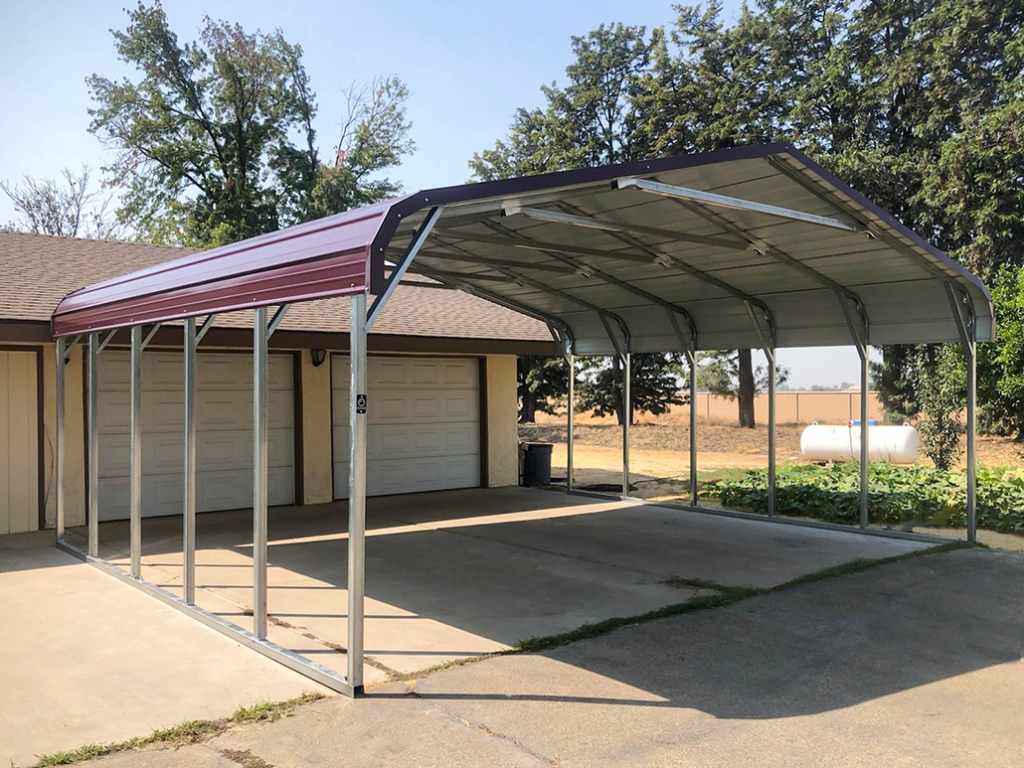
Getting the carport ready for enclosure is the first step. Once the carport floor has been thoroughly cleaned, go to the next step. You will also need to lay a sturdy concrete slab to support the new room if there isn’t one existing in the carport. Rebar should be laid placed in a grid inside a wooden box the size of the carport. It is possible to pour concrete into this shape, and the wooden planks should be able to keep the concrete contained until it has hardened up fully. Make sure that the concrete slab is level with the rest of your home before installing it.
Build a Partial Wall
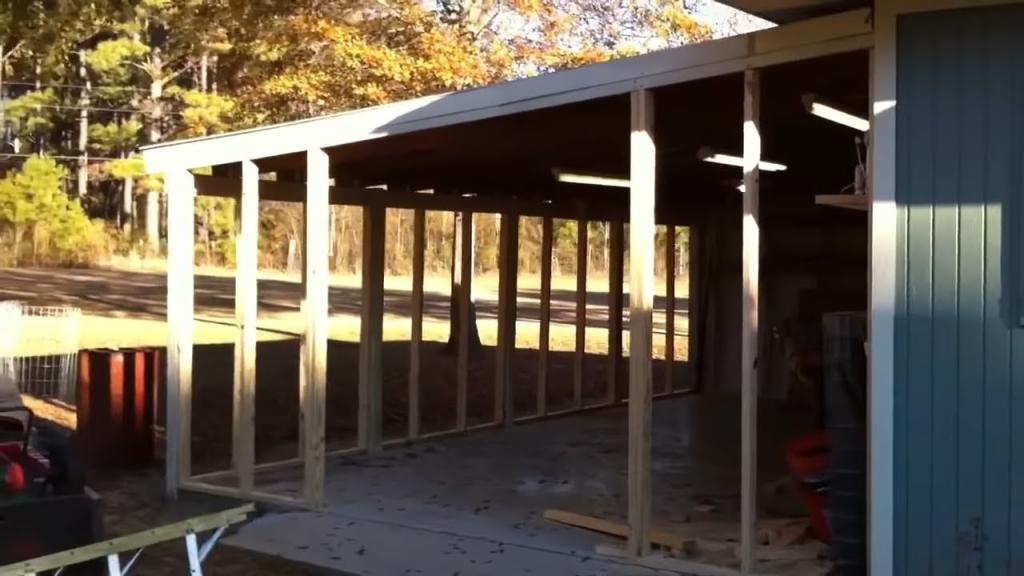
Now that you know the dimensions of your carport, it’s time to begin framing in the walls. A 16-inch spacing between studs on 2×4 boards might be used for the walls. Flatten one piece of wood, frame the verticals into it, and then flatten the other piece of wood against the verticals’ tops. To make things easier, this can be erected on the ground and then lifted into place. Make a succession of these frames if you have a long wall. If you wish to incorporate any doors or windows, you’ll need to cut apertures in the wall.
At this point, you’ll want to know if your new carport’s walls are going to be susceptible to water damage. Make a strategy for getting all of the rainfall to the proper place. If you must, use concrete block or brick and mortar as a base for your walls to ensure that the wood will not be damaged in the future.
Fix the Frames
Using bolts and long screws, attach the new walls on either side of your carport’s roof to the concrete floor.
Cover Walls
Plywood can be used to cover the outer walls before the finished exterior is applied. You can choose from a variety of wall coverings, including siding. In addition to framing in doors and windows, now is the time to do so.
Electrics and Insulation
Any new outlets in your addition should be wired by a licensed electrician. In some states, you may be able to do this on your own, but only if you’re confident in your abilities. After the job is completed, you should have an electrician sign off on it to ensure that it is safe and that you are not placing yourself in any risk. However, even if your state allows you to perform electrical work, that doesn’t imply you must. Professionals can be hired if you don’t feel comfortable doing this on your own.
Sign up to get the latest DIY Projects and Advice
It is possible to reduce the cost of heating and cooling a room by adding insulation between the wall studs.
Add Finishing Touches
Afterward, the floor covering of your choice can be laid down in the space that has been drywalled. You have a variety of options, including ceramic tiles, hardwood floors, and carpet. You must prep and paint the walls before adding features such as lighting and furnishings.

We may receive compensation if you make a purchase after clicking on one of our links.
Steps In Enclosing A Carport
Interested in learning how to make your carport more secure? Here are a few things to think about:
Step #1. Preparing the carport
The first thing you should think of whenever you’re doing something is this simple step.
A carport’s enclosure necessitates this consideration.
If you’re unsure of where to begin, start at the very bottom of the list.
This necessitates a downward gaze. Check to see if it’s clean.
Learn how to properly maintain a garage.
Unless it’s already coated in concrete, you’ll need to create the foundation first.
What’s the point of doing that?
You might use it as a foundation for your extra room.
I recommend that you seek the advice of an expert.
Xem thêm : How To Sterilize Perlite? The Simple Secrets To Success
However, if you do this, here are some things to keep in mind:
Build a box out of wood. Create a grid of rebar inside the frame.
The concrete can be poured there, however.
It is important that the wooden boards can support the weight of the concrete.
You should also make sure that the concrete slab is level with your house.
Step #2. Building a temporary wall
It’s now time to determine the exact size of the carport.
As a further step, create the walls’ frames
What about this?
The walls can be constructed with 2 by 4 planks.
Also, these boards should have 16-inch studs on either side.
Double the board to make sure it lasts.
Attach the verticals above the board to the ground. After that, you can build a second board on top of the vertical ones.
Allow it to stand for a few minutes before installing it as a wall.
You can make a taller wall by stacking these frames one on top of the other.
There is more!
The openings should be framed in (for your doors and windows).
But wait, there’s more:
Do you think the water will be able to reach the forests (the walls)?
If this is the case, you’ll need to devise a strategy for removing rainwater from your new carport.
Make sure the water can reach its intended destination.
Brick and mortar or concrete blocks can be used if necessary in order to build the walls’ foundation.
What’s the point of doing this?
Thus, the wood will not be susceptible to deterioration in the near future.
Step #3. Fixing the frames
It’s up to you at this point to make the necessary adjustments to the frames.
Bolts can be purchased and installed in the frames to increase their long-term durability.
As a result of these bolts, the frames will be firmly attached to the ground.
Long screws can be used to fasten the new walls to the roof, as well.
Step #4. Covering the walls
You might partially cover the walls with plywood before putting on the final exterior.
Xem thêm : How To Enclose A Carport? Things You Will Need
In any case, you have the option of using another type of fabric as a cover.
In the first place, you have a variety of wall options to pick from, including siding.
Install windows and doors in the openings you made when you framed out the structure, as well.
Step #5. Insulation and electrics
If you’re not a trained electrician, it’s best to hire a professional.
Of course, you’re aware of the reasoning behind this.
With electricity, you should only rely on trained professionals because it is quite risky.
This means that you should only let a licensed electrician to install any outlets in your new room.
If you want to do it on your own, go ahead and do it, but make sure you secure your safety for the now as well as the future.
Insulation is an additional element that you should keep in mind!
Your carport should be insulated.
Insulation is typically inserted between the studs of a wall.
As a result, they can more easily cool or heat the carport’s inside.
I mean, it’s a good idea.
Step #6. Adding finishing touches
It’s time to put the finishing touches on your carport’s walls and floor.
Drywall is an option for the interior of the wall.
You can also choose to cover the floor yourself, if that’s what you prefer.
Carpet, wood, or tiles are all options!
What you need to remember is this:
Paint the walls with a primer first.
You can also add furnishings and lighting fixtures to your design.
Conclusion
The procedures outlined above will help you learn how to construct a carport enclosure.
You don’t have to worry about any of this because it’s all so simple.
The first step is to make a plan.
After that, you can begin constructing the walls and the ground.
Insulate first, then wire up.
Finally, if you’d like, you can add any extras that you’d want.
Hopefully, you’ve gained a lot of knowledge from this essay!
Nguồn: http://iatsabbioneta.org
Danh mục: Garage