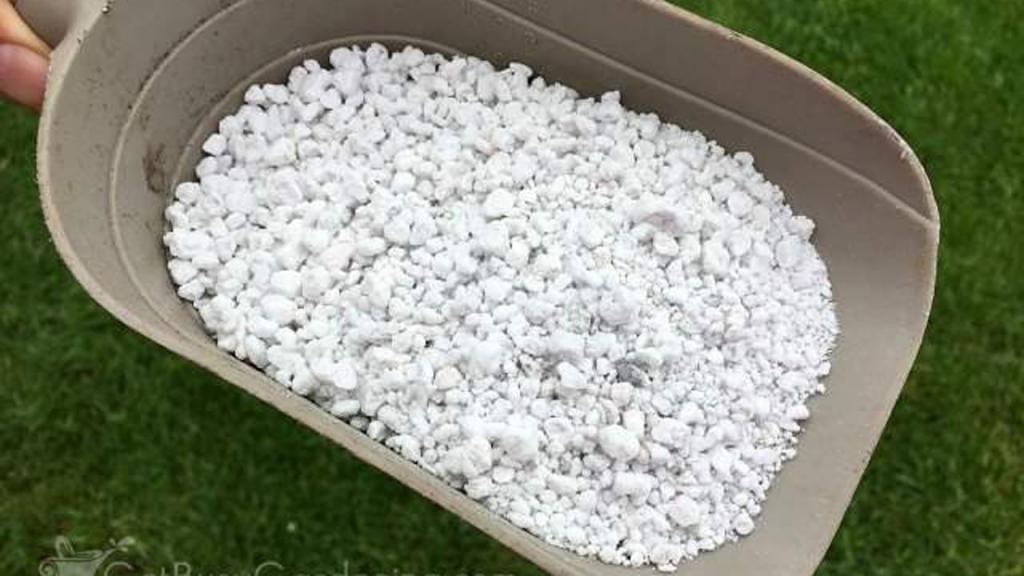
There are five different methods for sterilizing perlite. The appropriate sterilization of perlite is essential because this filler is what you utilize to optimize the aeration and drainage of your medium. Perlite is commonly used in potting soil and hydroponic systems, however it must be sterile.
Cleanliness is necessary in the cultivation of plants in order to avoid potential difficulties. It is possible to keep this indoors with the use of a greenhouse, but any items you bring into the house may include organisms and fungal pathogens. This is why it’s important to sterilize perlite and maintain an optimum greenhouse atmosphere, so that you can grow plants without any worries.
Bạn đang xem: How To Sterilize Perlite? The Simple Secrets To Success
How To Sterilize Perlite Safely
Method #1. Washing
As a general rule, you can think of the first method of sterilization for perlite as simple. It’s a good idea to rinse perlite even if you think it’s clean because you never know what you might find. Considering how quick and simple it is to clean perlite, there’s no reason not to do it.
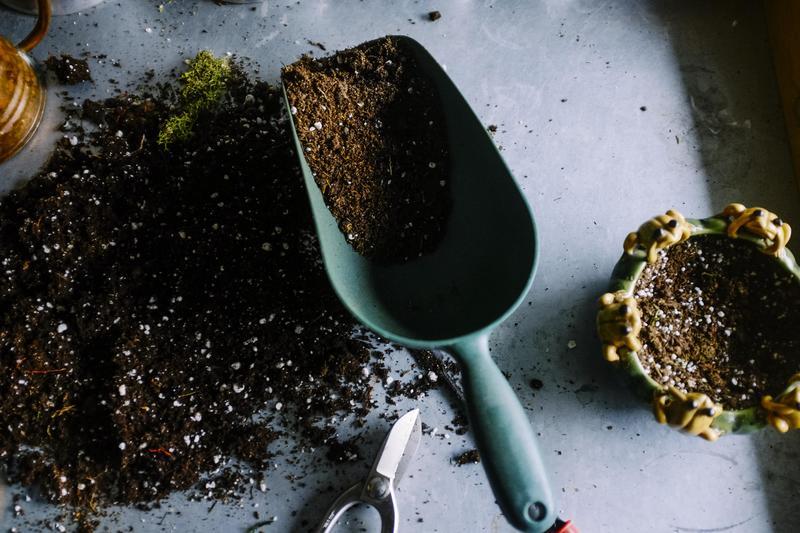
Using a pan, evenly distribute the perlite. Let the water run over them while you do this. After flipping the perlite, you’re done with removing the dirt from both sides.
Method #2. Hydrogen peroxide
Perlite can also be sterilized with hydrogen peroxide, which is an appropriate sterilization method. Hydrogen peroxide at a concentration of 3 percent is recommended by seasoned gardeners. However, the importance of diluting it at a ratio of one tablespoon per quart of water cannot be overstated.
It’s critical to dilute hydrogen peroxide before using it to sterilize perlite to avoid harming the plants that will be grown in the perlite. To prevent the hydrogen peroxide from evaporating and changing the solution’s components, you must produce a new batch of diluted hydrogen peroxide each time you sterilize perlite. To use, just moisten perlite with the solution and, if necessary, sprinkle it with water before hand.
Using hydrogen peroxide as a seed-soil disinfectant can also help prevent fungal growth. After sowing, you can use the solution to irrigate the medium once a week to keep the perlite sterilized. Consequently, hydrogen peroxide can be used both before and after planting.
Method #3. Bleach
Chemical sterilization is the third way for perlite sterilization, and bleach is the most commonly used. You should exercise caution, though, as this method is only indicated for use with pure perlite. The procedure is as basic and straightforward as the previous two techniques.
Bleach should be diluted in a solution of nine parts water to one part bleach. The perlite should be soaked in this solution for at least 20 minutes. Before utilizing the perlite as a medium, you can use this solution to clean it.
Method #4. Steam
Equipment is needed for the fourth and fifth methods of perlite sterilization. In any case, they’re easy to come by right here at home. To start, you can steam perlite in a boiler to kill any impurities.
Perlite can be sterilized at a temperature of 212°F at a pressure of 5 to 15 psi, but other steaming methods can also be used. Instead of rushing into the process, allow the steam to do its work while the water is heating up. Depending on your boiler or method, you may need to alter the temperature as well.
Method #5. Oven
The final sterilization method that you can consider is by putting the perlite in the oven. Much like with steaming, the heat from the oven should kill the contaminants in the perlite. Preheat the oven to around 200°F before beginning.
The oven is the final method of sterilizing that you can use for your perlite. Similar to steaming, the perlite should be sterilized by the oven’s heat. Preheating the oven to 200°F is the first step in this process.
How To Use Perlite
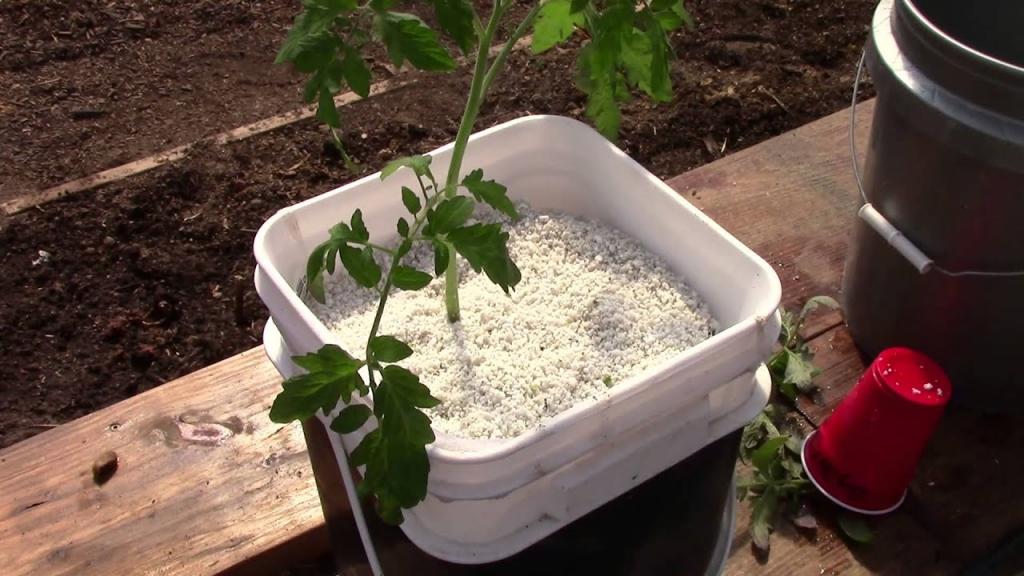
While there are various ways to use perlite into your garden, aeration and drainage are the most typical ones. You can also improve your ground’s quality by adding loose perlite over the surface, which should help with water retention. Lastly, those who propagate plants from cuttings can use moistened perlite and a plastic bag to encourage rooting.
Perlite can be used in a variety of ways, but the most common is to improve the aeration and drainage of your soil. You can also increase the condition of your soil by spreading loose perlite over it, which should assist retain water. Perlite soaked with a plastic bag works well for encouraging roots in people who propagate plants via cuttings.
Sterilization Purpose
In spite of the fact that perlite that has never been used can be sterile, it is possible to find fungal spores or disease organisms in previously used perlite. A mixture of perlite, soil, and other additives can potentially be a breeding ground for fungus and disease after planting. Using perlite that has lost its sterility increases the danger of damping off, a fungal disease that affects seedlings. However, even established plants might be affected by fungus or disease if the soil is contaminated. Because heat sterilization will damage the plants’ roots, the best alternative for treating perlite is to use hydrogen peroxide as a topical therapy.
Peroxide Mixture
Xem thêm : How To Turn A Carport Into A Garage? Comprehensive Guide
Perlite sterilization calls for a 3-percent solution of hydrogen peroxide, which can be found at most drugstores. Plants grown in perlite may be damaged or killed by the concentrated solution if it is not diluted further by adding 1 tablespoon of peroxide per quart of water. Use fresh solution each time you need it, or store excess in a labeled, sealable container to ensure that the concentration of the peroxide doesn’t change as it evaporates.
Application Method
Preventing fungal and disease problems is as simple as adding peroxide solution to the perlite or perlite and soil mixture before planting. After planting, if fungal development persists, you can continue to use the diluted peroxide once or twice a week. Soak the seeds in a spray bottle before they germinate, if fungal growth starts right after you plant them. While spreading the seed, fungal spores may enter the plant.
Bleach and Peroxide
Only pure perlite may be sterilized with bleach; it will not sterilize perlite that has been mixed with soil or other amendments. Bleach is the primary substitute for peroxide disinfection. Rinse well with water after soaking the perlite in a solution of one part bleach to nine parts water for 20 minutes before using it. After seeding, you may still need to spritz the soil surface with a mixture of peroxide and water or water the perlite with a peroxide solution. It is vital to use just peroxide mixes to combat fungus in perlite after planting because peroxide alone will not hurt plants.
How to clean perlite and sterilize it properly?
You’ve probably already tried a few different ways to sterilize Perlite for reuse when it comes to cleaning it for cleaning. Some of these techniques include:.
- utilizing water for rinsing (WW)
- Sterilization by steam (SS)
- Sterilization with steam after washing with hot water (SSW)
- Sterilization with chemicals (CW)
Commercial perlite sterilization is not limited to the procedures listed above, but these are the most typical commercial approaches.
Here one thing to ponder is if one method is effective enough to sterilize the Perlite, why are there so many outnumbered ways prevailing in the market. For one thing, both methods have their advantages and disadvantages.
Something to consider is why there are so many methods available for sterilizing Perlite when one is sufficient. Each method has its own advantages and disadvantages, which make it preferable to the other.
How to wash Perlite and prepare it for re-use:
- If your Perlite is new, you may not need to sterilize it, but it will still need to be washed and rinsed well. Washing is actually the first and most critical step in any sterilizing technique. Washing your perlite medium is necessary regardless of whether you sterilize it or not.
The Perlite will become spotless and gleaming after a thorough washing removes all of the hardened substance, debris, grime, and other filth particles. The following are the stages involved in a simple wash:
- Use a pan or a basket to hold your perlite stock.
- Spread it out evenly, then run the water over it to wet it down well.
- As soon as you’re done, turn the Perlite over
- Douse it with enough water to remove any remaining dirt.
Soil is better able to hold on to nutrients when it is washed away, allowing the plant to thrive.
How to sterilize perlite solution with bleach:
Sterilization with bleach is one of the most common ways of chemical sterilization in use today. Pure Perlite is commonly sterilized with bleach. While other forms of perlites can also be utilized, this is the preferred method. Bleaching is one of the most common ways of sterilizing in use today. The following are the stages involved in sterilizing perlite with bleach before it is reused.
To begin, make the bleaching solution.
Bleach and water are combined in a ratio of one to nine.
For the next 20 minutes, let the mixture sit.
This bleach solution has been poured over the Perlite and allowed to sit for some time.
How to sterilize Perlite with hydrogen peroxide:
You’ve probably heard of hydrogen peroxide sterilization as another means of sterilizing perlite. Chemical substance hydrogen peroxide is available in a wide range of concentrations, from 3% to 90%, and is utilized for a variety of purposes.
For everything from hair bleaching to the food industry. Hydrogen peroxide solution 3 percent, readily accessible at drugstores and supermarkets, works best for perlite sterilization. Here are the stages involved in the sterilization of Perlite with hydrogen peroxide.
The 3 percent solution is first diluted further.
To dilute one quart of hydrogen peroxide, one tablespoon of water is used.
Xem thêm : How To Propagate Purslane? Growing Tips
Before using the Perlite, spray it with this solution.
The solution can also be sprayed over the soil after the Perlite has been put to it.
How to sterilize Perlite in an oven:
When it comes to money, perlite is a great option because it is so inexpensive. If you can’t get your hands on some fresh Perlite because of a lack of supply, you can always sterilize some previously used Perlite.
In order to remove any pre-existing soil, dirt, debris, fungal or bacterial spores, or any other possible contamination, the used Perlite must be properly washed. Once sterilized, it can be utilized for plant and crop germination once again after the oven process. To sterilize an oven, the following actions are necessary:
washed and sanitized An oven pan is lined with perlite. ‘
Before heating the Perlite, dampen it a bit.
Aluminum foil is used to seal the Perlite-filled pan.
The oven should be preheated at 200°F (105°C).
Set the oven to 250 degrees Fahrenheit and wait for it to warm up.
Allow the Perlite to warm up for around 30 minutes before using it in your recipe.
After 30 minutes, remove the Perlite.
How to sterilize Perlite by using steam:
Perlite can also be disinfected using steam. In the fertilization industry, it is gaining more and more traction. Popularity can be attributed to two factors: first, the method’s strong social value; second, its exceptionally minimal environmental impact.
Because of these features, it’s well-suited for use in commercial settings. Because it uses no harsh chemicals or bleaching agents, steam sterilization is one of the safest methods of sanitizing perlite soil medium. Safest method for perlite cleaning..
It eliminates all of the Perlite’s bacteria, viruses, and fungi, making it safe to eat. Steam sterilization can be accomplished in two ways. either the aerated or the free-flowing approach Despite the fact that they are distinct, both utilize steam to disinfect. Steam sterilization typically involves the following steps:
- Temperatures in the boiler range from 212°F to 5-15 psi.
- Steam is produced when water is allowed to boil in the boiler.
- To boost the temperature of the perlite media, steam is released over it.
- Particles tainted with pathogens tend to decompose as the temperature rises.
- Depending on the boiler and steam sterilization procedure, the temperature might range from 140°F to 240°F.
The following types of Perlite are recommended for use as a growth medium in hydroponic systems:
- Perlite is available in a wide range of shapes and sizes. Coarse, medium, or fine particles are all possible forms. It is critical to locate a perlite medium that is appropriate for the type of garden or plants you intend to grow. For plants that don’t require a lot of water, like succulents, coarse Perlite is the ideal choice.
- Choosing coarse per tile for an open space is ideal if you prefer your plants to be heavy-weighted and not easily blown away by the wind. More water-hungry plants benefit greatly from medium and fine Perlite’s superior retention and ability to hold onto nutrients.
You should now be able to safely re-use perlite after this post has been read. Make it happen in a way that seems natural to you.
Conclusion
When you’re a gardener, you must become familiar with the materials you’ll need to create your medium. As a result, sterilizing perlite is an important skill to have if you want to avoid contaminating your plants. Clean your perlite thoroughly, then sterilize it using one of four methods: hydrogen peroxide, bleach, steam, or an oven.
You shouldn’t overlook this perlite preparation because all of these procedures are quick and simple. When using hydrogen peroxide or bleach, you must first dilute the solution. This will help you avoid hurting the plants by leaving them in the medium after you’ve finished with it.
Nguồn: https://iatsabbioneta.org
Danh mục: Garage