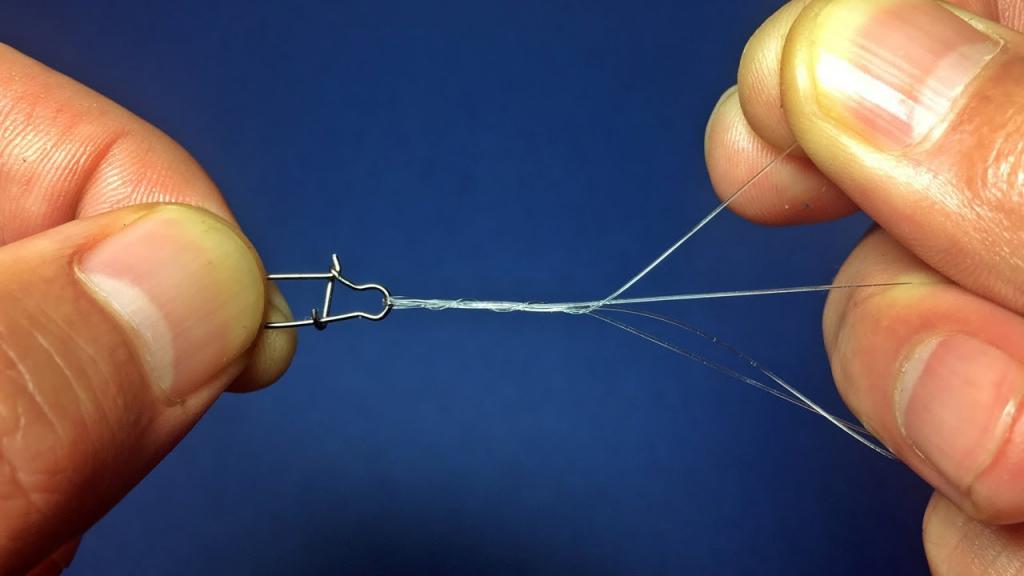
If you don’t know how to tie knots, it can be tough to tie a barrel swivel. Despite its simplicity, the knot requires some attention to detail to ensure it functions well. In this post, we’ll walk you through the steps of tying this knot correctly.
What is Barrel Swivel?
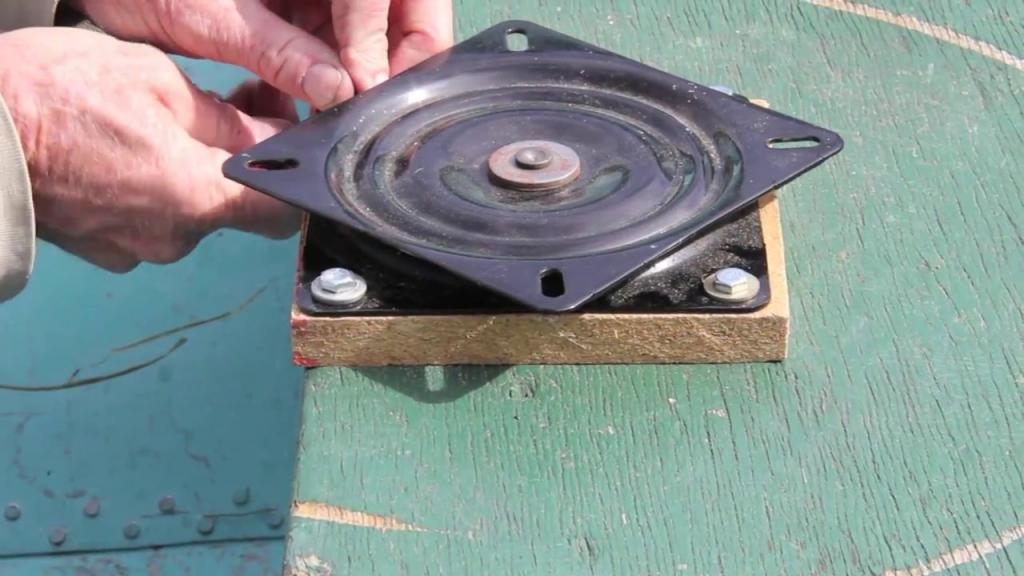
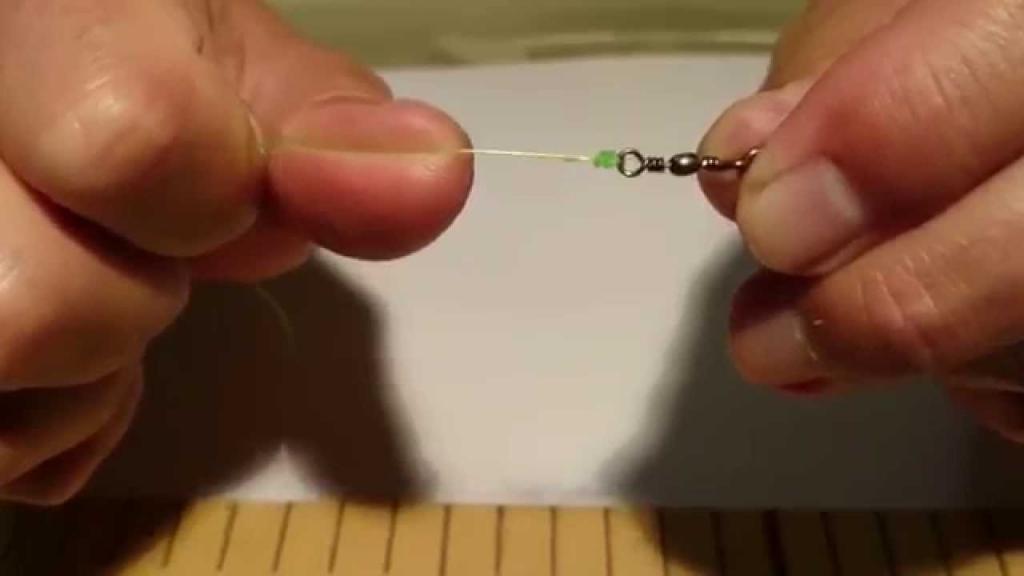
This round metal connector is called a barrel swivel. In fishing, they are used to connect two lines and prevent the lines from twisting or tangling during the retrieval process.
Bạn đang xem: How To Tie A Swivel? Comprehensive Guide
In kites, they are used to connect two cords together. Many metals, such as aluminum alloy, stainless steel, or brass, can be used to make barrel swivels.
What Does a Barrel swivel Look like?
The outer rings of barrel swivels are joined to the disc’s circumference by two rings, each with a hole in the middle. The inner ring is often broader than the outer ring and has an open seam around it so that the two lines can be attached.
Instructions on How to tie a Barrel Swivel:
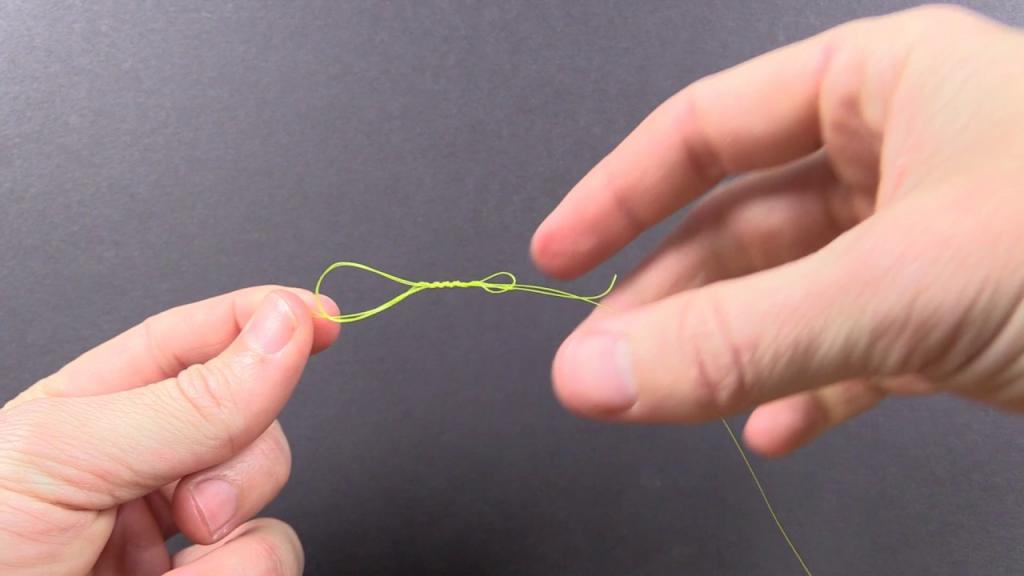
Make sure your loops are the same size and spaced evenly apart. Make these loops by tying an overhand knot or any other looping method you like.
Step 2. Take one line, place it over the two rings and then cinch it up. Take the other line, place it over the two rings but don’t pull on either of them yet.
To tighten one side’s loop around the ring, draw down with both hands, while simultaneously pulling up with both hands to tighten the other side’s loop around the ring. As you tighten the knots, make sure they are snug.
With the rings in place, you should now have a little bar of rope that is tightly woven between them.
Make sure there’s no slack left in either line by tying one end of the rope to the other with a knot to secure it.
If you’re using an overhand knot, slide it securely down the loop and tighten by pushing on each end of the line until there is no slack in either cord.
A second overhand knot should be tied around the loop if this is the case (or just make a second loop and tie an overhand knot in it).
The barrel swivel is only one of several knots you’ll need to master, but it’s equally critical that you understand when and how to put them to good use. There should be no slack in either line after they’ve been properly tied and tightened.
Advantages of Tieing Barrel Swivel
A Barrel Swivel is a common knot for securing two lines together.
This style of swivel has the advantage of being able to be adjusted if necessary without damaging either cable while also helping to retain the integrity of your line.
How to Prevent Wear and Tear on a Barrel Swivel
Xem thêm : How to Extend the Footstool of a Recliner? Complete Step-by-Step Guide
There are various ways to keep your Barrel Swivel knot in good working order.
Using a new rope each time the line needs to be attached is one option, but how often should it be done? It’s better not to go too long without replacing a line because all of these knots require some maintenance over the course of their lifetime.
Preventing drily rotting knots with lubrication is another technique to extend the life of your Barrel Swivel. How often you do this will be determined by how much use the Barrel Swivel gets.
Wrap a piece of cloth around your line before you tie it up if it’s impossible to replace or lubricate the rope every time you use the knot.
What Lines are Appropriate for Barrel Swivels?
As an alternative to using other materials, nylon rope is the best choice for attaching lines to barrel swivels because it is less abrasive and weather resistant. Polyester, cotton, and fluoro-carbon are also good possibilities for Barrel Swivels.
TYING THE KNOT: THE COMPLETE GUIDE TO TYING BETTER FISHING KNOTS
If you want to be a great angler, you have to do things the proper way. Routine inspections and repairs keep their equipment in peak condition, and they replace anything that appears even the slightest bit shaky. It is because of this meticulous attention to detail that they are able to catch fish time and time again.
If we want to maintain our connection to the fish, we need a good knot on our fishing line. You’ll pay the price in lost fish and shattered fishing ambitions if you tie a bad knot. Because your knot is the weakest link in the chain, it’s best to tie it correctly. With the proper knot selection, it’s just as crucial as tying a perfect knot. How to do it right the first time.
GENERAL LINE MANAGEMENT
A high-quality fishing line is essential for an excellent knot. Using a low-quality line will increase your knot headaches by a factor of 100. The weaker the line, the more susceptible it is to breaking and securing knots.
Matching the line poundage rating to the application is critical when selecting the correct line-and-knot pairing. For example, anglers who use light lines for power fishing techniques (e.g., large swimbaits) should anticipate to encounter knot problems. When paired with a heavy-action rod and reel, this combination is a recipe for disaster. At the knot, light line is readily snapped by a heavy-action rod, which has very little wiggle room.
No matter what type of line you choose, keep it out of direct sunlight and in a dark, cold spot. It is possible for lines (particularly monofilament) to be degraded by electromagnetic radiation (i.e., UV light) and fail prematurely. Spools that are no longer in use should be stored in their original packaging to protect them from nicks or other accidental damage.
This is especially important after hooking up with one of the big ones, when you’ve had a successful outing, or when you’ve fished for an extended period of time in an area with a lot of obstacles. Check the line within 6 or 7 feet of the bait when you re-tie. That’s where the biggest wear and tear occurs. Look for signs of scratches and nicks by running your thumb and forefinger down the line between them. Before re-attaching your bait, cut the line above the damaged region. Pay special care to delicate monofilaments and thin lines, as these are the most likely to fray or break under normal use.
10 BEST KNOT TYING PRACTICES
When it comes to tying knots, anglers are often their own worst enemies. Bad knots frequently and inconveniently snap off of a bungee cord. When it comes to knot tying, the saying “practice makes perfect” is very true. Before attempting to tie any knot in the water, it is recommended that you practice at home first. As you practice, you’ll be able to tie the knots effortlessly and fast. If you’re going fishing, this will save you both time and money. Learning modern knots on the water is a surefire way to frustration and a slew of lost fish. You could potentially lose some expensive lures in addition to your hard-earned trophy.
Ten good knot-tying habits to get you started:
- Choose the appropriate knot for the task at hand. If you’re using monofilament or fluorocarbon, there are certain knots you should stick with, and there are others you should stick with braided. Be aware of the best knots to use depending on the sort of line you’re working with and utilize them properly.
- Knots with a minimum strength of 90% should be used only. The overall strength of the primary fishing line is reduced by all knots. Chains and fishing lines are both defined by the strength of their weakest links: the link and the knot, respectively. A knot should carry at least 90% of the line strength for your specific line type when picking one. With a simple Google search for the precise knot and line combination, most knot strengths may be found.
- Stick with the knot that works best for you. For the most part, it’s best to stick with a knot that works for you. When your favorite knot works wonderfully, there’s no need to try out new ones. Using the old adage “don’t fix what isn’t broken,” when it comes to knots, you’re doing well.
- Knots can be loosened by using lubricant. Make sure you get a good knot by following these simple steps. A dry knot is abrasive to the line and generates additional heat when it is cinched down. Both of these actions will result in damage to your line. You can use water or saliva to lubricate your knot. When it’s wet, cinching it down will considerably enhance knot strength.
- The end of the tag should be tightened. Knot “tag ends”—the loose ends that oppose the mainline—are a common feature of all knots (the line coming off the reel). Ensure that the knot doesn’t slip through the knot before cutting off the end of the cord.
- Don’t cut the tag end too close to the knot. It’s a pain to deal with knots with long tails. Trim these near to the knot as a habit, but watch out not to cut it too close. A nick could cause the knot to be damaged right away.
- Check your ties. There is still a lot of work to be done before you’re done with your knot. If you’re tying a knot for the first time or doing so in a challenging situation, scrutinize it thoroughly for any flaws. Incredibly, you’ll find yourself retying knots all the time.
- Often! Fishermen have a tendency to rush things. Immediately after reeling in a fish, they return it to the sea and begin casting again. Surely, no angler would want to miss out on another catch. Tightening your knots every so often will ensure that they last. Check your knots after each fish, at the very least. After every hiccup, for that matter. Not to mention how often you should retie.
- Stick to the rules for tying knots. Shortcuts are common among anglers. Wrap the knot seven times if it’s supposed to be wrapped seven times. A weaker knot is the result of tying it five times instead of four.
- Tighten your grip and give it a good tug. Giving a good tug on your freshly made knot is a must-do to ensure that your job is flawless. Knots that are left unmanaged might lead to serious problems. A broken or undone knot is the worst thing that can happen to a fisherman’s baitcasting.
FIVE KNOTS YOU SHOULD KNOW
Knot tying has become a lot easier now that you’ve learned the best methods. Here are five essential knots that can help you catch more fish and enhance your fishing skills.
(1) Trilene Knot.
Xem thêm : Color Curtains With Beige Walls and Brown Furniture
The Trilene Knot was designed by Berkley particularly for use with its monofilament lines. Monofilament and fluorocarbon are perfect for attaching swivels, leads, and lures with this product.
Making a knot out of Trilene:
- Make a short loop by running the tag end of the line through the hook eye twice.
- In order to keep the loop in place when wrapping the tag end around the standing line at least five times, pinch it between thumb and forefinger and then pass the end through the loops.
- Draw the fabric in tightly, making sure it’s well-moisturized.
(2) Palomar Knot.
With the Palomar Knot, braids and leaders can be joined with ease. Fluorocarbon fishing line can also be used with this reel. Despite its strength and ease of tying, the Palomar does not slip.
Palomar’s knot is tied.
- Run the hook eye through the doubled main line, which should be about six inches long.
- In order to pass the hook or bait through, double the loop back and form an overhand knot around the doubled line, leaving a large enough loop.
- To wrap the entire hook or lure in the loop, pull the loop down and around the entire piece.
- Draw the line taut by pulling hard on both ends once it has been well moistened.
(3) Improved Clinch Knot.
The Improved Clinch knot is a favorite among many. Using this knot, you can attach your fishing line to a hook, lure, or swivel in a variety of ways. There is an additional tuck beneath the last turn in the “enhanced” version. Nonetheless, the Improved Clinch is not recommended for lines heavier than 30 pounds.
The Improved Clinch Knot:
- The mainline should be threaded through the hook’s eye.
- Make a series of five or more turns around the line of people standing still.
- Make a small loop behind your eye and feed your line through it.
- To tighten the coils, wet your knot and pull on the tag end.
(4) FG Knot.
Another wonderful knot for fluorocarbon leader materials is the FG Knot. This is the FG Knot. The FG Knot, despite its complexity, is likely the best link between the leader and the mainline.
Tie a FG Knot:
- Maintain a tight grip on the mainline’s braided strands.
- Connect the braided mainline to the fluorocarbon leader.
- Line coils can be held together by hitch knots.
- The braided mainline should be snagged hard.
- Remove the fluorocarbon leader’s tag end.
- Above the fluorocarbon leader material, tie two more hitch knots.
- The braided mainline’s tag end should be cut off. Make sure the knot is securely fastened.
(5) Uni to Uni Knot.
When linking lines of similar diameter, this knot is a highlight. Adding a monofilament or fluorocarbon leader to your braided mainline is a great use for this tool.
The Uni to Uni Knot: How to Tie It:
- The end of the leader material should be about 6 inches from the end of the main line.
- When you bring the end of the main line toward the centre, you’ll construct a loop.
- When you’re done, pull the tag end through the loop to tighten it up.
- Continue with the leader material in step 2 and step 3.
- Afterward, draw the standing lines in opposite directions to form the knots.
Knot care is the difference between an amateur angler and a professional one. Use the aforementioned pointers and the following five knots to improve your fishing skills and ensure that your line remains in top condition.
How to Care for Barrel Swivel
Before using the Barrel Swivel, you should lubricate it. The frequency of maintenance will depend on how much wear it receives. Before tying your line up, try wrapping it in a piece of cloth if you can’t replace or lubricate your rope. This means that the Barrel Swivel will last longer.
Swivel lube is a great product to use for maximum protection. Soluble the parts that rotate against each other regularly and preserve how they’re used to keep swivels from deteriorating in the water, and you’ll have a long-lasting piece of equipment.
Avoid using gas or oil as lubricants, as these will actually do more harm than good and render the Barrel Swivel useless when it is most needed!
Nguồn: https://iatsabbioneta.org
Danh mục: Blog