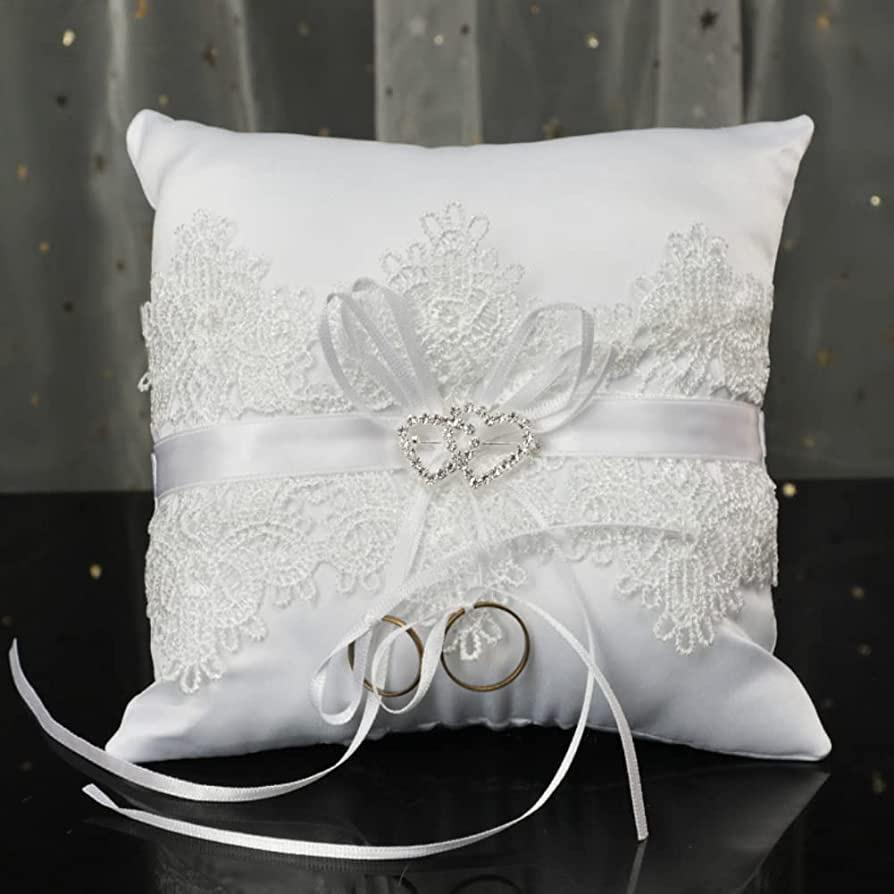
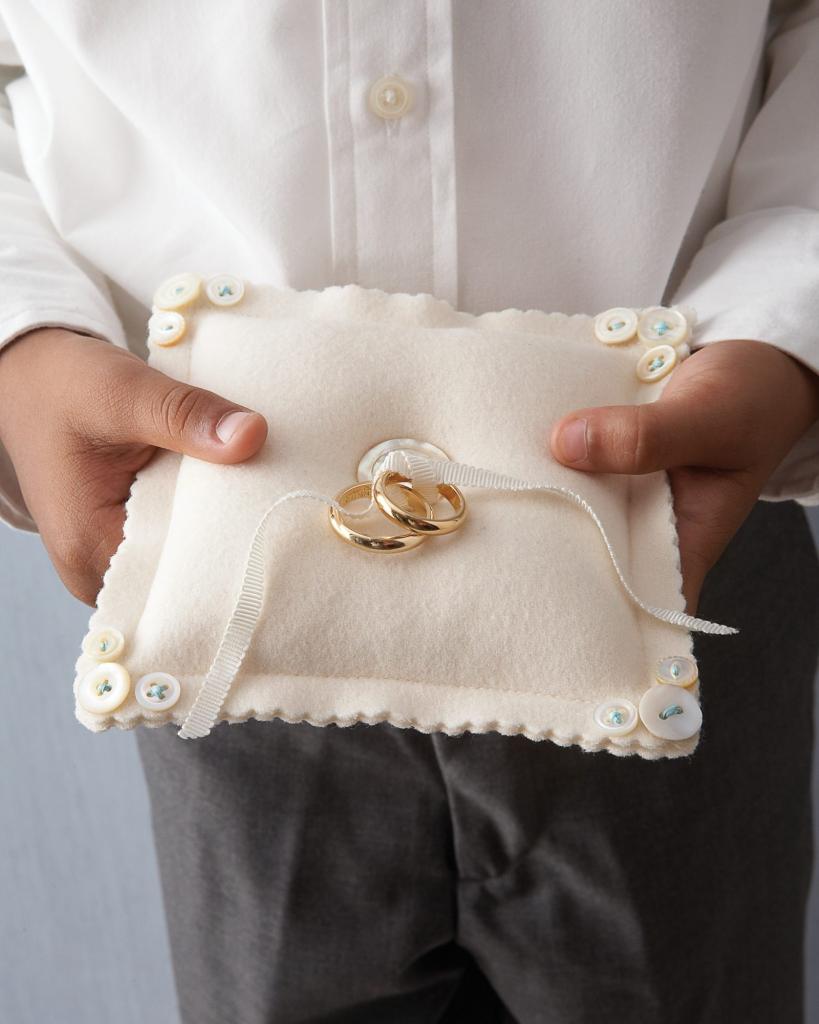
Do you want to learn how to make a ring bearer pillow? You’ll be surprised how easy it is to make one.
A simple yet elegant ring bearer pillow suits best for any wedding occasion.
Bạn đang xem: How To Make A Ring Pillow? Complete Step-by-Step Guide
A wedding ring is a symbol of one’s commitment towards another person. That tiny jewelry can magnify the oneness of two different hearts.
It is an emblem of their vow to love and treasure one another.
If you’re the one who will wear that precious thing, would you be pleased if it has not been honored before it slips to your finger?
Of course not!
In this article, we’ll learn how to make a ring bearer pillow.
Steps In Making A Ring Bearer Pillow
Weddings aren’t complete without wedding rings.
And of course, as it highlights the event, it must be placed on a “thrown” before it is permanently purchased by the couple’s left fourth fingers.
In this section, we will engage ourselves easily and excitingly to make a ring bearer pillow.
Step #1. Choose a design
A marriage ceremony has a particular theme and motif. You don’t want to be off from it right?
So, in choosing a design, it is best to fit in with the event’s theme and motif.
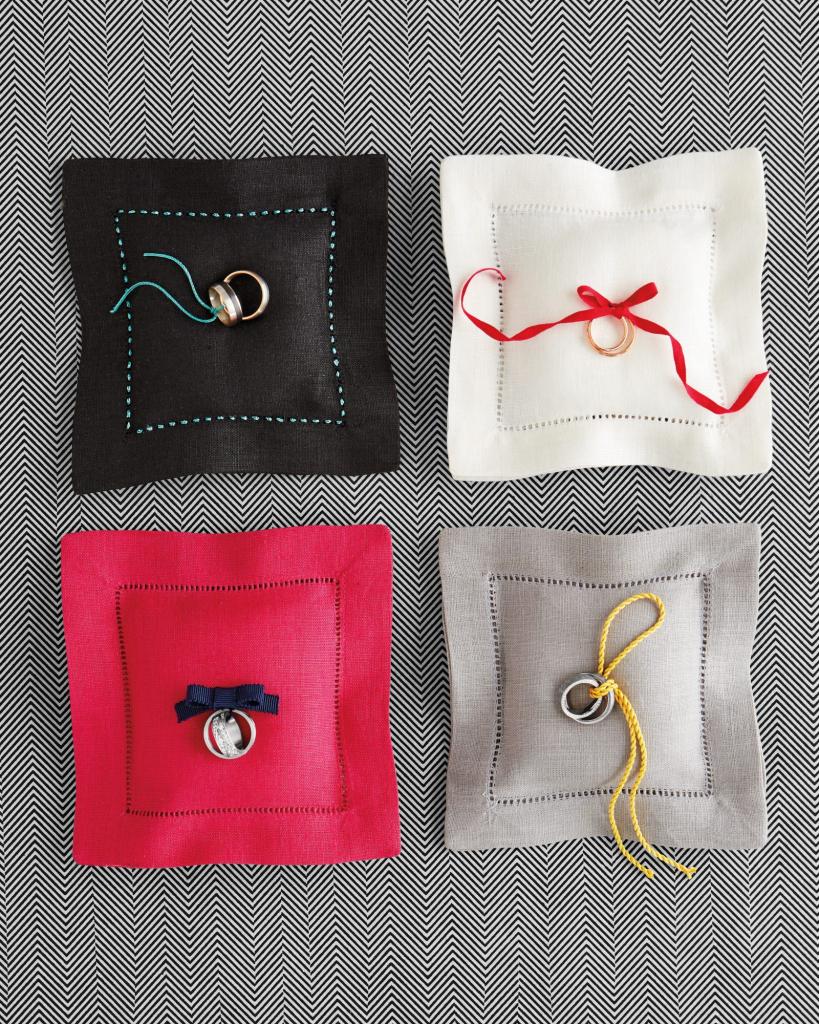
Ring bearer pillows come in different shapes and sizes.
Just a friendly opinion: simplicity is elegant.
If you’re a beginner in sewing, choose a shape that is easy to sew – square will do.
You don’t want to bother the ring bearer with the size of the pillow, so choose a comfortable size that fits the event.
Step #2. Prepare what you need
There is not much to pay for making a ring bearer pillow. The things that you need can be bought just a few walks away from your house.
Or maybe you’ll be shocked to know that you don’t even need to go to the store.
Yes, the requirements may already be found in your very home.
We will need fabric, ribbon, silk string, polyester fiberfill, sewing essentials such as pins or binder clips, thread, scissors, and a sewing machine (optional).
Fabric
The market offers many kinds of fabric, but you’ll have to choose only one for this activity.
It will be better to choose a plain design rather than those which have patterns.
Remember, the wedding is a formal occasion.
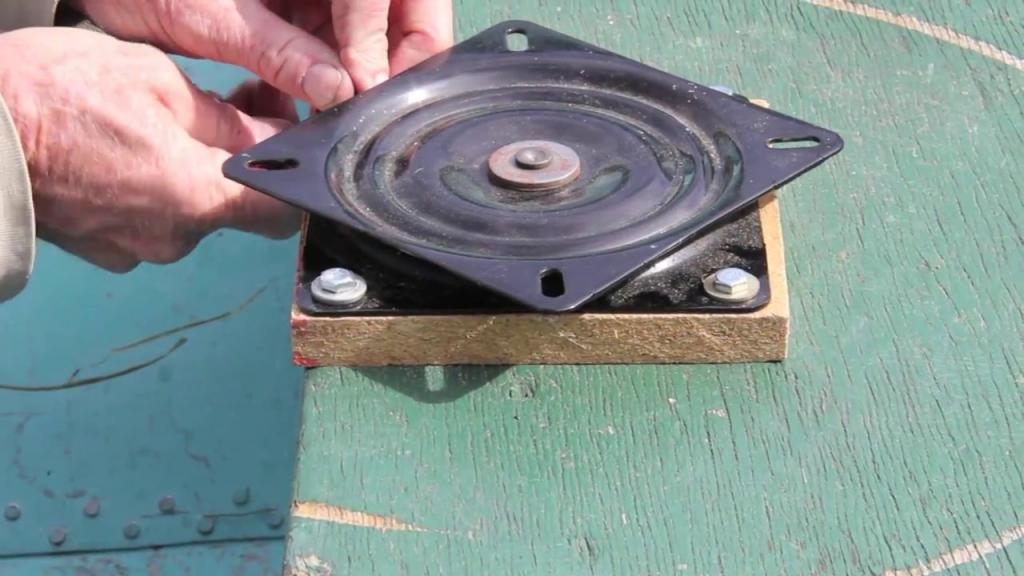
Xem thêm : How To Tie A Swivel? Comprehensive Guide
Here are some suggestive fabric best for making a ring bearer pillow:
- Linen
- Silk
- Cotton
- Polyester
Ribbon
In choosing the ribbon, make sure that it complements the type of textile you chose for the pillowcase.
If you chose a fabric having a glossy sheen, then use a matt colored ribbon.
Also, make sure to have an adequate length of ribbon you want to use for the design.
In this article, we will use 2 ribbons of the same length and appearance but different widths. A three is to one ratio will be good.
Step #3. Cut fabric and ribbons
For convenient sewing, cut the fabric into two squares.
A range of ten to twelve inches for the length of the side would be great.
Cut the ribbons twice the length of your fabric – you’ll need two for each ribbon.
Step #4. Attach the ribbons
Lay the ribbon of lesser width on top of the wider one.
Make sure it matches up the side edge.
Place the ribbon in the very center and on the top of one pillowcase piece, along the side edge.
Pin the ribbon in place, and sew along the side edge using a sufficient seam allowance.
Repeat these steps for the other ribbon on the opposite side of the pillow.
Step #5. Sew the pillowcase
Attaching the two pieces of pillowcase can be done simply by using your hands.
You just have to learn the basics of stitching.
However, if you are fortunate enough to have a sewing machine, that would be great.
Place one pillowcase piece on top of the other.
Place pins on every edge of the pillow.
Now you can sew or stitch all the sides, but make sure to leave an opening of adequate distance for you to be able to turn it with the right side in the uppermost part.
Step #6. Stuff the pillow
After sewing, turn the pillow right side out through the opening you have left.
If you have used a wrinkled fabric, it is better to iron it flat.
This will make your ring bearer pillow look neat and more presentable after being stuffed.
Through the opening, fill the pillow with polyester fiberfill.
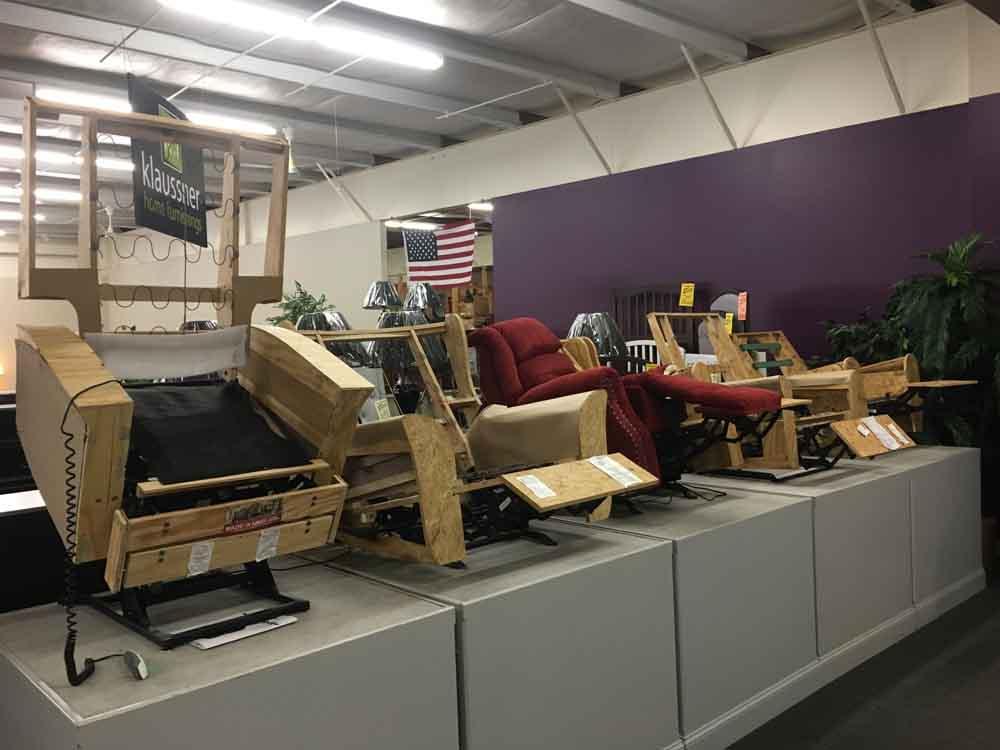
Xem thêm : How Much Fabric To Reupholster A Recliner? All You Need To Know
If you want it to be nice and fluffy, don’t stuff the pillow too much. Use your finger to test the quality of the pillow.
If you are satisfied enough with your stuffing, you can now pin the opening. Poly-fills are a bit messy to work with.
Make sure to tuck everything in before stitching the opening.
Step #7. Pin the silk string
Locate the center of the pillow, at the side opposite where the ribbon is attached. Pin the silk string there.
To secure it in place, use the thread and needle.
Step #8. Make a ribbon bow
There are many ways to make a ribbon bow. You can do that yourself, in your peculiar way.
Here, you will learn some cool steps to make a neat ribbon bow.
The first thing you must do is to fold both edges of the ribbon.
The result must be that the ends of the ribbon face the other way. See to it that the ribbons are along the top of the pillow.
From a crosswise position, start to wrap the ribbon around the other in a lengthwise position.
Now, rotate your hands with the ribbon while pulling it gently. You must do this until it gets back to its original position.
To create the first loop, keep it secured in the center. Now you must gently pull one side of the ribbon upwards, forming the loop. Keep it secured by pinning it.
The second loop must look like the first one. Just do the steps as you have done earlier.
Loosely secure the loops by sewing some little stitches through them using a needle and thread.
To complete the ribbon bow, let’s create the ribbon center. Cut at least 4 inches of ribbon with the lesser width. Wrap this around the center of the bow.
The moment you reach the end of the ribbon while wrapping, fold the edge of this ribbon just a few centimeters towards inside before pinning it.
Now, stitch to secure.
You must achieve a bow with a center that is held strong and tight with this wrapped ribbon.
Step #9. Attach the bow
We are not done with the needle and thread yet. We will use this to attach the bow at the center of the pillow. Sew it directly to the pillow along the back.
Do this back and forth for few times to make your pillow look tufted. Make sure to tie off the needle and thread to finish.
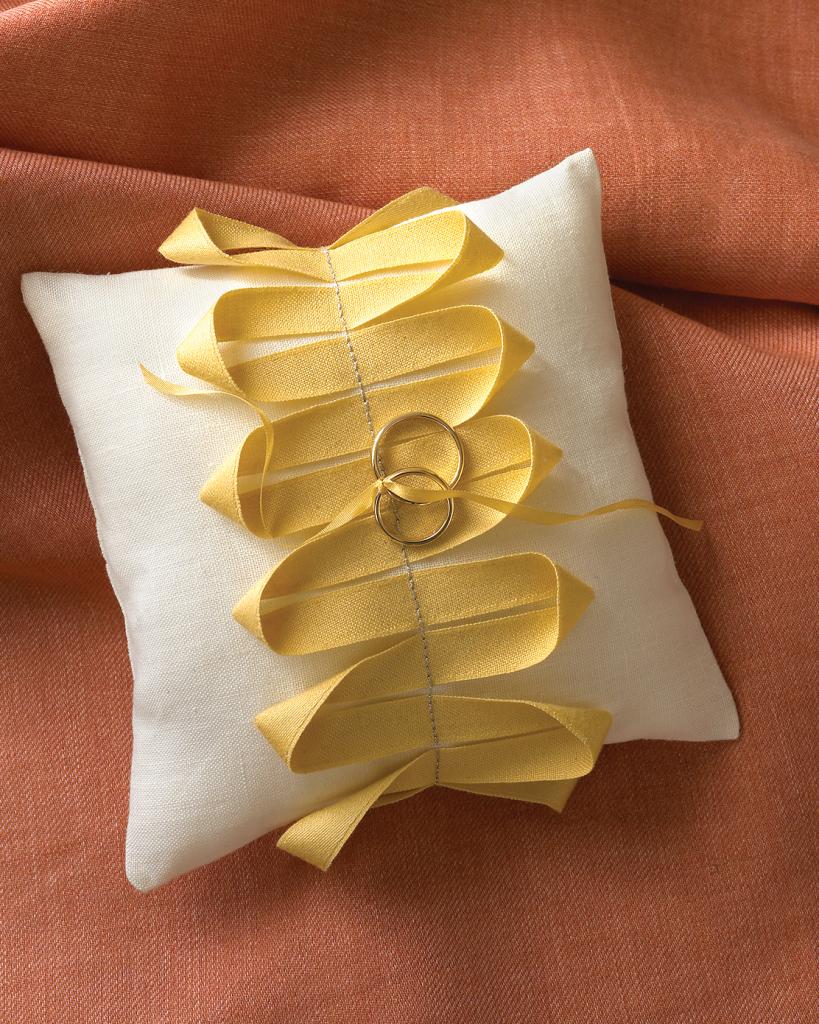
For the finale, cut the ends of the ribbons so that you’ll have ended with a W-shaped appearance.
Final Words
At the end of this article, I hope that you learned how to make a ring bearer pillow.
The aforementioned ideas are very useful for a simple yet elegant wedding.
It is an honor that you have reached this point. Your time and effort are much appreciated!
Nguồn: https://iatsabbioneta.org
Danh mục: Blog