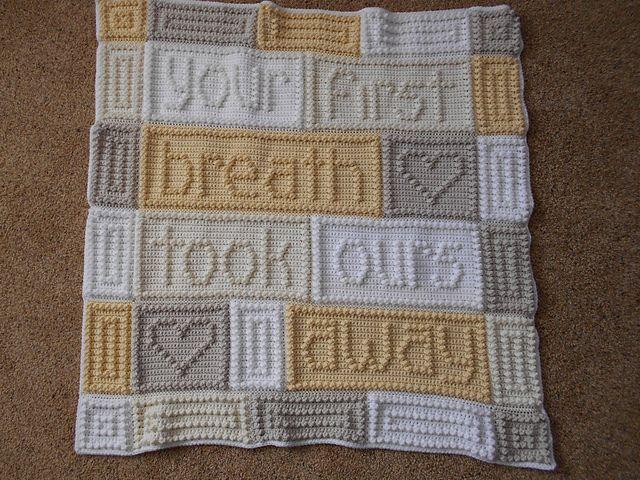
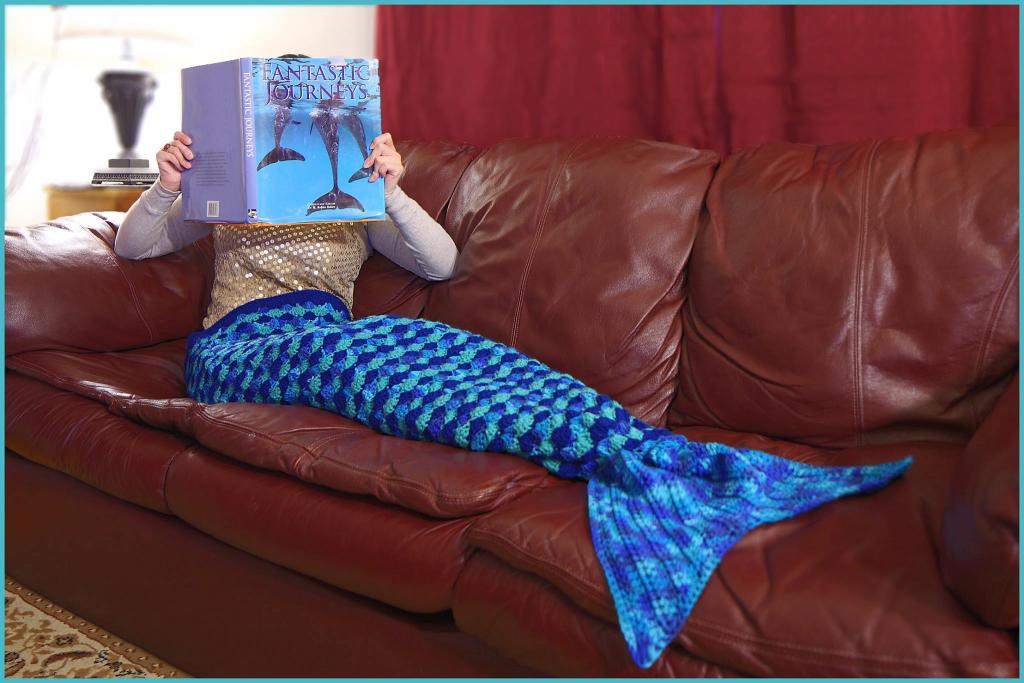
Obviously, mermaid blankets are the best. This blanket has many names: fishtail, shark, and so on.
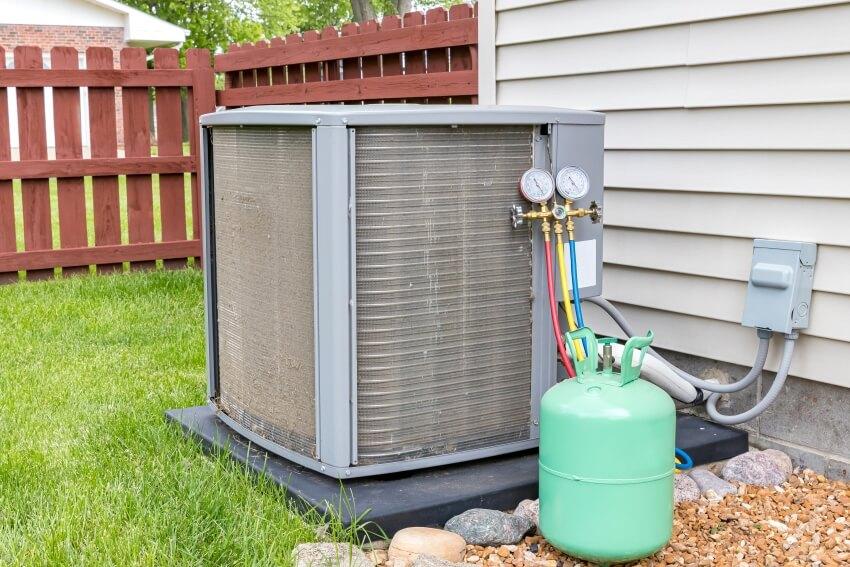
- Why Does My Air Conditioner Keep Running After It Has Reached The Set Temperature?
- How To Make An Indoor Tent For Adults? Easy Step-by-step Guide
- How To Hang Curtains In A Corner? Complete Guide
- How To Vacuum Under Bed? Make It Part of Your Routine
- How To Install Through The Wall Air Conditioner Sleeve? Step by Step Instructions
If you can knit, you can make your own, in any size you like.
Bạn đang xem: How To Knit A Mermaid Blanket? Step-By-Step Guide
You will need:
Size 6.5mm needles – both straight and circular on a 1m cable
Straight and round needles, each of size 6.5mm, connected by a 1m cable
Needle (both straight and circular) in size 6.5mm, with a 1m cable
How To Knit A Mermaid Blanket At Home
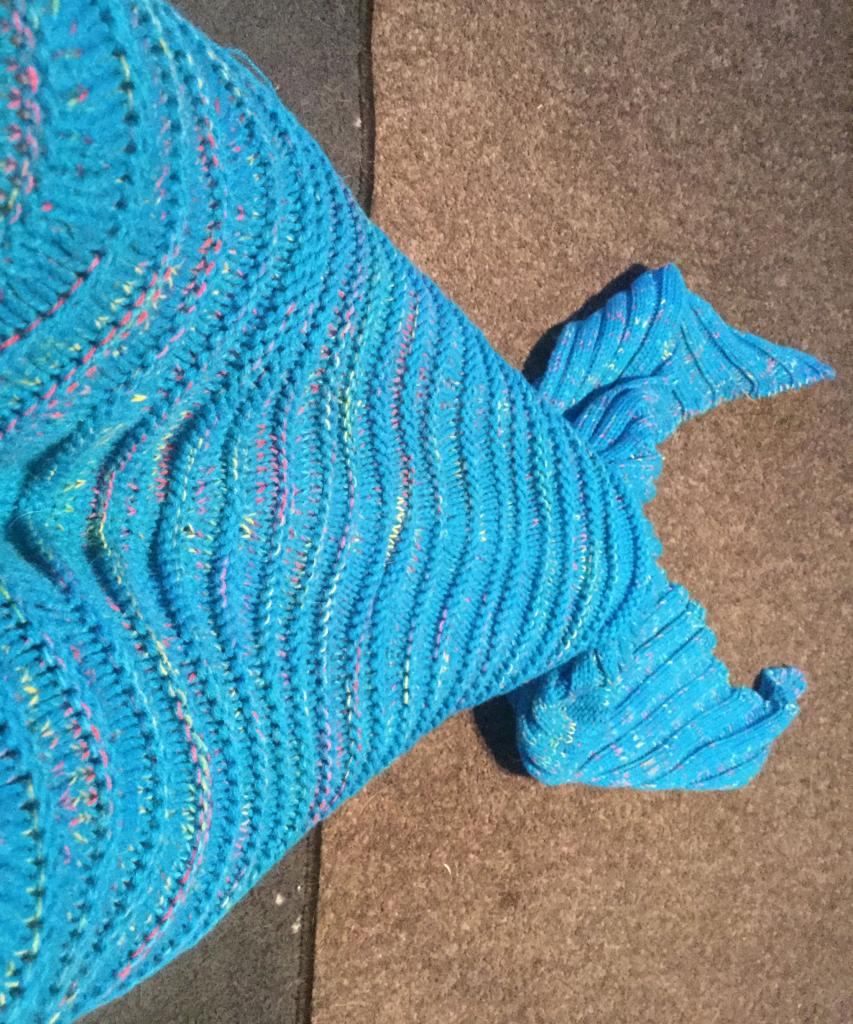
Step 1: Creating Your Fins
Using straight needles, two fins at a time, makes quick work of this.
To create the two sets of six stitches depicted in the pictures, cast on six times.
When it comes to this part of the instructions, the details start to get sketchy and the guidance becomes more gut-level.
With the fins on the same needle, recognise that these will end up exactly as you have them. They both need to increase one stitch on the inside of the tail area on every row you knit. This does mean that every row begins on a straight side (counting both fins as one row…. ) Please look at the images to see that increases occur on one side of the fins, not the other.
Be aware that the fins on the same needle will finish up in the same position you give them. On every row of knitting, one stitch should be added to the inside of the tail for both of them. In other words, every row (including the fins) starts on a straight side. Increases are only visible on one side of the fins, as shown in the pictures.
If you want 40 stitches on each fin, keep going up. Knit more rows without increasing to make the fins longer, or continue with the mermaid tail’s body. It’s entirely up to you to decide.
Step 2: Moving Up the Tail Area
Xem thêm : How To Replace A Swivel Lane Rockers Recliner?
It may be interesting if you put your fins together.
To begin, cast on an extra 40 stitches, using the fin as a guide. Both fins should be knitted across the entire row. Knitters, please reverse your work and cast on 40 more stitches. Put the purl stitch into work for the entire row.
That’s 160 stitches in all… Long part, then a fin, then another fin, and finally, the long part.
The next row will have a series of openings. Two stitches together, yarn over. All along the row, keep doing this.
All the yarn overs and the next row’s stitches should be purled.
Now is the time to start the pattern. A feather and fan stitch may be seen on the darker blanket in the photos. To accommodate the increases necessary to make the blanket broader as it goes up the leg, however, this proved to be a nightmare.
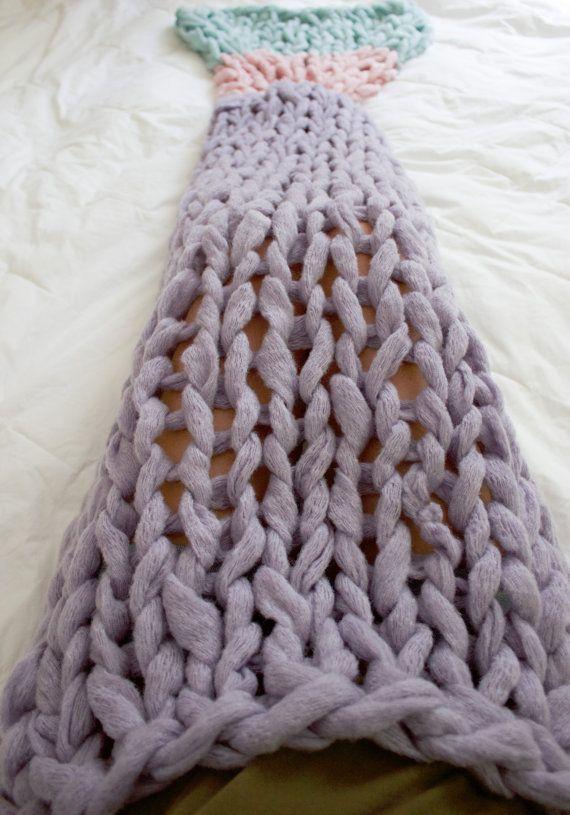
The lighter one has an easy-to-use 2-row repeating pattern, so I’ll include the instructions for it here. You are free to use whatever design you wish.
So far, we see a trend of:
On the first row, knit throughout the entire row.
Here’s a video to illustrate the points made in this article.
The pattern reads, “Knit 40, insert stitch marker, knit 80, insert second marker, knit 40.”
Finish the second row of the pattern.
Xem thêm : How To Dress A Bed Like A Hotel? Comprehensive Guide
After the initial two rows, work another 20 rows of the same pattern. It’s time for you to level up now.
Make sure that Row 2 is finished.
When you reach the desired length, remove the stitch marker and continue knitting for another 20 rows.
After your blanket reaches the desired length, knit 10 rows along the top edge to finish it. Alternatively, you might knit a 10-row section of 2×2 rib. Launch out.
Step 3: Finishing Up
To begin, insert a length of crocheted yarn or elastic thread into the holes you created in the beginning of your knitting project. You need to snug these up. (In the pictures, I used a yellow ribbon to emphasize this point.
Stitch up the back seam for half the length of the tail, or insert a zip from the top.
If you want a longer tail, stitch up the rear seam halfway or insert a zip from the top.
How Many Stitches Do I Need To Cast On For A Blanket?
To determine how many stitches to cast on for a blanket, consider the needle size, yarn weight, gauge, and pattern. Additionally, knitting too tightly might alter the gauge of a project. Likewise, think about the number of stitches and the size of the blanket you intend to make.
Always make sure that your cast-on stitches are large enough to accommodate the number of repeats in the design. Then, pay attention to the blanket’s edge and its final corner. Check out our article on how many chain stitches to make a blanket, or use one of the many online charts that show how many stitches to cast on based on where you plan to bind off.
Can A Beginner Knit A Blanket?
Due to the variety of blanket designs and sizes, the quick response is yes. When working on a large project like a blanket, it’s important to choose a method that you’re comfortable with. If you’ve never knit before, it’s a good idea to get comfortable with the basics by working on a modest project, like a baby blanket or a throw, using bulky yarn and a simple stitch, like stockinette or garter.
Conclusion
Make your own mermaid blanket with the help of a knitting loom if you know how to knit. Knitting a mermaid blanket for a toddler should be no problem after reading this tutorial. At first glance, it may appear complicated, but mastering it is actually rather simple.
Be fluent in e-wrapping and slip stitching, and you’ll be set. Feel free to post a comment asking for additional advice on this project.
Nguồn: https://iatsabbioneta.org
Danh mục: Home