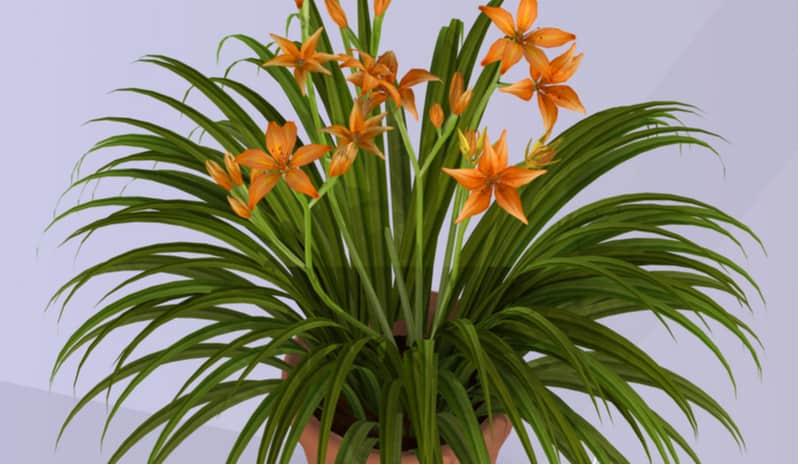
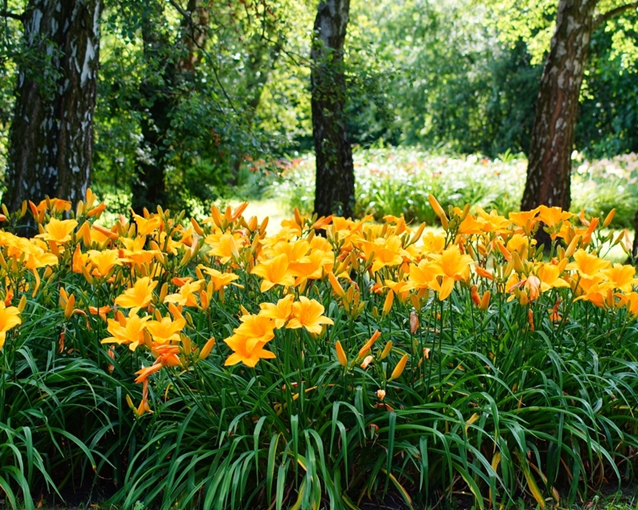
In huge pots with bottom drainage holes, daylilies (Hemerocallis species) thrive, producing trumpet-shaped flowers in a wide spectrum of colors. Depending on the cultivar, daylilies can reach a height of 1 to 3 feet and a width of 1 to 2 feet in USDA plant hardiness zones 3 through 9. Compared to standard-size daylilies, dwarf variants perform better in containers. Each pot should have one daylily plant, regardless of variation.
- How To Grow Hardy Hibiscus From Seed? Helpful Information
- When Is It Safe To Start Growing Seeds In Greenhouse? Helpful Information!
- How To Grow Ground Orchids? Information on Ground Orchid Care
- What Are The Tiny Mushrooms Growing In My Greenhouse?
- How To Create Humidity In A Small Greenhouse For Mushrooms? Comprehensive Guide
Planting at the Right Times
Spring and October are the optimum times to plant daylilies in all USDA zones, regardless of the season. If you live somewhere where there are no frosts, you can plant daylilies at any time of year in pots. However, planting them in the spring or fall gives them more time to get established before blooming. After the last average annual frost date in spring or approximately four weeks before the first average annual frost date in October, you should plant daylilies.
Bạn đang xem: How To Grow Daylilies In Pots? Easy Step-by-step Guide
Selecting Pots
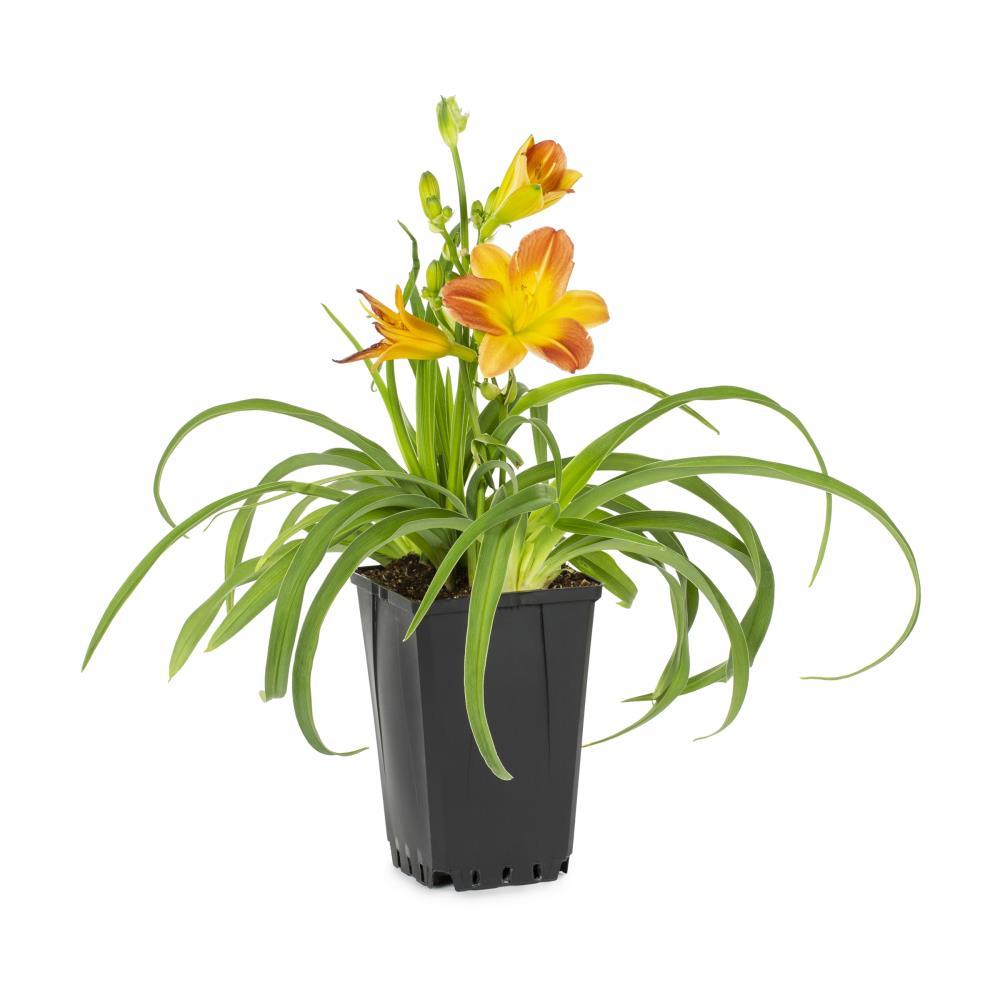
Using large pots is the greatest way to cultivate daylily roots. Even if you don’t have room for a full-sized daylily, a pot at least 12 inches in diameter is ideal. Larger types of daylilies necessitate larger pots. Pots for plants that grow two feet wide should have a diameter of at least 24 inches, for instance Drainage holes must be incorporated into the bottom of each pot.
Planting Correctly
Step 1
Over the base of each pot, apply a 2 to 3-inch layer of general-purpose potting soil.
Step 2
Remove the daylily’s protective covering and ties, then set the plant’s roots on the potting soil in its own pot. Remove each daylily plant from its nursery container and insert its root ball in the potting soil of its new pot.
Step 3
Add or remove potting soil from the base of each pot so that each daylily is at the correct depth. A container-grown daylily’s base of shoots should be 1 inch below the pot’s rim, whereas a bare-root daylily’s base of shoots should be 2 inches below.
Step 4
Each pot should be filled to the rim with potting soil, leaving about an inch of space at the bottom. Daylilies with bare roots should have their roots covered with 1 inch of potting soil at the base of the shoots.
Step 5
A sunny or somewhat shady spot in the garden is ideal for the daylilies. It is recommended to place daylilies with pastel-colored blossoms in partially-shaded areas.
Step 6
Slowly add water to each container’s potting soil until the liquid drains through the holes.
Watering Daylilies in Pots
Daylilies thrive in pots if the potting soil is kept evenly moist. When the top of the potting soil is completely dry, water the daylilies to a depth of one inch. After filling the pots to the brim with water, let them drain for a few minutes before setting them on drip trays to finish drying. Watering daylilies in pots every day in hot, windy weather is possible.
Protecting Them from Frost
Daylilies in pots must be protected from frost in USDA zones 7 and lower. In chilly climates, daylilies die back in the fall. Take care of your potted plants by keeping them in a frost-free shed or garage after the first frost. Potted plants can also be grouped outside and covered with straw so that the pot rims are buried 4 to 5 inches deep. If the plants are located in a windy location, cover the straw with burlap or an old blanket.
When daylilies aren’t blooming, they don’t require any watering. However, you can water them sparingly to keep their potting soil from drying up altogether.
Pros and Cons of Containerized Daylilies
Xem thêm : How Does Different Types Of Water Affect Plant Growth? Read This!
Growing a plant in a pot has the obvious benefit of portability. This means you can move your daylilies throughout your garden to take advantage of the ideal time for each type’s blooming period if you use containers.
Even if you can grow daylilies in pots, you’ll have to remove and divide them every three or four years, and then repot the plants. They’ll also need more water, fertilizer, and general attention than standard plants. Potted daylilies, on the other hand, can brighten your patio or porch if you don’t have space for garden beds.
Growing Daylilies in Pots
Pyracantha, a garden product review website, recommends that you choose a container at least 4 inches wider than your daylily’s predicted growth, so that the plant has at least two or three years of room to expand before it needs a larger pot for the first time. Drainage holes should be present in the pot.
For bare root daylilies, fill the bottom of the pot to a depth of 4 to 5 inches with a well-draining potting soil mix. Once you’ve placed the daylily in the dirt, proceed backfilling until the crown is approximately one inch below the surface.
Remove the daylily’s rootball from the container and loosen it with your hands or a spade to encourage the roots to extend outward from the pot. In the pot, plant it at the same depth as it was in the container. Make sure to tamp it down firmly with your hands.
Immediately after planting, make sure to fully moisten the soil and allow it to drain out the bottom of the pot. Add extra soil if it begins to settle. A half-inch layer of wood chips or sphagnum moss should be mulched to retain moisture. As soon as the daylilies are established, they should be watered periodically when the soil is dry, maintaining a level of moisture that is neither too wet nor too dry.
Tips for Containerized Daylilies
Experts say that excellent drainage is essential when growing daylilies in a pot. According to Daylilies in Australia, any plants can acquire root rot if their roots become sodden and soak in water, but daylilies are particularly vulnerable. This is especially true in the winter, when the roots are dormant and water accumulates around them. Consider using a soil mix that includes sand, bark fines, aquarium gravel, or perlite to avoid this problem.
During winter, when daylilies naturally go dormant, you can bring them inside and place them in a cool basement or other low-light area. Keep an eye out for signs of new growth, though, as they will require sunlight in order to survive.
How To Grow Daylilies In Pots In 2 Easy Steps
How to cultivate daylilies is divided into two pieces, which makes it easier to remember. You can also grow them in the greenhouse before potting to avoid problems during the susceptible age of the plant. Although daylilies can survive in zones 3 to 9, it is comforting to know that they are highly adaptable.
Daylilies are a favorite among gardeners because they can handle a variety of situations in the yard without losing their bloom. Evergreen and deciduous trees, for example, are available in a variety of styles. As long as you put in the time and effort to learn how to cultivate daylilies, you should be able to appreciate them as much as those who grow them in the ground.
Comprehensive Guide On How To Grow Daylilies In Pots
Step #1. Planting
Daylilies can be grown in pots because they don’t require a certain place or time of year to thrive. If you don’t have a place to grow your young plants in a stable environment, a greenhouse may be an option. Even though daylilies are quick to adapt to their surroundings, it’s best to keep their pots somewhere that won’t be too taxing until they’ve had a good foothold. 1
Pot preparation
Using division in the greenhouse would be beneficial for growing daylilies in pots. As soon as the daylilies have taken root, you can put them in compost-and-potting-soil mixture in a pot! Pots and mediums should have at least 2 inches of space between them, and some gardeners even add rocks to the bottom of their pots.
Tall daylilies benefit from the bottom of the pot being filled with rocks. Keep in mind that, especially during the blooming season, these pants can fall over the pot. When growing daylilies in pots, it’s important to be aware of the potential limits that may arise as the plants mature.
Setting and positioning
It is possible to set a daylily in the middle of your container and have others 18 inches apart around the perimeter. For best results, plant them at the same depth they grew in before you remove them. Check to make sure there is soil around the roots of the daylilies.
Xem thêm : How To Plant Knockout Roses In Containers? A Must Read
These pots can also be kept in a greenhouse and not merely grown for container gardening. To promote healthy growth, you want them to be exposed to six hours of sunlight. The greenhouse is useful because it protects the pots from wind, which can cause them to tip over.
Step #2. Maintenance
Daylilies are beloved by gardeners because of their resilience in the face of frequent growing challenges. These plants don’t need a lot of attention, even if you keep them in pots. Care for your daylilies, however, will ensure that they can handle any obstacles that may arise.
Watering and fertilizing
In spite of their drought tolerance, daylilies must be hydrated. Keeping the pot’s medium moist will ensure that the plants will continue to bloom. For the first eight weeks after planting, make sure to wet the soil and allow it to drain.
Then, depending on the weather, you can water your plants once a week. Your area’s hot summers can quickly dry up your pots, so plan for this ahead of time. There are other ways to keep the soil moist, such as by covering it with mulch or compost.
What is the best way to feed daylilies in pots? Potted daylilies can be fed with a 5-10-10 slow-release fertilizer on top of the container. Feeding in late summer might also aid in the growth of flowers.
High-nitrogen fertilizers, on the other hand, should be avoided because they do not promote flowering but rather foliage growth.
Pruning and dividing
Pruning is an essential part of a plant’s overall health and bloom production. Prevent seed development by removing faded flowers first. This will help your plants flower longer and more often. To revive the potted daylilies, you can also cut the stems back to their roots once the flowering season is through, as well.
Daylilies, like other potted plants, can be successfully propagated and maintained by division. To avoid overcrowding, do this in early spring when the plants are just beginning to grow.
How To Divide Daylilies
Every three years, in the early spring, when new growth emerges, you must divide daylilies. As long as you can assure that they have established themselves before winter, you can even do it in the late summer or early fall. Remove the entire root system from the pot and remove the soil in order to facilitate the process of separating the plants.
Hand-separate the clump into three sections, each with three leaf fans and a fair quantity of roots. Roots that have been harmed need to be removed by cutting or discarding them. A pair of shears may also be necessary.
Conclusion
Beautiful daylilies can be grown in pots or in a greenhouse, both of which make good uses of available space. Daylilies may be grown in pots in two simple stages, and novice gardeners can take comfort in the fact that these plants are straightforward to care for. Daylilies are best grown in a greenhouse and then transplanted to pots.
When planting, mix potting soil and compost, then set the pots in a bright but wind-sheltered location. To keep the daylilies blooming, keep the soil moist. The formation of blooms can also be aided by the application of fertilizers low in nitrogen
When daylilies finish blooming, it is best to remove the spent flowers and prune back the stems to encourage new blooms in the following year. You can avoid congestion by separating potted daylilies after a few years.
Nguồn: https://iatsabbioneta.org
Danh mục: Garden


