It’s not hard to make complex patterns once you know the basics, but getting started can be difficult if you don’t have a solid foundation. This article will teach you how to create clothing with realistic folds and creases, as well as more advanced techniques that may be used individually or in combination. As a follow-up to my introductory clothes tutorial, this one is intended for more advanced students.
1. Fabric Movement
Example 1
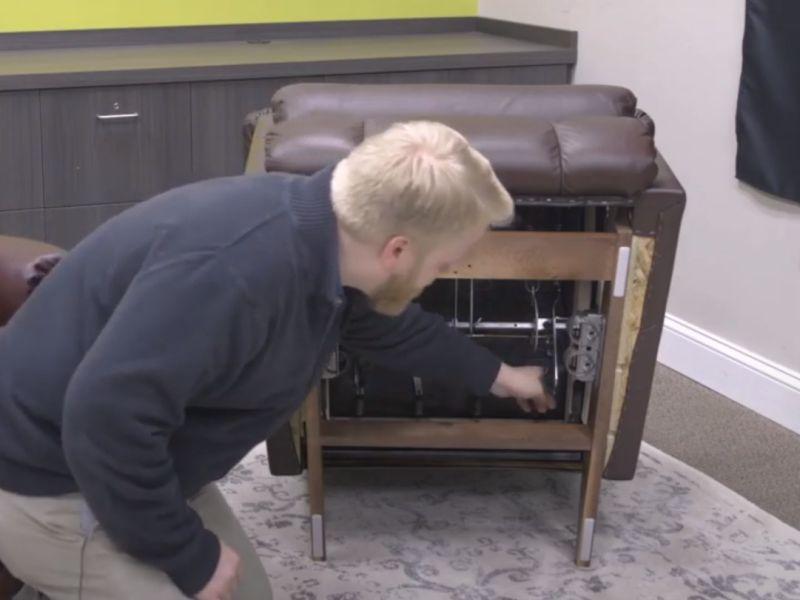
To properly depict clothing and fabric in a drawing, you must first think about how the material flows and drapes over the form of your subject. Examine the fabric around you, including the clothes you already own, to get a feel for how it moves, where it folds, and why. Following are some images I took with my reliable green curtain to demonstrate the numerous ways in which fabric can be folded, the resulting shapes, and the locations of incident light in “normal” lighting conditions.
Bạn đang xem: How To Draw Blanket Folds? Complete Step-by-Step Guide
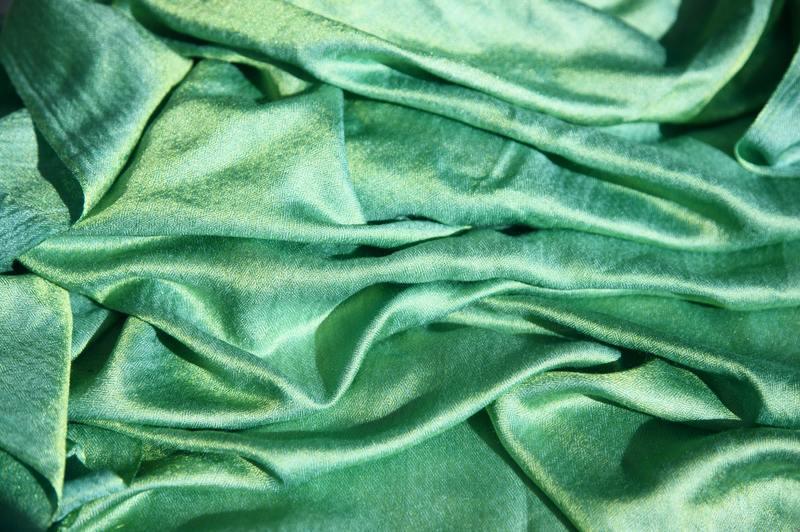
First, there is the simple case where the curtain is allowed to be a curtain and it folds vertically as it falls, the folds being produced by a bunching at the top. If you want to draw dresses, cloaks, or skirts that are long and flowy, this is a good reference.
2 Million+ Photoshop & Illustrator Add-Ons, Fonts, Illustrations and Creative Assets
Download thousands of Photoshop and Illustrator plugins, fonts, actions, presets, drawings, and more with a 7-day free trial of Envato Elements. Access a growing library of millions of design and creative elements with no limits. Get your risk-free trial started now!
Photoshop Actions
Make eye-catching graphic effects with your photos in a few simple steps.
Illustrations & Vectors
Twenty thousand plus vector graphics suitable for any kind of creative work.
Photo Effects
Create stunning visual effects with your photos in a matter of seconds.
Example 2
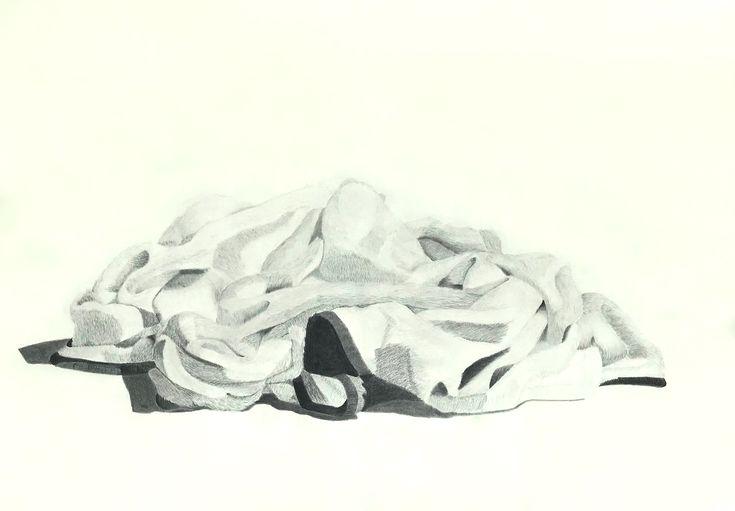
Different folds in the cloth cause it to fall in different directions, creating interesting shadows and highlights within the various geometric forms. Although these creases are more typical of a messy bed than of a garment, they are easily adaptable to more elaborate designs like a fairytale dress or a wedding gown.
Example 3
This twisted fabric ‘rose’ is a useful all-purpose example because it incorporates a variety of shapes that wind their way to the center. This fabric form as a whole is typically found as a design woven into or on anything like a formal gown.
Advertisement
Example 4
Fabric that is tightly bunched, like at the top of a curtain, can be used to demonstrate an elastic seam, as in a skirt with an elasticated waist, or it can be used to demonstrate fabric that has been gathered, as in a sleeve, using, for instance, a thin piece of ribbon.
2. Start With Basic Shapes
Step 1
The ideal way to begin a drawing of clothing is with the basic shapes and the anatomy of the design. If you want your basic shape to be symmetrical, you may just draw half of it, copy it, and then flip it horizontally to make the second half. If your design isn’t symmetrical from the start, you can rest assured that everything is square and in the appropriate spot.
The PSD vector format and the JPEG image format used throughout this article can be downloaded at the links below.
Advertisement
3. Drawing Ruffles and Frills
Step 1
Drawing the potential embellishments for usage in the design, such as ruffles and frills, should come before adding to the fundamental outline. Create a curve in the paper first.
Step 2
Add a wavy line beneath your existing one, following its curve. This new line should have a similar shape to the one illustrated below.
Step 3
To represent the cloth used to create the upward-pointing ruffles, add additional lines.
Step 4
Complete the look of the frills by drawing straight lines from the tips of the bottom ruffles back to the original curved line.
Step 5
Xem thêm : How To Fold A Quillow Into A Pillow? Step-By-Step Guide
Remove any unnecessary curves or lines, such as where the original curve crosses over the “tops” of the ruffles.
Step 6
Please find some other ruffle shape examples and concepts below.

4. Drawing Buttons
Step 1
Buttons can be drawn in a wide variety of ways, but they all share some common principles. A circle serves as a good starting point for a button.
Step 2
In order to attach them to the clothing, many buttons feature tiny holes. Depending on the design, certain buttons may instead feature tiny loops on the reverse for affixing. A vertical line, as illustrated below, creates the idea of cotton sandwiched between two of the button’s tiny holes. Try with a variety of button designs and think about the garment attachment methods you’d like to use.
Step 3
As indicated in the diagram below, a second line must be added to complete the opposite side. If your button has more than two holes (and thus more than one piece of cotton to hold it in place, in the middle), you will need to repeat the process on the opposite side. To make sure that your duplicated layer is identical to the original, simply copy and paste it into the new location.
Step 4
Here, the button shape has been modified by attaching an additional round piece to its perimeter. This makes the drawing appear three dimensional, which is particularly relevant given that buttons are not flat but rather solid pieces of material. This margin around the edge can be moved to indicate several viewing perspectives; the position shown here is optimal for a frontal examination.
5. Drawing Puff-Shoulder Sleeves
Step 1
To begin, sketch a lemon form that resembles the one provided as an example.
Step 2
To this, attach the sleeve’s armhole as a foundation.
Step 3
Create some folds, keeping the fabric’s natural shape and direction in mind.
6. Drawing a Large Prom-Style Skirt
Step 1
If you want to draw a skirt, you should begin at the waistband. What I’ve done is draw a wide belt that extends from my natural waist to just below my bust. If you’re stuck for inspiration when it comes to drawing waistbands, wedding dress photographs can provide a wealth of examples, as the fabric is typically white and the folds are readily apparent.
Step 2
Create a sketch of the skirt’s main body.
Step 3
Fold your fabric in half again.
7. Put it all Together!
Step 1
It’s possible to combine these various concepts in an infinite number of ways to get fresh looks and layouts. You might sketch anything from a simple tuxedo to an elaborate ball gown or even a modern take on a Victorian maid’s uniform like the one I’ve included in this example.
8. Add Shade Using Multiply
Step 1
While I have done several articles on coloring and shading, this one will focus on one of the more common techniques: shading with the Multiply Layer Style. While I’m using grays for my shading, you may find that other colors work better for you once you add the basic colors down below; therefore, it’s best to experiment with a variety of colors before settling on the one that best suits your needs. It’s best to go with a medium-dark base color and simply deepen the shadowed areas, as demonstrated by the ruffle at the neck. To do this, put all of your shade layers in a Group Folder and then change the Blend Mode for the entire folder to Multiply.
Step 2
When the deepest shading layers are applied, the final design resembles this.
Step 3
If you want to create secondary shading, pick a lighter color to work with. These layers should be added to a new Group Folder that sits beneath the one containing your deeper shading. Repeatedly select Multiply as the folder’s action. The lightest areas should remain unshaded while the darker areas are shaded for this layer of mid-tones.
Step 4
The final design, complete with complementary shading, is seen below.
9. Give it Some Color!
Step 1
By switching to the Multiply shading mode, you can use the same colors for the base and the shade without obscuring the shading effect. The following illustration illustrates how the Multiply shading affects various base colors in various ways.
Step 2
Xem thêm : How To Make A Recliner Headrest Cover? A Step-by Step Learning Guide
Below is a fully colored example of a maid’s attire in the Victorian style, complete with lilac and white accessories.
Step 3
This shading technique makes it simple to alter the look and feel of the garment by just selecting new colors. As can be seen, this kind of shading is very helpful when working with gradients, as the shading color will automatically adapt to match the underlying color.
Step 4
You may now try out new perspectives and aesthetics to generate fresh ideas for clothing designs, and the Multiply shading technique allows you to explore the effects of a variety of shadow hues.
Now Your Know How to Draw Fabric Folds!
If you want to have a good time while designing clothes, just let your imagination go wild. Remember that the most trustworthy resource for learning to sketch clothing is real life references, and factor in the movement of the fabric and where the folds will fall. As always, I’d love to see what you come up with with the information in this article.
How can I shade my blanket folds?
Hatching
The use of hatching as a shading method is widespread.
The lines all seem to be going in the same direction. If you tilt your pencil toward the paper, your lines will be thicker and more robust.
Cross hatching
Lines are layered at various angles to create this type of shading. It provides needed protection for sensitive fabrics and other locations.
Also, this can be used to deepen the darkness of existing shadows.
Contour shading
To more accurately trace the shape of the item, the lines used in this type of shading are curved.
You may make it travel up and down or side to side, or even make a diagonal.
Circulism
It’s made up of interlocking circles that help you draw more fluidly. Mainly, it is used to provide protection from the sun for cotton textiles.
Which pencil should I use in drawing blanket folds?
B Pencil is commonly used for general shading because it can be utilized for both medium and light tones.
On the other hand, 2B is employed for medium to dark shading. The darker regions are shaded with a 4B, while the most darkest portions require a 6B.
These may be soft and quickly dull, making them unsuitable for detailed work.
Conclusion
The endeavor of capturing the history of our most treasured blankets on paper is daunting but ultimately rewarding.
But are you able to depict realistic blanket folds on paper? One can fold a blanket in a number of different ways.
Taking note of the various shading techniques available will help you become a better artist.
The shading could also be affected by the pencil you choose.
Nguồn: http://iatsabbioneta.org
Danh mục: Blog