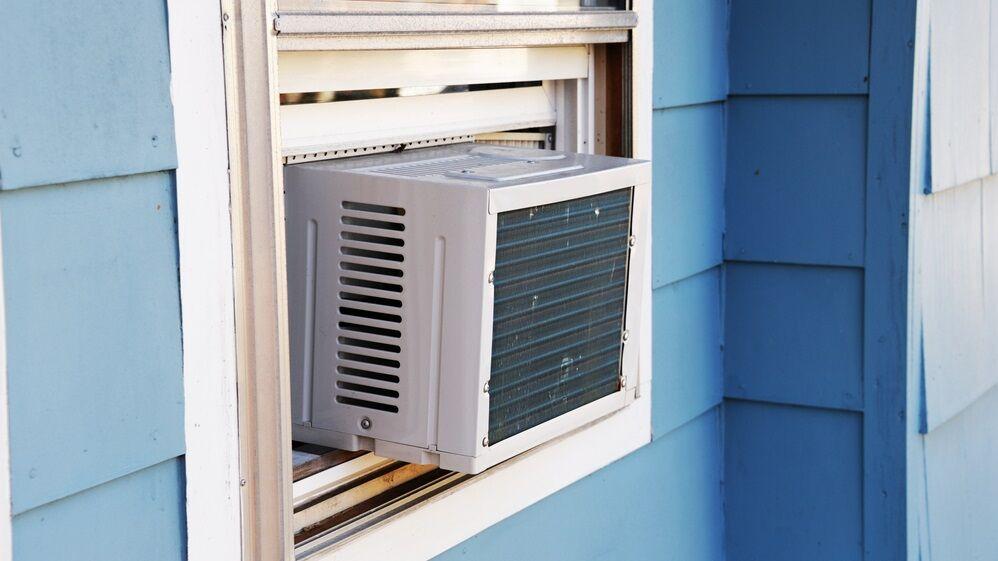
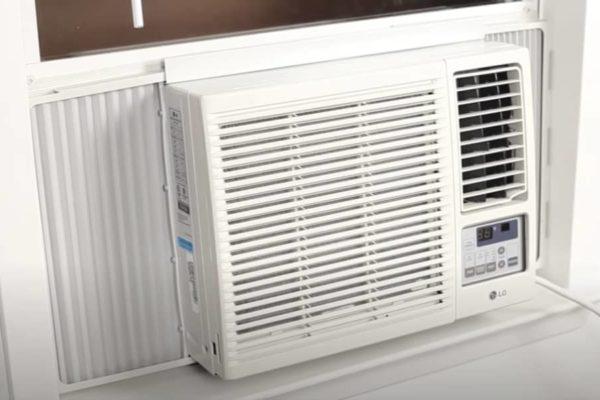
Window units are a better option than central air conditioning if you live in a rented apartment or prefer to cool the room you spend the majority of your time in. However, putting them in place might be a challenge. Window air conditioners must be properly sealed once they are installed in the desired location.
- Where Is The Fuse In A Window Air Conditioner? How to Remove Fuses?
- How To Winterize An Air Conditioner? Tips To Winterize Your AC Unit
- Why Is My Air Conditioner Not Blowing Cold Air? Helpful Information!
- How To Make Portable Air Conditioner? Step by Step Instructions
- Why Does The Fan Keep Running On My Air Conditioner? Helpful Information!
If you’d like to know how to answer that question, please continue reading. Installing and sealing your new window air conditioner will become second nature to you after this course. Even if it’s just to supervise it like an expert. To properly seal your window air conditioner, you must seal both the outside and the inside.
Bạn đang xem: 8 Steps How To Seal Window Air Conditioner?
On the outside of the unit, use exterior caulk, but on the inside, apply weatherstripping. That’s the bare bones, and I’ll go into more depth about it in the next paragraphs. To begin, here’s a step-by-step guide to installing and sealing a window air conditioner from A to Z for those who are curious.
Before You Start
To begin, make certain that there is a 3-prong electrical outlet within easy reach of your window. Most air conditioners have a maximum cord length of six feet. In order to keep your guarantee intact, you should not utilize extension cables to power your window air conditioners.
If the manufacturer permits the use of an extension cord, be sure it is appliance-rated. You’ll want to keep the following items within easy reach:
- The owner’s guide
- A screwdriver is what you’ll need.
- Using a caliper or measuring tape
- Pencil
- Brackets and screws that were included in the box (make sure you have all the parts you should have)
- Cutters and shears (Optional, depending on the unit)
- Adhesive caulking (If not included with air conditioner)
Check the state of your windows before attempting to install anything. In order to ensure that your air conditioner can function properly, the frame should be checked for decay or damage. Clear the windowsill of any debris that could obstruct a tight fit or complicate the sealing process. As a final precaution, be sure to follow the manufacturer’s instructions.
How To Seal Window Air Conditioner
Xem thêm : What Size Generator To Run An Air Conditioner? A Must Read
Window air conditioners can be heavy, so you may want to enlist the help of a second person to help you move them. Make sure you do everything you can to get the item installed correctly. You can prevent air leaks from occurring in the first place by doing this. As a result, you won’t have to worry about the difficulty of sealing a window air conditioner.
Step 1. Measure
If your windows are single or double hung, you’ll need to locate the window’s center point. Mark the center of the frame or sill with a measuring tape and a pencil. On your air conditioner, make a mark at the bottom and center of the unit as well. It is important to center your air conditioner so that each side panel can reach the windowsill.
Step 2. Attach Weather Stripping
Now is the time to install the weather stripping that came with your new air conditioner. You should have some on hand even if it wasn’t specified. Use caution as this is a critical step in ensuring the integrity of your unit’s seal.
Step 3. Install the Extensions
If this is a new window air conditioner, the extensions may already be attached to the unit. Unless this is the case, they will need to be slipped into the adjacent channels.
Step 4. Install the Mounting Brackets
There is a significant point to be made in this situation. A window air conditioner may be required to be supported by mounting brackets in your area. It is your responsibility to be aware of this and to use brackets if necessary. Installing brackets that come with your new device should be as simple as following the manufacturer’s instructions. Here’s a final piece of advice to help you seal your window air conditioner in. Some units come with free weather stripping, as previously noted. Attach another strip to the underside so it’s hidden from view. If it’s not already there, go out and get some before you start installing. There’s one more place to attach the brackets. Window air conditioners need to be able to tilt slightly when they’re positioned this way. As condensate drains, it will do so to the ground, rather than up into the air.
Step 5. Set and Secure the Air Conditioner in Place
Check to see if anyone can help you lift large items. Slide the back end out on the brackets after lifting the unit onto the window frame. Make sure the centering marks you made before are matched up. Make sure that the upper window sash is pulled down so that it is in contact with the unit and provides some stability. To keep the device in place, according to the installation instructions provided by the manufacturer.
Step 6. Fasten the Accordion Panels
Xem thêm : How To Drain LG Portable Air Conditioner? What You Need To Know
Extend both side panels until they touch the window frame, then lock them in place. Using screws, secure them in place.
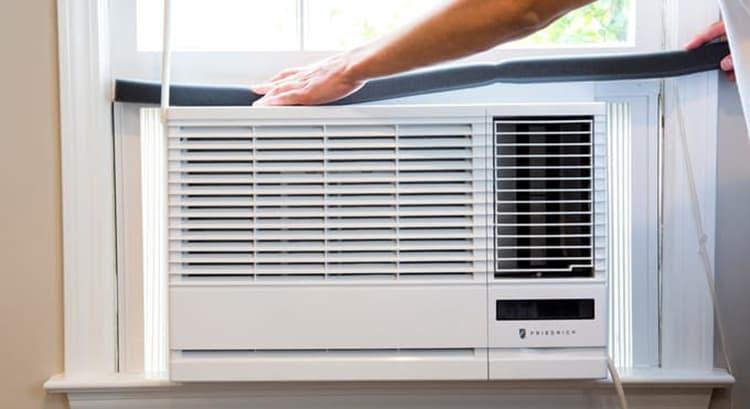
Step 7. Seal Your Window Air Conditioner in Place
A window air conditioner needs to be properly sealed both internally and externally. By now, you should have finished installing the weather stripping on the bottom and sides of the unit if you followed the instructions above. If you’re simply popping in for a quick seal job, you have the option of either method. Now is a good time to install weatherstripping around the perimeter of the unit, as well as on the sides and top if necessary. The weather stripping will assist in closing any larger openings and prevent the influx of hot air and the egress of cool air. Use outside caulk around the perimeter of the unit to provide a watertight seal. Spray foam insulation can be used in place of weather stripping. The sort sold in tubes at Home Depot and Lowe’s. It’s fine to apply straight if you don’t intend to remove your window air conditioner.
Be mindful that spray foam is difficult to remove if you are installing and removing your air conditioner seasonally. One idea is to use a plastic bag to fill up any gaps, and then spray the foam on top of it. After all is said and done, you may want to cover the air conditioner in some way. Because of the shortness of the accordion extensions. Use the above-mentioned sealing tips after you’ve cut everything to size.
Gaps Larger than 1/8 Inch
- Clean around the cracks in the window and air conditioner. Make sure the weatherstripping is adhering properly by cleaning off any grease, debris, or dust.
- The first gap should be measured. Measure and cut a piece of adhesive-backed foam weatherstripping to this length.
- Remove the paper backing from the weatherstripping and adhere it to the underside of the window frame with the sticky side up.
- Get a nice, tight seal by pressing the strip into the window frame. The weatherstripping should not be glued to the gap in front of it. It will not be adequately sealed this way. To create an airtight seal, the foam must be placed within the void.
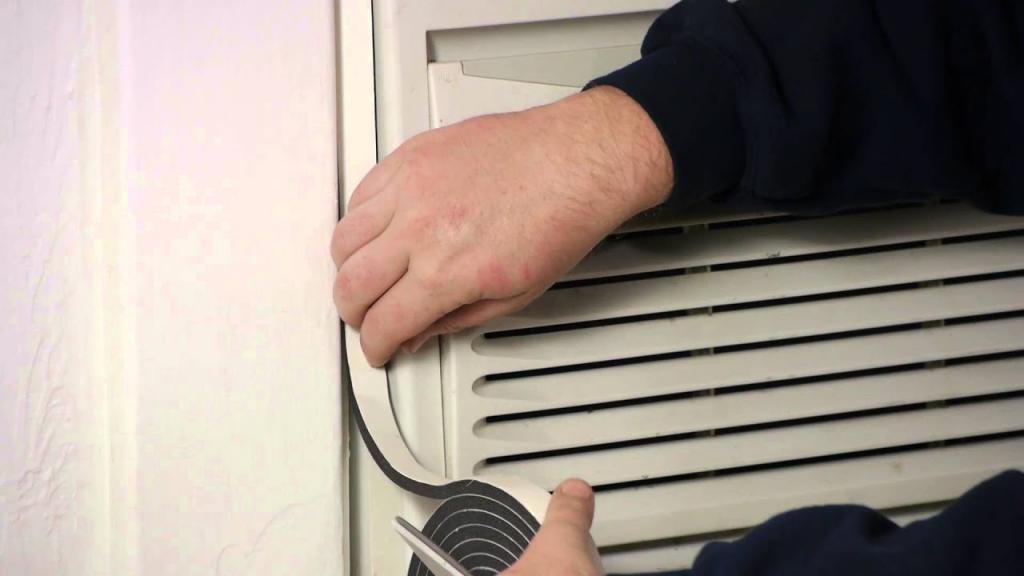
Narrow or Hard-To-Reach Gaps
- Measure the distance between any gaps that are less than 1/8 of an inch thick. Rip a piece of rope caulk to the appropriate length and glue it to the ends. When the cooling season is through, you can remove the air conditioner and the rope caulk, which is comparable to modeling clay or putty.
- The caulk should be pushed into the gap. Two pieces can be necessary if the gap is particularly large. 3.Use a dry cloth to remove any excess caulk off the window frame and the air conditioner.
Things You Will Need
- Measurement using a piece of tape
- Foam weatherstripping with an adhesive backing
- A utility knife is required.
- Caulk with rope
- Cloth
Tip
Fiberglass insulation pushed tightly into gaps greater than a single inch should be used to fill these gaps. At the top, where the window meets the air conditioners, corners, and the sill, gaps are frequent in most types of windows. It’s best to remove the rope caulk from the window and keep it in a sealed plastic bag for future usage if it is still clean and flexible.
Should I Cover My Air Conditioner During Winter Season?
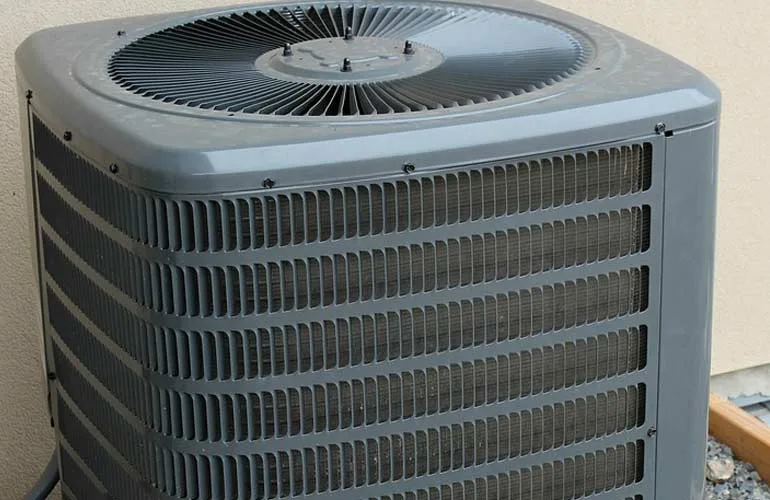
When the cold weather arrives, many homeowners just forget about their air conditioner. Even in subzero conditions, they believe the system will function normally. They had no idea that bad weather could cause so much damage. In addition to the physical harm caused by the cold, the coils of the air conditioner will deteriorate as a result. Your outside AC unit also needs to be protected from the elements when the winter weather is set to arrive.. The condensing unit of the air conditioner might become clogged with snow and rotting leaves. The unit could be damaged by this. So, what are your options? Any air-permeable material can be used as a cover. You can also put plywood on top of the unit to keep it safe from the snow. A few trees and plants can be planted around the outside unit. It will be safe from the snow and wind with this. Alternatively, you may construct a shelter over top of it. This will keep the unit safe from the elements, be it summer or winter.
It’s A Wrap!
How to seal a window air conditioner is as follows: There are numerous advantages to simply installing a weather seal strip to all of the gaps in your home. If the weather warms up again, you can save time and effort by following these four simple procedures. I appreciate you taking the time to check it out.
Nguồn: https://iatsabbioneta.org
Danh mục: Conditioner