“How to drain LG portable air conditioner?” will be the subject of our discussion today. The portable air conditioner can be drained in two ways. In total, there are around seven stages to this procedure.
The water in your air conditioner needs to be drained if you live in a humid location. This is due to the fact that dirt and moisture both collect there. After a few of days, you don’t want it to smell horrible So, it’s in your best interest to learn how to drain your portable air conditioner. We have a piece of advice for those of you who own an LG phone. Let’s get started right away, shall we?
Bạn đang xem: How To Drain LG Portable Air Conditioner? What You Need To Know
Why your portable AC fills with water fast
First, check the condensate pipe and pump of your portable air conditioner to see whether it’s full up. In other circumstances, your portable device may not be defective at all, but rather, environmental factors may be to blame.
When your portable air conditioner gets wet, it’s because it’s overflowing with condensation.
High humidity
In order to reduce the temperature in your home, your air conditioner removes moisture and heat from the atmosphere. If you reside in a humid climate, the device may have trouble removing the moisture. Also, it’s possible that your air conditioner isn’t doing its job.
Another symptom of excessive humidity in a home comes from portable air conditioners filling up quickly, because they’re collecting a lot more water than normal. As a result, in places where the humidity is high:
- Portable air conditioners fill up quickly with water.
- Emptying the unit more frequently will be a need.
Use a decent dehumidifier in your home to assist the appliance manage with much lower humidity levels. Use an additional appliance during high-humidity seasons to decrease stress on your portable air conditioner.
Blocked water tank and drain hose
You may have to physically empty the water tank on some portable air conditioners. However, in some cases, the water tank may not drain any water at all even when the indicator is showing that the tank is full.
A clogged water tank is causing the tank to fill up too quickly and remove very little water, resulting in a malfunction. You may have a faulty or obstructed water tank if the drain valve is removed and little water comes out when you try to empty the tank.
If your portable air conditioner is filling up too quickly, the drain line may also be malfunctioning. Actually, if you’re utilizing a drain line to get rid of the water your AC collects, the tank should never fill up.
As soon as it starts to fill up, look for any obstruction in the drain hose that might be collecting debris and preventing the water from flowing naturally.
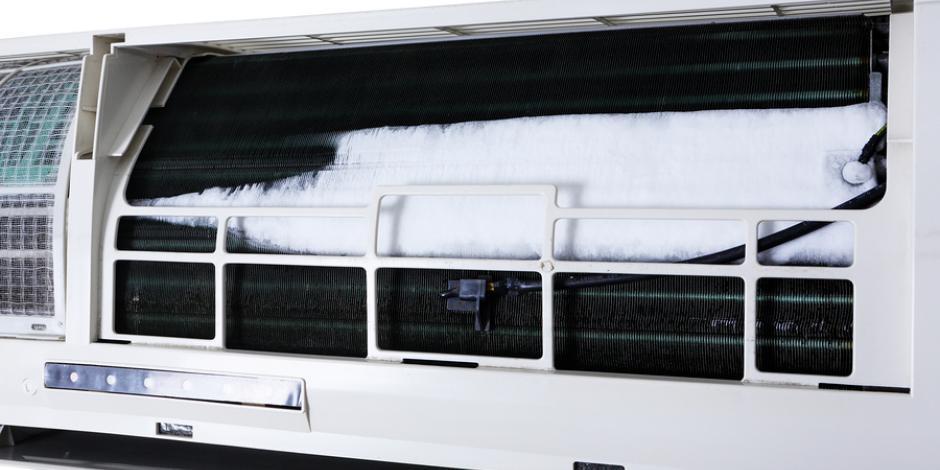
Dirty filters
As moisture in the air is condensed and eliminated, air movement is improved, allowing for a more comfortable temperature within your home.
Dirty filters, on the other hand, make it difficult for air to flow easily over the evaporator coils of the unit. This obstruction can cause the air to become overfrozen, resulting in an increase in the rate at which your portable air conditioner accumulates water due to the increased production of moisture.
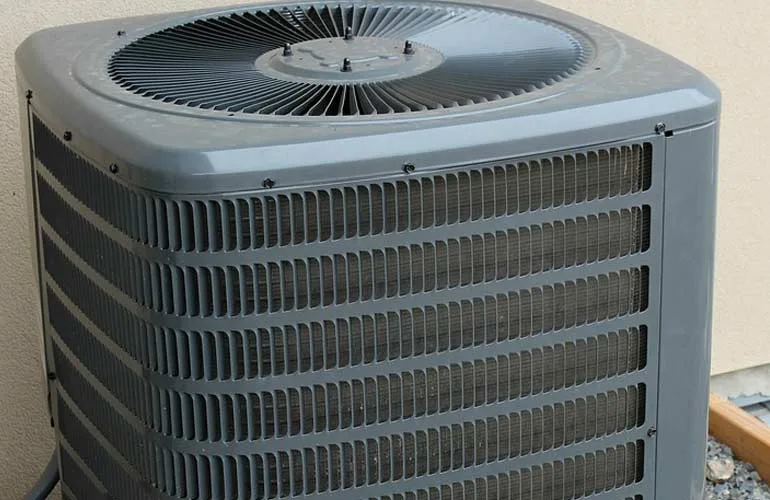
Faulty condensate pump
A condensate pump can be used by certain professionals to collect the water that is released by an air conditioner. A clogged condensate pump drainage hose is a common cause of condensate pump failure.
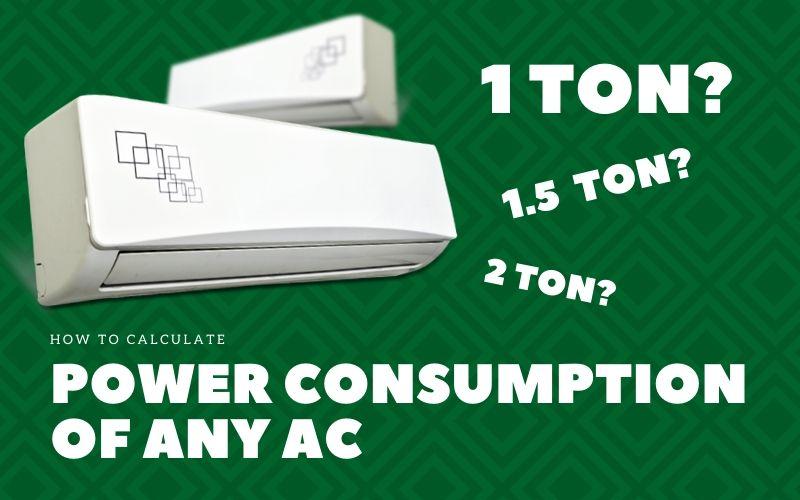
Xem thêm : How Much Electricity Does An Air Conditioner Use? Ultimate Guide
If your condensate pump fails, the best course of action is to contact a service specialist who can assist you in repairing the device.
First time use in a room
AC units may fill up with water too rapidly when they are first installed in a home, but this does not mean the device is defective.
A portable air conditioner’s pan can fill up quickly with water when it is used for the first time in a new space. This is because the device absorbs moisture from the air, floors, and ceilings.
There’s no specific fix for this problem because the humidity level will eventually drop after running the air conditioner in the house a few times. Eventually, your air conditioner will be able to run properly without accumulating too much water on the pan.
How to Fix Your Portable Air Conditioner
The best way to fix a portable air conditioner that keeps overflowing with water is to find out what’s causing it. There is a solution for every problem. Clogged filters and drain pipes are the greatest places to start.
Here’s how to fix a water-filled portable air conditioner:
Run a dehumidifier in the room
High humidity may cause your portable air conditioner to work more to chill the space, so keep an eye out for this if you live there.
Run a dehumidifier until the level of moisture saturation in the air drops below 50% before turning on your air conditioner to remedy the problem. Allergens including dust mites, mold, and mildew can thrive in high humidity and trigger allergic reactions.
It is recommended to keep the relative humidity level in your house between 30% and 50% for a healthy living environment and also not to strain your portable air conditioner.
Humidity levels of 30 to 50 percent are ideal for a healthy living environment as well as protecting your portable air conditioner from overload.
Clean the AC’s filter
Cleaning your air conditioner’s filters is the quickest and easiest solution to this problem (if washable). You may need to replace the air filters of some air conditioners and even purifiers that don’t have washable air filtration systems.
Unplug the unit and lift the upper section of the panel on the filter to remove it for cleaning. Rinse the filter with cool water after shakily shaking or vacuuming it to remove any dust. Before reinstalling the air filter, shake it gently to remove any remaining water.
Clean the drain tank and hose
You may want to inspect the drain tank and hose to determine if they’re clogged and preventing water that accumulates on the pan from being collected correctly if the AC’s filters are clean.
Taking the drain valve out and inspecting the tank is the best way to address the problem. Ensure the portable AC can collect and drain water properly by cleaning it of any sediments, lint, or other filth.
In addition, removing the drain line and inspecting it for any obstructions will solve the problem of overflowing and inadequate drainage..
LG portable air conditioner keeps filling with water
Most LG portable air conditioners have a simple drainage issue that you can remedy on your own: water filling up too quickly. The drain hose assembly should be removed and cleaned to remove any obstructions. The problem will be solved by this.
Xem thêm : How Long Does It Take For Freon To Settle In An Air Conditioner? Comprehensive Guide
As an alternative, if your tank is constantly filling up, consider installing a continuous drain. If you’re having trouble setting up a continuous drain, watch this video to learn how to do it correctly:
Steps To Drain LG Portable AC Unit
When there’s a problem with your air conditioner, it will make a beeping noise on some models. Emptying the tank may also be required. In order to let you know when the tank is full, your LG air conditioner should show the code “FL”.
Depending on the temperature and usage, your air conditioner may need to be recharged every 8 hours or once a month. Damage to your brand-new portable air conditioner is the last thing you want. You’ll know what to do if you go over the following steps.
Step #1. Unplug the unit
You must drain the tank quickly if the AC display shows the code “FL” to avoid overflowing. So, unplug your air conditioner from the mains and shut it off. Then disconnect the unit’s wires.
The water should be released from your unit in a spot where it does not run over the surface of the room. But you may raise it to a higher level by placing it on a high platform.
Step #2. Remove the exhaust hose
The vent hose from the central unit should be removed. The hose can get in the way if you don’t take this step. It is possible to quickly identify the drain pipe using this method as well.
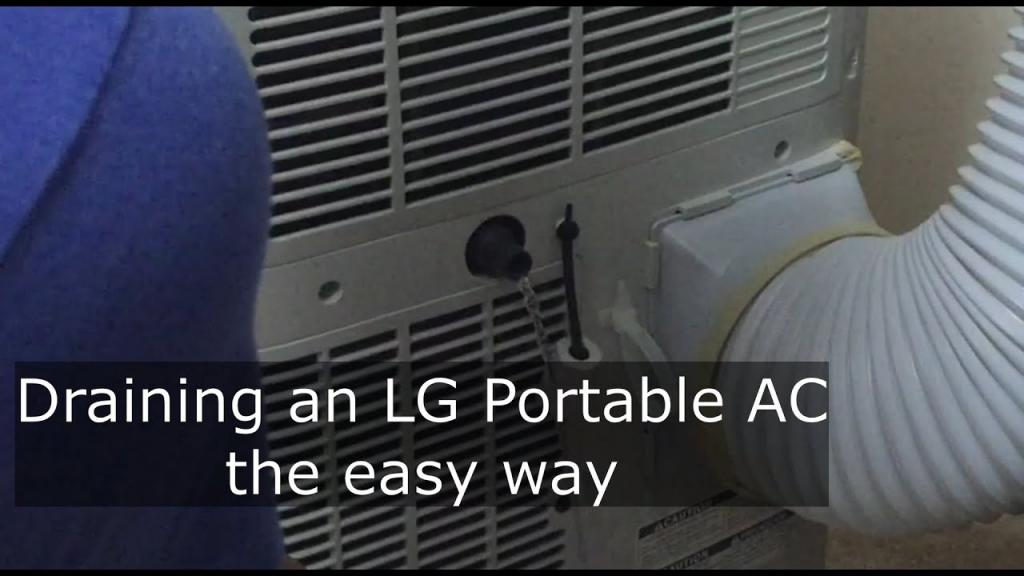
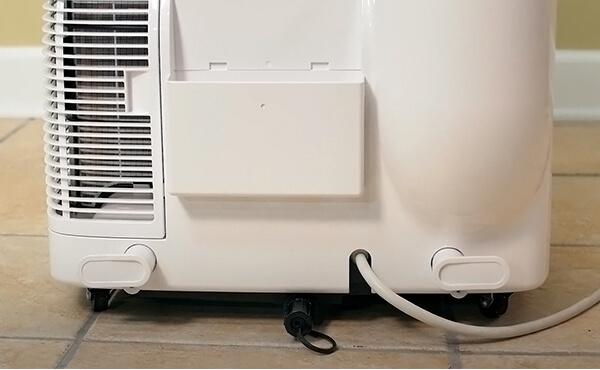
Step #3. Locate your drain line
This part is normally located at the back of your device, at the bottom. When you have a washing machine, this should be a breeze. You won’t have to worry about flooding your room because the drain line is located on the bottom. This hose normally comes with a cap to keep the water from running without your permission.
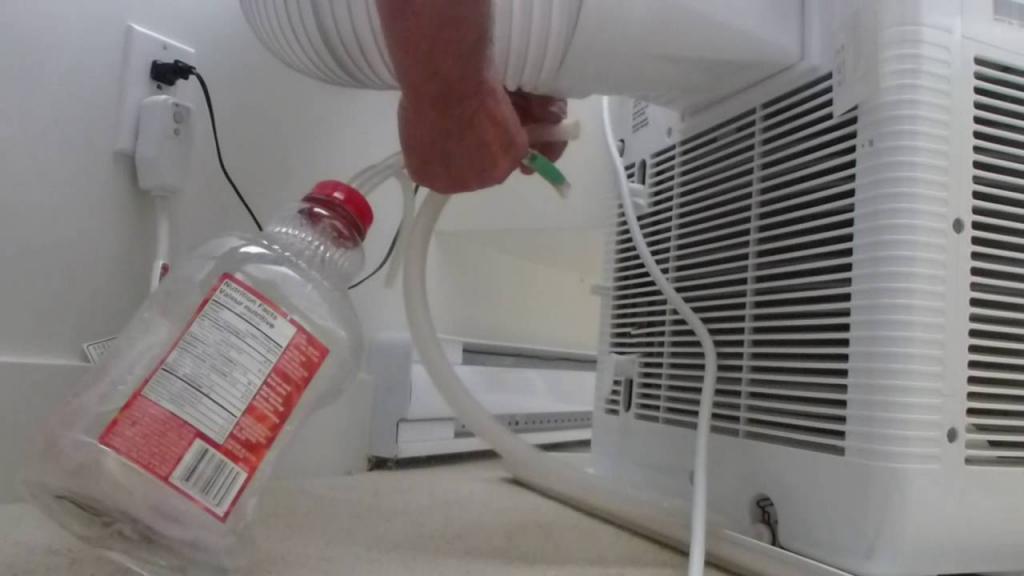
Step #4. Prepare the unit for draining
Using a solid and raised platform and a container beneath it, the gadget can be used to collect rainwater. A wet mess in your room could be avoided by making sure the container is not too small. At the very least, it should be able to hold 3/4 of a liter. In order to remove the cap, turn it counterclockwise.
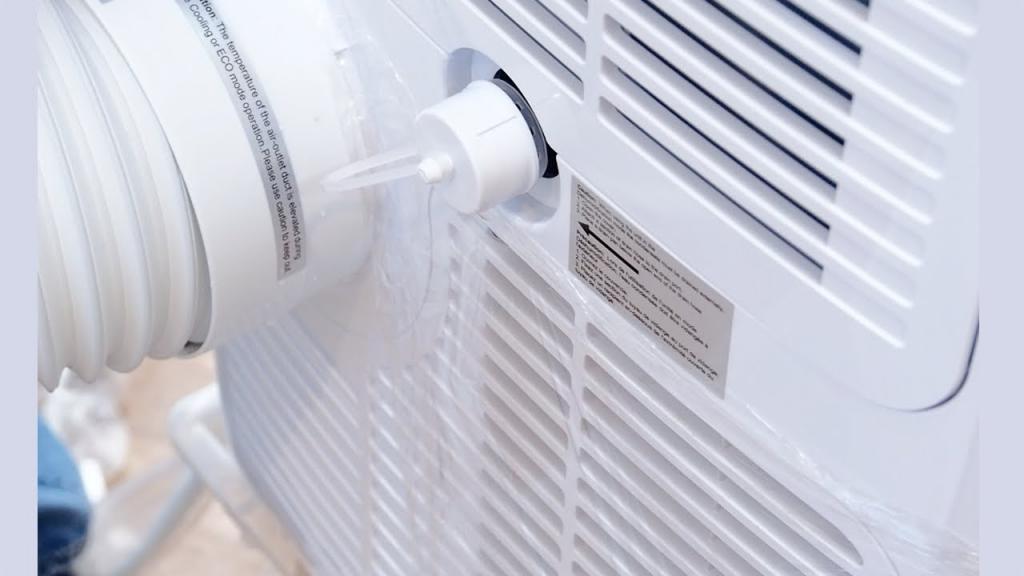
Step #5. Drain
As a result, even after removing the cap, the water may not begin to drain. Still, you must remove the drain plug in order to drain the water from the tank. The water will begin to flow toward the container if you carefully pull it toward you. Wait for a few minutes before moving on.
However, keep an eye on the container because it may overflow if there isn’t enough water. Re-insert the plug to temporarily halt the water flow if you find yourself in this situation. After that, empty the container of drained water and resume the draining procedure. Alternatively, if you’d rather have it outside your room, you can do so.
Your bathroom floor drain is an option, as is moving it outside. Since a wet bathroom floor can cause harm to your unit, ensure sure there are no cords attached. If the tank is full, there will be leakage, and the water could reach the internal components. Be careful when moving it.
The back of the unit should face either the floor drain or the lawn, depending on the model. Make sure that the water doesn’t get everywhere. If you leave it there, you don’t have to be concerned about it flooding. Furthermore, a container does not have to be emptied every five minutes. After 10 minutes, check to see if the plug is still draining water.
Step #6. Close the drain line
When no more water drips onto the container, the tank is empty. With a soft cloth or a paper towel, pat the drain line dry. Also, to remove any surface water that may have accumulated. Replacing the drain plug with a new one and pushing it down a last time will guarantee that it is firmly sealed. Replacing the cap is as simple as rotating it counterclockwise to the opposite side from where you removed it. Lastly, make sure it’s securely fastened.
Step #7. Place the unit back
The AC must be carefully reinstalled. So, even if you went with a different choice, relocating your unit still requires caution. Reconnect the cables and the exhaust hose once it’s back in position. They should be attached correctly. Your hose should snap when it’s properly sealed.
To keep rainfall out of your unit, we recommend forming an inverted U-shape out of the vent hose. You’ll be able to use your portable air purifier again after this procedure. How to remove the LG portable air conditioner’s battery is described above.
Conclusion
Draining an LG portable air conditioner is the subject of this section. As long as you’re careful when operating your AC unit, the processes are simple and straightforward. If you’re interested in learning more, you may do so by clicking here. Thank you for taking the time to read this.
Nguồn: https://iatsabbioneta.org
Danh mục: Conditioner