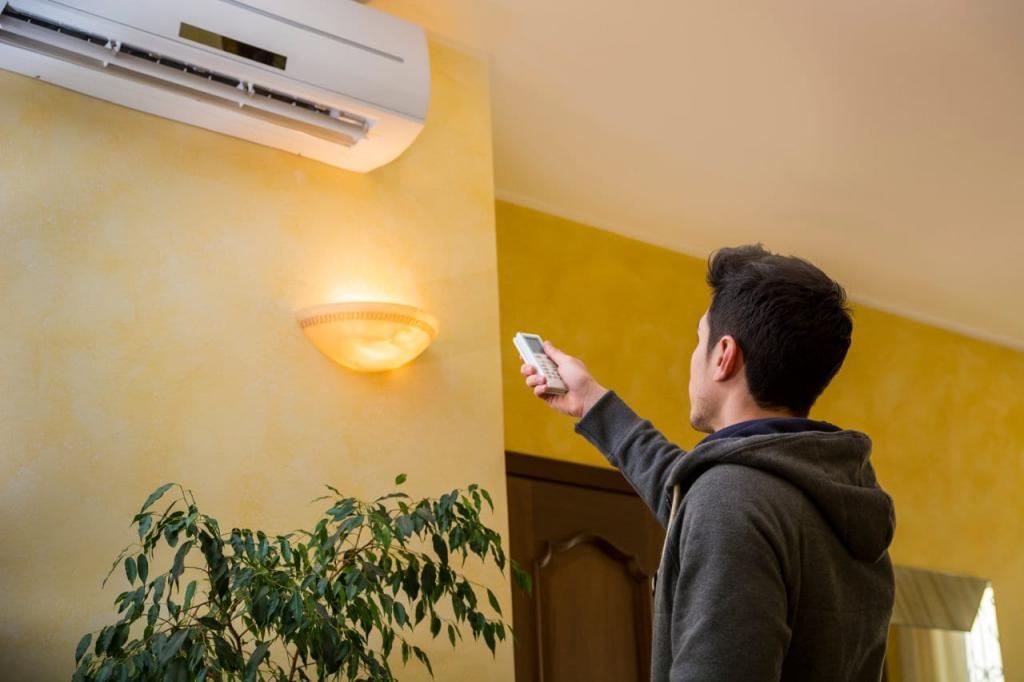
I can’t wait for the summer to arrive. That means it’s time for you to start working on your low-cost, lightweight air conditioner project. Furthermore, it’s a cinch to put together!
- How To Recharge Home Air Conditioner? Repair or Replace
- How To Get A Free Air Conditioner? What You Need To Know
- How To Install Portable Air Conditioner In Sliding Window? Tips and Safety Considerations
- How To Make A Fan Into An Air Conditioner? Step-by-Step Tutorial
- How Big Of A Generator Do I Need To Run A 5000 Btu Air Conditioner?
Considering that air conditioners can be pricey, you may want to consider an alternative. You may use this homemade air conditioner to alleviate some of the summer’s sweltering heat.
Bạn đang xem: How To Make Portable Air Conditioner? Step by Step Instructions
There are a few affordable items that you can get at your local hardware store or in your storage space. To make things even better, you don’t need any electrical knowledge to put it up.
Steps To Make Portable Air Conditioner
To design and make your portable air conditioner, there are a number of stages you must study and complete. However, a quick snap won’t cut it here.
How can a portable air conditioner be made?
The following are the steps that you should keep in mind:
Step #1. Preparation
You must first prepare your materials before doing anything else. You can’t create a portable air conditioner without them.
Make certain, however, that you have access to these supplies at home. If you’re someone who is always on the lookout for something new, this could get expensive.
As a result, here are the materials you’ll need:
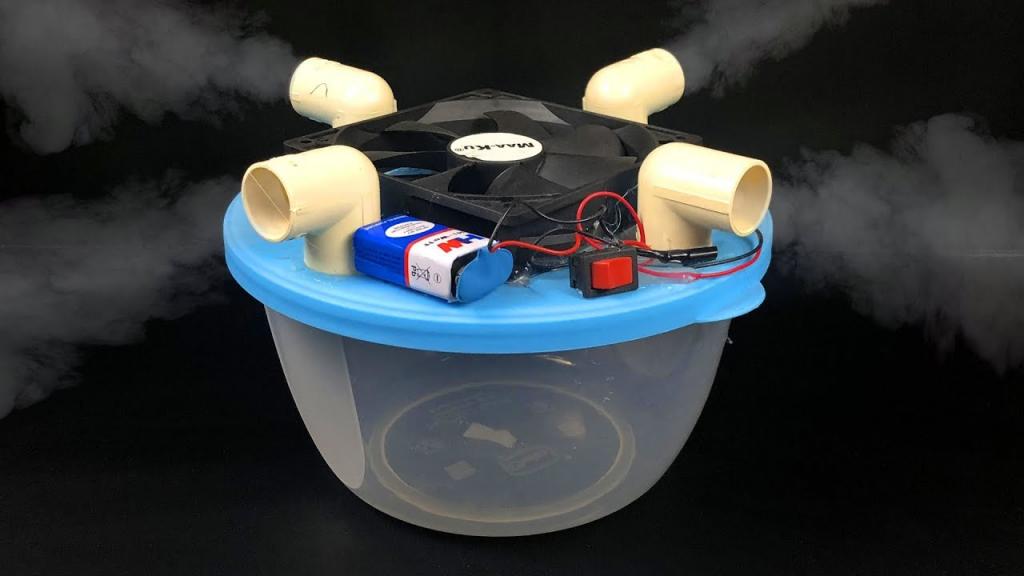
- Icebox
- Driller
- Two 5-inch-diameter PVC elbow pipes
- Duct tape
- a black marker such as a Sharpie
- Batteries
- Portable or wireless fan
- Saw
- Cubed ice
Step #2. Mark out the shape of the fan
Put in the batteries for your fan wirelessly. After that, tuck it up inside the cooler’s top. Make sure it’s in the centre of the page.
Using the marker pen, outline the shape of the wireless fan. Exactly what I needed.
Step #3. Drill a hole in the top
Make a little hole in the middle of the circle you drew on the top. With the circular saw you have, this step will allow you to cut out the shape much more quickly and easily.
Step #4. Make a hole for the fan
Place your saw blade into this aperture to begin cutting your wood. Cut a straight line from the hole to the circle you marked. Continue cutting all the way around the circle.
Xem thêm : How To Drain Air Conditioner? Complete Step-by-Step Guide
Then do it again.
Step #5. Put the fan to the scene
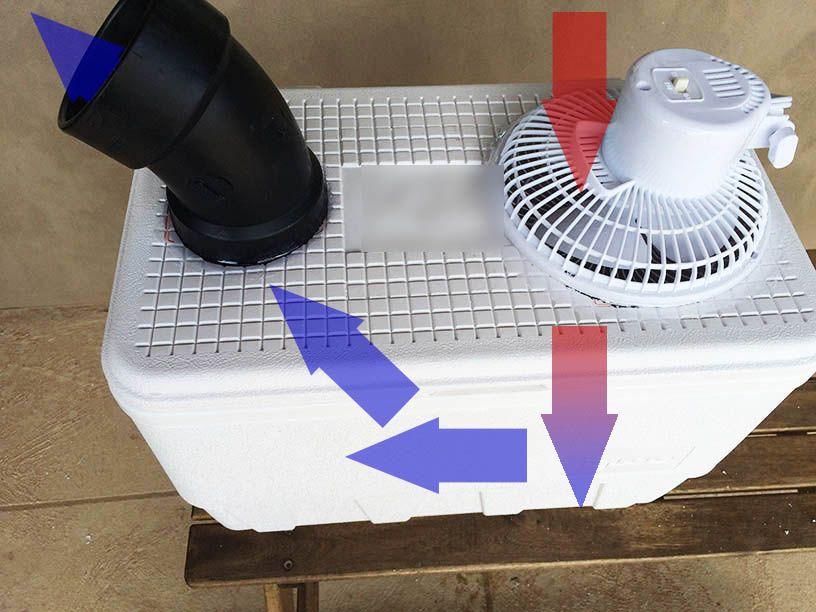
Place the wireless fan in the opening left by the icebox lid as you close it. Make sure the fan is pointing into the cooling system from the back. Then, apply duct tape to the borders to keep them from falling off.
The corners of the wireless fan should also be taped. Printed duct tape or any other decorations can help offer a pop of color.
Step #6. Outline by tracing all pipes
The icebox or refrigerator’s corner should have a curved piping. After that, follow the trail. Make sure to complete this process on both sides of the icebox.
Step #7. Make a guide hole with a driller
Like you did with the lid, drill a hole in the circle. This should be done on both the inside and outside of the ice chest.
Step #8. Make a hole for pipes
Using a saw, you should drill a few holes in the wall. The pipes in your home will go through these openings.
Step #9. Insert pipes
Curved pipes should be inserted deeper into holes that correspond to them. Make sure that the curved tubes’ tips are facing upward.
Seal the curved pipe to the opening in the wall in the same way as the wireless fan did. Tape the corners with more duct tape.
Step #10. Put the ice
Make ice cubes or use whatever ice you have on hand to fill the icebox. As a final step, be sure to close the lid and turn on the wireless fan. Within 9-10 minutes, your homemade air conditioner should start blowing cool air.
That’s all, then! You built a portable air conditioner from scratch.
What Is The Mechanism Behind It?
Portable air conditioners like this one are easy to see how they produce cool air. Air can enter the icebox thanks to the wireless fan. Furthermore, the ice kept the icebox at a comfortable temperature.
There is a curved pipe at each end of which cool or cold air flows. Sit there and wait for that cool breeze to hit your cheeks.
3 Suggestions You May Follow
You should remember these three suggestions from industry insiders. Follow these suggestions to get the most out of your air conditioner:
Xem thêm : How To Clean Portable Air Conditioner Coils? A Few Tips to Remember
To begin, gather a large number of water bottles. Then, instead of using ice cubes or blocks, freeze the blocks. Because they can be reused and re-frozen multiple times, the frozen water bottles are convenient.
Solar-powered fans are an alternative to battery-powered fans. It does away with the necessity for batteries.
In order to inhale a fragrant atmosphere, sprinkle some fabric softener powder on top of your ice.
You can take it with you everywhere you go, whether you’re going camping, to the beach, or just having a backyard barbecue.
There’s a simple method to keep cool when barbecuing, camping, or at the lake: a DIY air conditioning unit. You may make a portable air conditioner in an afternoon by purchasing a few inexpensive components from your local hardware shop (we’ll show you which ones below). The best part is that you don’t need any electrical knowledge to set it up.
Supplies
To get your AC project off the ground, gather the following materials:
- a container for keeping things cold
- Drill
- The ability to see
- Two PVC elbows with a diameter of 13 centimeters (5 inches)
- Ink that lasts forever
- The tape is called duct tape.
- Batteries and a cordless fan
- Ice
Make your portable AC unit
The following are the steps you need follow to construct your own portable air conditioner:
- Place the fan in the cooler’s lid’s center and trace its path using a pen or pencil. Using a permanent marker, trace around the fan’s circumference.
- It’s time to get down to business: You’ll need to drill a hole in the lid. The skill saw will have an easier time cutting out the circle now.
- Using a skill saw blade, cut a line from the hole to the circle you traced, making sure that it links to the circle you traced. Cut all the way around the circle until it is completely gone.
- Place the fan: When the lid is closed, the fan’s front should face into the cooler. Place the fan in the hole. Apply duct tape to the borders to keep it in place. Both the rear and the front of the fan’s edges should be taped. To add some visual interest, I utilized a printed roll of duct tape.
- One elbow pipe should be placed on the cooler’s end and traced around it. Take care of the other side of the cooler.
- Using the lid as a guide, drill a guide hole in the circular. Make sure to do this on both sides of the fridge.
- The skill saw can be used to cut the holes for the pipes.
- Fill up the voids with elbow pipes. Ensure that the pipes’ ends are pointed upwards before connecting them. As you did with the fan, use duct tape to seal around the pipe’s edges to keep it in place.
- Finally, add ice and put on the fan to keep the ice from melting. The air conditioner should start blowing cold air in about ten minutes.
This is the song that’s currently playing: This DIY air conditioner will help you beat the heat this summer.
How does it work?
Using this air conditioner, you may enjoy a refreshingly cool breeze in no time flat. A battery-powered fan circulates the ice-cooled air inside the cooler. Afterwards, the cold air is pushed out of the cooler’s two pipes. A brisk breeze cools those who are fortunate enough to be sitting at either end of the pier.
3 pro tips you need to know
Get the most out of your air conditioner by following these guidelines:
- Instead of purchasing bagged ice for your air conditioner, freeze two gallons of water. Frozen water jugs are convenient because they don’t spill and can be reused several times.
- If you don’t want to be bothered with changing batteries, consider a solar-powered fan instead of a battery-powered one.
- To infuse the air with fragrance, scatter a few dryer sheets over the ice.
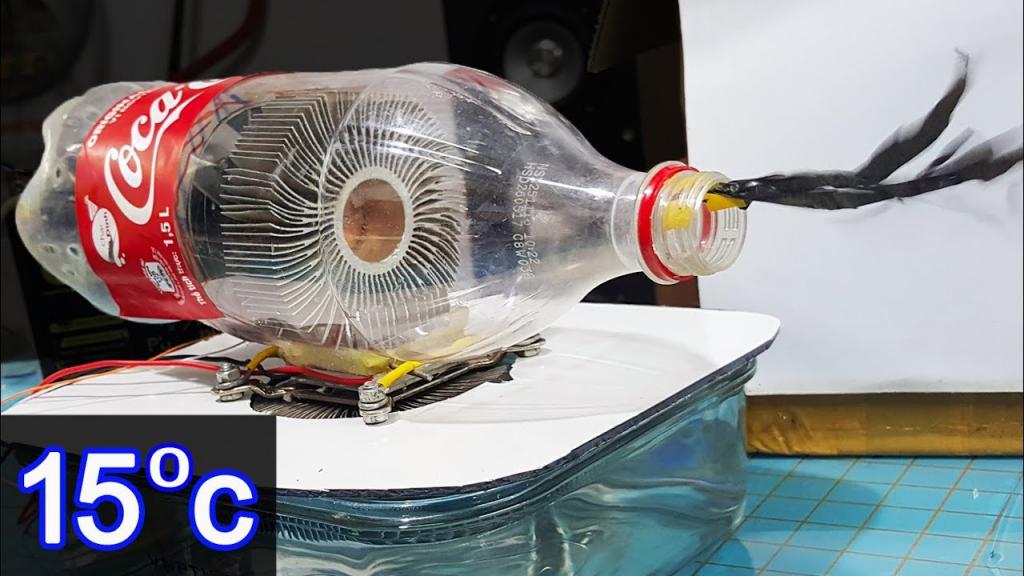
Is there anything else I can help you with? More images can be found in the gallery below.
Conclusion
There are only a few supplies needed to construct a portable air conditioner. However, you must not overlook the necessity of having an icebox, pipes, fan, and ice on hand as well.
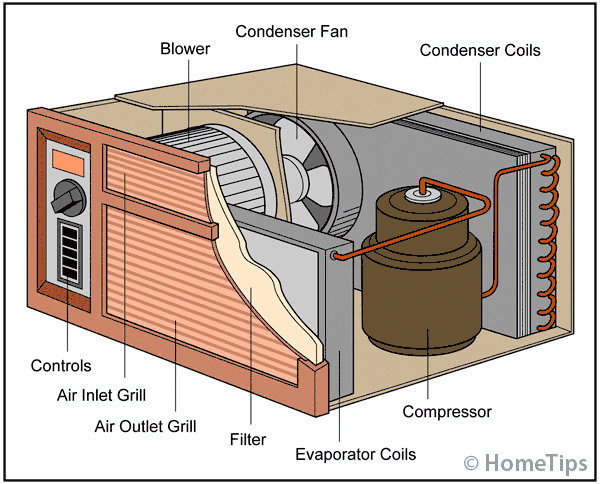
Portable air conditioners are not recommended for long-term use. An air conditioner is the only way to keep your home cool if you have a long-lasting chill in the air.
Nguồn: https://iatsabbioneta.org
Danh mục: Conditioner