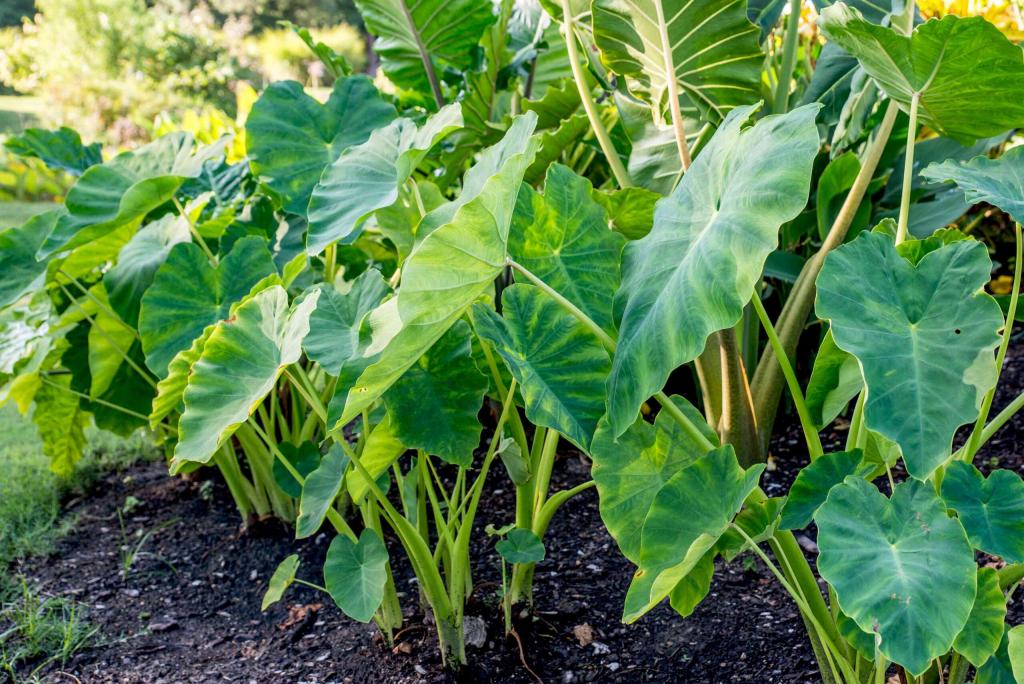
There are two ways to spread elephant ears if you’re interested in learning about them. Elephant ears are a stunning addition to any collection, and learning how to grow them will give you an advantage in the long run. For those that have a greenhouse, they may be able to start rooting them earlier.
- How To Propagate Creeping Phlox? Complete Guide for Beginners
- How Warm Do Plants Stay in a Small Pop-Up Greenhouse? Helpful Information!
- Greenhouse Profit Per Square Foot
- What Is The Ideal Temperature For Growing Cannabis In A Greenhouse? Helpful Information!
- How To Grow Wholesale Basil In A Greenhouse? Comprehensive Guide
Overwintering elephant plants isn’t the only function for the greenhouse. Seed germination and the establishment of seedlings and divisions can be ensured by the controlled and stable indoor conditions. This means that your elephant ear plants will be able to endure the elements outside.
Bạn đang xem: How To Propagate Elephant Ears? Step-by-Step Tutorial
Seeds
You may be surprised to learn that elephant ears may be grown from seeds. Gardeners often grow these plants from root cuttings, thus this is an uncommon technique. Even if your plant doesn’t produce a seed pod, it’s useful studying how to reproduce elephant ears from seeds.
Step #1. Seed collection
You can save the seeds and plant them in the spring of the following year. How can elephant ear seeds be collected? Take the seed pod from the plant by twisting it off at the base.
To collect the small elephant ears seeds, open the berries over a dish. It’s best to start with a large number of seeds in case any don’t germinate. Consider planting the seeds on the ground or in a greenhouse once you remove the pulp from them.
Spreading them on the ground is OK, but growing them in a planting tray has a better chance of success.
Step #2. Sowing
Before spraying the medium, press the seeds into the soil and cover them with more soil. If you keep the soil moist, but not soggy, you should see germination in three weeks or less at most. After your seedlings have developed true leaves, thin them out to only keep the healthiest for transplanting.
Division
Elephant ears are most commonly multiplied by division. Keep in mind that elephant ears can produce runners and that you can divide them to propagate new plants in your home garden. To be sure, it’s necessary to stress the need of wearing gloves when handling and dividing elephant ears.
Xem thêm : How To Keep Annuals Alive Through Winter? Best Guide
You should avoid direct contact with the sap of these plants, since it can be irritating. After putting on the gloves, loosen the dirt surrounding the plant and then dig out the roots. You don’t want to risk injuring the plant’s roots by keeping a distance around it.
Step #1. Separation
In order to remove the tubers from the plant, you will need a sharp and sterilized knife. To guarantee good growth after planting, each tuber should have one bud. In the potato-like tuber, the buds look like sprouts.
Preparing the planting area ahead of time will help to prevent the divisions from drying out. As long as the weather is consistent, elephant ears can be grown indoors and outdoors. To cultivate the tubers, choose a location with some shade and healthy, well-draining soil.
Step #2. Planting
Each hole should be about three inches deep, and the tubers should be spaced about two feet apart. In order for the tuber to grow, plant it such that the bud is pointing upward. If you can’t discover the buds, you can alternatively sow tubers horizontally.
After covering the tubers with a layer of mulch, keep the soil moist while they are growing. As a preventative measure, you can fertilize once a month. After eight months, the plants should be able to generate new tubers.
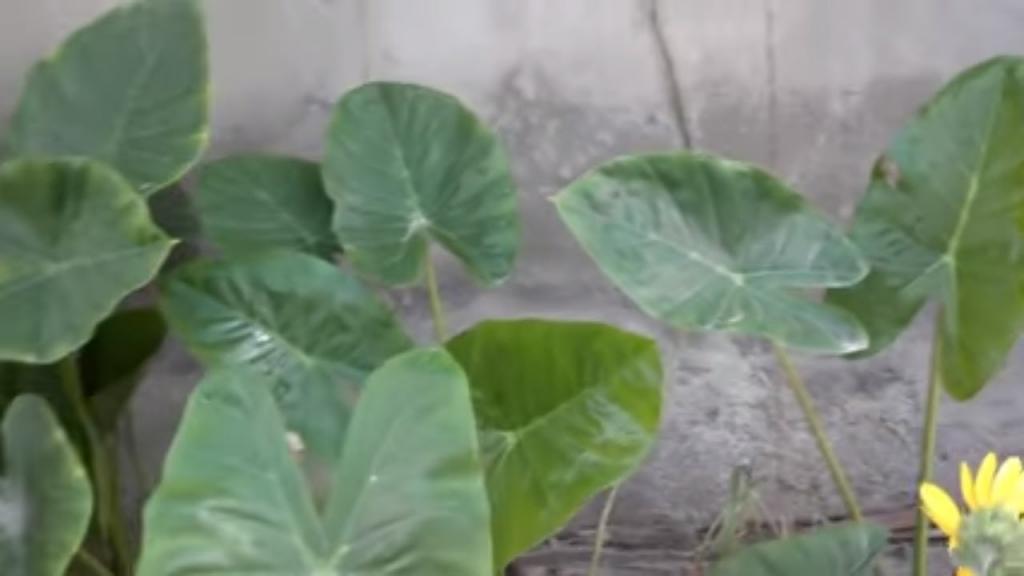
Growing Elephant Ears In Pots
The elephant ear can also be grown in pots. Large pots can be used instead of transplanting elephant ear plants in the ground to estimate their size. Provide healthy, moist soil with a pH range of 5.5-7.0 in the pots.
Place the pots in full or moderate sunlight, depending on the type. The pots can be kept in the greenhouse if you live in a chilly area where elephant ears thrive. Keep the soil moist and begin feeding the plants as soon as they begin to grow.
A few species of elephant ears are able to thrive in water. When reproducing these plants, you can imitate the swampy conditions in which they normally thrive. The main difference will be that the pots will be submerged to the rims of the water, rather than floating on top of it.

Best Way to Transplant Elephant Ears
Elephant ears can be relocated indoors for a variety of reasons, from protecting them from the cold to enhancing your home’s decor. The easiest technique to transplant elephant ears is to carefully remove the root ball from the ground, making sure that the tuber is not damaged in the process. It’s best to transplant elephant ears in the winter by removing all except the top two leaves, then clipping the remainder.
Xem thêm : How To Keep Your Hobby Greenhouse From Overheating? Comprehensive Guide
Before it becomes cold enough to kill the plants, bring them inside. Keeping the roots at 45 to 55 degrees Fahrenheit is ideal. Put elephant ears in peat moss or mesh bags to keep them dry while keeping them. Elephant ears can be grown inside in the spring.
Elephant ears can be planted straight in the ground if the temperature rises to 50 degrees Fahrenheit or more in zones 8 and up.
Elephant Ear Plant Propagation in Water
Potting some plants, such the taro Colocasia esculenta, in shallow water can be an option. Elephant ear propagation in water can benefit from mulching. Different species thrive in swamps and wetlands.
It is common for gardeners to use water to propagate elephant ear plants after the last frost has passed.
Elephant Ear Runners
Clumpers and runners are two different types of elephant ears. “Stolons” is another term for elephant ear runners, which can be seen on a variety of different species. Rhizomes aid in the plant’s ability to spread. They might easily overrun a room if left to their own devices. Elephant ear runners can be divided into new plants and multiplied in this manner as well.
Propagating by Seed
Rather than using the bulbs, you may also use the seeds that form on the plants. The best way to propagate elephant ears by seed is to spread them on the soil. If you keep them moist or mist them, they will germinate quickly. Within a few months, expect the seedlings to need larger containers.
Conclusion
It’s also possible to use the seeds that are produced by plants rather than the bulb. When propagating elephant ears from seed, it’s preferable to scatter the seeds on the ground. They will germinate more quickly if you keep them moist or shower them frequently Plants will require larger containers in a few months.
Press the seeds on planting trays and ensure soil moisture to encourage sprouting. The strongest seedlings can be transplanted once the seedlings have been thinning. Plant tubers instead of dividing the roots of an established elephant ear plant.
Planting trays should be moistened and seed pressed to promote sprouting. You can then separate the strongest seedlings from the rest and put them directly into the ground. Elephant ear tubers can also be propagated by dividing the adult plant’s roots.
Nguồn: https://iatsabbioneta.org
Danh mục: Garden


