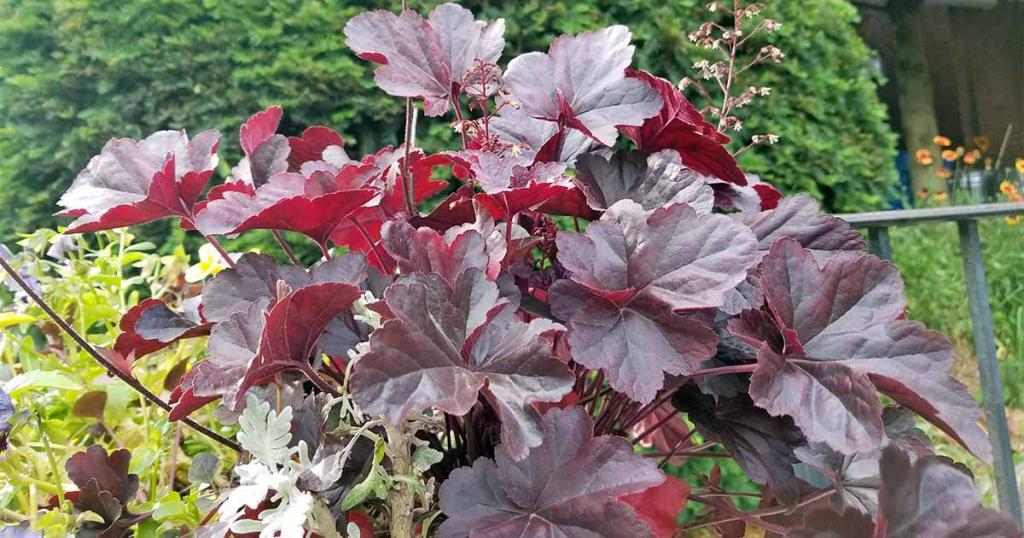
U.S. Department of Agriculture hardiness zones 8a through 10b are home to a wide range of coral bells (Heuchera). Many gardeners appreciate the leaves of some types, while others prefer the long-lasting flowers that attract hummingbirds. The University of California Arboretum analyzed a large number of native flowering plants as part of a search for low-water plants with good survival and growth rates. The evaluations place rosy coral bells (Heuchera rosada) among the top five native plants. Every three or four years, spring is the best time to divide established coral bells clumps. Additionally, coral bells can be easily multiplied through the use of either seeds or cuttings.
Seeds
Fill a starter flat with potting soil or rake a finely-tilled, humus-rich planting bed smooth. Avoid full sun exposure for seedlings by locating the seedbed in a place that receives afternoon shade, especially on a northerly exposure. Coral bells can endure full sun in areas with mild climates.
Bạn đang xem: How To Propagate Coral Bells? Comprehensive Guide
In a large bowl, toss a few seeds into the soil and distribute them evenly. Cover them with a thin layer of fine soil no deeper than 1/8 of an inch thick.
Keep the seedbed moist with a misting spray until the seedlings appear. As the seedlings grow, keep the root zone wet but never soggy.
Once the seedlings have grown into little clusters with numerous genuine leaves, move them into permanent beds, borders, or containers.
Cuttings
Fill the bottom of a flat with damp perlite.
Cuttings from mature coral bells plants can be taken in the latter part of the summer or fall. Coral bell leaves vary in size, but each leaf should have a stalk of around one inch in length.
Start by making a 1-inch-deep hole in the beginning medium using your finger. A cutting’s stem should be inserted as deeply as possible to ensure that it makes contact with whatever is being used as a medium. The stem should be firmly held in place by the medium.
The planting material should be kept moist but somewhat dry. Cuttings might decay in wet soil. Rooted leaf cuttings can be transplanted to individual pots or to a permanent bed in 3 to 4 weeks.
Divisions
Coral bells should be pruned in the spring to remove dead and woody growth from their mature clumps.
Coral bells can be divided in two by cutting them in half with a shovel or by lifting the plant and cutting it with a sharp knife. The leaves and roots of each portion must be in good condition.
Xem thêm : How Long Does Eagle 20 Stay In The Plant? Common Question And Answers
Replant the clumps in the same depth they were growing before in the prepared soil.
Firm the earth down around the roots. To alleviate the effects of transplant shock and to promote new root growth, water the plants.

Propagating heuchera by division
One of the most rewarding aspects of having a beautiful heuchera plant in your yard is its sturdiness and versatility in terms of propagation. Dividing is one example of a technique that can be used. Plants that you’ve successfully grown can be divided to produce two new plants in the same spot.
Dividing your plant does not have to be a scary experience. Divide this plant and other plants that propagate by division to help your garden develop. It’s much simpler than it appears.
Division is the simplest approach to reproduce this particular plant, and it should be done every three or four years to ensure that the plant is healthy and lively and does not become overcrowded.
Following these procedures will help you divide your plant.
- Make sure you dig up the entire clump around the plant, but space it out approximately 15cm from the base. To avoid damaging the plants’ roots, leave this amount of space around them when digging.
- Keep in mind that each following plant should have at least four or five shoots and a lot of roots when you divide your roots section into smaller plants.
- Your root ball should be slightly above ground level when it is planted in the right soil, therefore be sure to do so when planting your sections.
- Ensure that the soil around the roots of your newly planted portions is well-watered to aid their recovery. Your goal is to maintain the soil moist until you see new growth on the split areas. As soon as you see signs of new growth, you can stop watering your plants and let the soil dry out between waterings.
Propagating heucheras from seed
At the beginning of spring or the end of fall, when you are ready to plant your new heucheras from seed, you should begin sprinkling these seeds on the surface of your soil. There is no need to hide them up. If you’re tempted, just sprinkle a thin layer of seeds and move on. To germinate, they require a lot of light.
Alternatively, if you’re concerned about the wind blowing the seeds away or just want to be sure your new plants succeed, you can sprout the seeds indoors for a few months. Once the seeds have sprouted, they can be transplanted immediately into the garden.
Even while harvesting seeds isn’t the most straightforward process, it is entirely doable.
If you’re starting seeds inside, make sure to plant them at least six to eight weeks before your area’s last projected frost date.
- A well-draining combination of equal parts perlite and seed starting mix should be prepared before to starting the seeds. It’s better if it’s easy to flush away.
- Add enough water to moisten the mixture without making it too soggy.
- A plastic seed tray should be filled with the moist mixture, and the seeds should then be sprinkled on top. You don’t want to cover the seeds with the potting mixture, just like if you were planting them in the ground.
- A fluorescent grow lamp should be used to illuminate the plastic tray. Warm and cold colors are created by combining the light’s blue and pink tubes, which are noted for their distinctive color combinations.
- Make sure to keep an eye on your plants and re-apply the water as needed.
- Germination should commence in about ten days.
Prior to transplanting your seedlings outside, make sure that there is no danger of frost remaining.
Depending on the method used, germination should take anywhere from two weeks to eight weeks.
Xem thêm : How To Winterize Ferns? Comprehensive Guide
The seed-based germination procedures can be used if you’re growing them in containers. During the first year, water them thoroughly and move them outside in their pots when the threat of frost is past.
Propagating heuchera by division
One of the most rewarding aspects of having a beautiful heuchera plant in your yard is its sturdiness and versatility in terms of propagation. Dividing is one example of a technique that can be used. Plants that you’ve successfully grown can be divided to produce two new plants in the same spot.
Dividing your plant does not have to be a scary experience. Divide this plant and other plants that propagate by division to help your garden develop. It’s much simpler than it appears.
Division is the simplest approach to reproduce this particular plant, and it should be done every three or four years to ensure that the plant is healthy and lively and does not become overcrowded.
Following these procedures will help you divide your plant.
- Make sure you dig up the entire clump around the plant, but space it out approximately 15cm from the base. To avoid damaging the plants’ roots, leave this amount of space around them when digging.
- Keep in mind that each following plant should have at least four or five shoots and a lot of roots when you divide your roots section into smaller plants.
- Your root ball should be slightly above ground level when it is planted in the right soil, therefore be sure to do so when planting your sections.
- Ensure that the soil around the roots of your newly planted portions is well-watered to aid their recovery. Your goal is to maintain the soil moist until you see new growth on the split areas. As soon as you see signs of new growth, you can stop watering your plants and let the soil dry out between waterings.
Propagating heucheras from cuttings
If you’ve ever taken a cutting in your garden, you’re off to a wonderful start when it comes to propagating from a cutting, as the processes are very similar.
Since your plant has already produced flowers, you may have cut away or deadheaded those parts and are now saving up as much strength as possible for the winter, you should do this in the fall.
Approximately ten days after you see new growth at the leaf’s base, it’s time to remove those mini plants from your main plant and transplant them into individual pots that you’ve already prepared with an appropriate combination.
When it comes to properly propagating your heucheras, you have a variety of alternatives to select from, regardless of the method you choose.

Why You Should Grow Coral Bells in a Semi-Pro Greenhouse?
Gardeners who wish to keep their coral bells safe from pests, diseases, and unpredictability can do so in a semi-professional greenhouse.
Coral bells can thrive in a semi-professional greenhouse. Pests like as aphids, cabbage bugs, spider mites, and other parasites are less likely to attack and harm your plants when you use this method. It protects your plants against diseases and infections that have infected nearby plants. As a final benefit, a semi-professional greenhouse protects your plants from adverse weather conditions, which might cause harm.
Final Thoughts on How to Propagate Coral Bells
It’s impossible to go wrong with heucheras in any room. Coral bells can be grown in your garden, inside, and more if you know how to reproduce these flowers.
Nguồn: https://iatsabbioneta.org
Danh mục: Garden


