How to make tie top curtains? It is just like making a curtain with the difference at the top portion of the curtain.
- How Much Does It Cost To Run A Window Air Conditioner
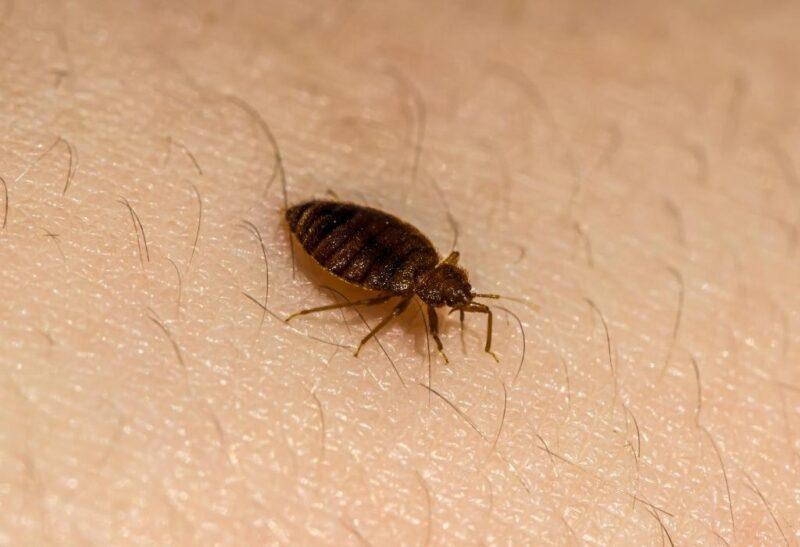
- Why Bed Bugs Leave Stains Behind? How To Get Rid Of Bed Bug Stains?
- How To Fix A Leaking Air Conditioner? Complete Step-by-Step Guide
- How To Tighten The Swivel Bolt-On Underside Of Seat?
- How To Add Freon To Air Conditioner? Step by Step Instructions
If you are looking for a less professional look in your home with a dash of customized touches, a tie-top curtain is an excellent choice for you.
Bạn đang xem: How To Make Tie Top Curtains? Helpful Tips To Remember
Although tie-top curtains are meant to be stationary, this type of curtain is only for decorative purposes.
If you have or in for a contemporary styled room, tie-top curtains are the way to go.
But, again, choosing a lightweight fabric is the best choice.
I have some of it in our guest room, where my cousins stay when they visit our home.
Steps To Tie Top Curtain
As the name suggests, it is a type of curtain wherein the top portion is supposed to be tied on a rod.
It is also an excellent way to hang your café curtains.
It will require you less work while having a contemporary look in your room.
Are you interested in making one? Here is a quick guide on making your very own tie-top curtains.
Now, how to make tie top curtains? Here are a simple few steps in creating a tie-top curtain.
#1. Prepare
Plan the fabric and the window that you are going to put the curtain into.
Make sure to the following tools and materials:
Fabric
In making curtains, the chosen fabric is the key in decoration.
When it comes to fabric choosing, choose something light weighted.
You may not need heavy fabrics when it comes to tie-top curtains.
But if you plan to put the curtain on the halls, a down type of fabric is suitable.
The color will also make a huge difference.
Make sure to choose a color that best compliments the room together with the things inside.
Consider the plain, decorative or laced type of fabrics if these are suitable for the room’s design.
Sewing kit or sewing machine
Knowledge of sewing is also a necessity.
When it comes to the sewing kit, make sure ta have scissors, tape measures, needles, and threads in it.
Suppose you are planning to sew using a sewing machine, the better. It will save you both time and effort if you use a sewing machine.
Xem thêm : How To Tighten The Swivel Bolt-On Underside Of Seat?
Another option is using iron-on tape. This will save you from sewing injuries, but you will have to use a clothes iron instead.
#2. Measure
Place the rod just above the window frame. A tie-top curtain is best positioned when rods are installed outside the frame.
It is also recommended to make use of the 1-foot rule in attaching rods above the window frame.
After installing the rod, you can now measure the necessary length fr the curtain.
Measure from the rod going downwards.
The length will differ depending on your preference.
Some like it to be by the window sill, below the window frame, or brushing the floor.
Whichever you want from the three lengths mentioned, always add a foot for necessary adjustments and hem allowances.
The width, on the other hand, will depend on the rod attached above.
Measure the rod’s length and double or triple it to make a fuller look for the curtain.
#3. Cut
Next is to cut the curtains according to the measurements that you have. Take note of the allowances.
It is better to have longer curtains rather than having short ones because you can just adjust the length.
But you can’t compensate for a shorter length.
#4. Sew
Now you have three options. One is to sew it using a sewing machine.
So you will need a sewing machine and the knowledge of using it.
Two is to sew it by hand if there is no sewing machine.
You will need the sewing kit and the knowledge of basic backstitching.
Lastly, is using iron-on tape. Again, this is for those who have no idea or are not confident enough of their sewing skills.
You will have to put the tape on one side, fold it facing the other and iron it with a clothes iron.
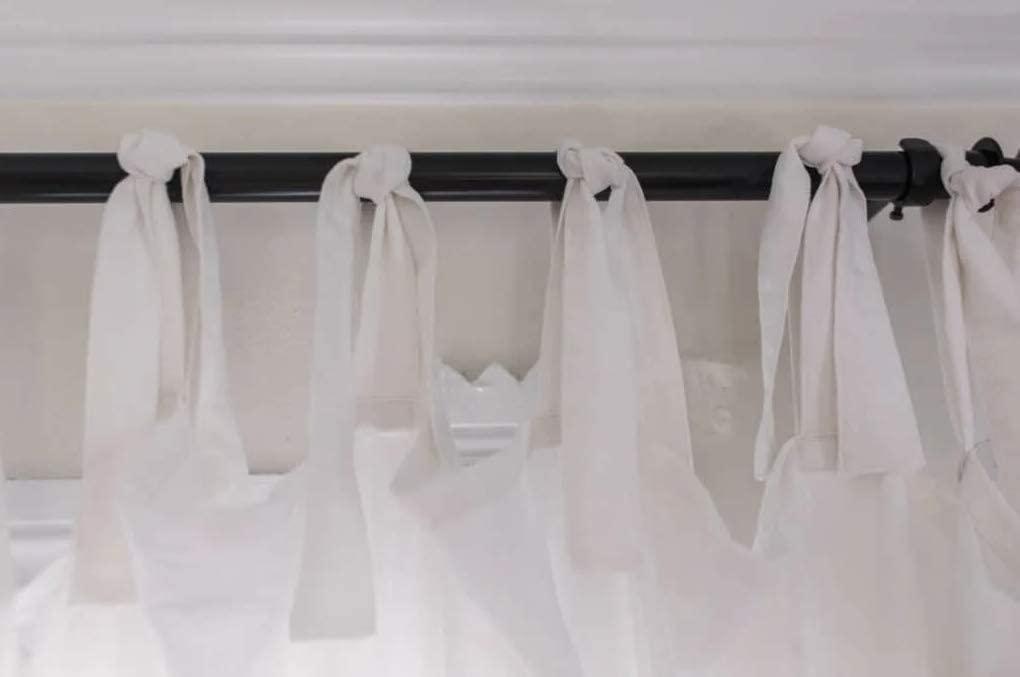
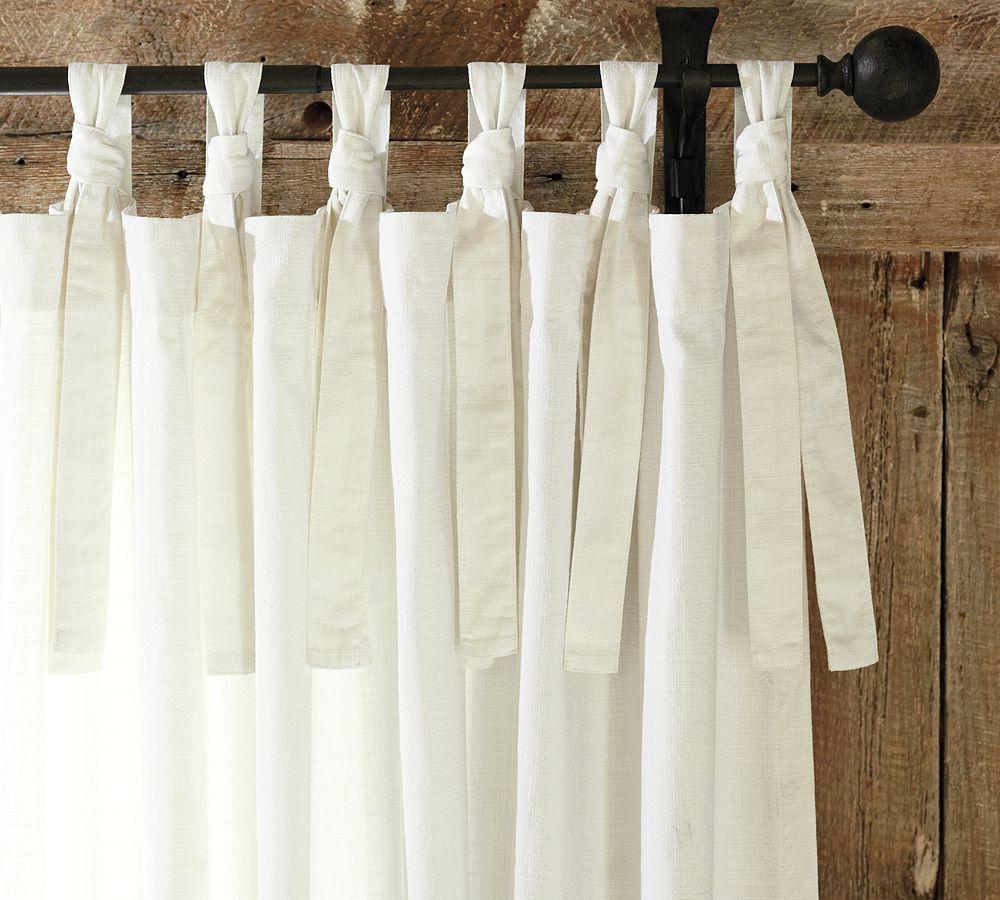
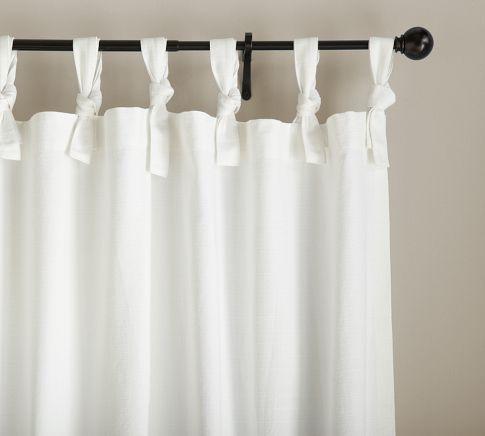
Now the top should have strips of fabric ready to be tied. Remember, you are making a tie-top curtain.
The top portion must have strips of fabric with a width of 2 to 3 inches and a 3 inches gap between each one.
#5. Hang
Next is to hang the curtain. Finally, tie the curtain to the rod. The main idea of a tie-top curtain is connecting it with a rod.
When hanging the curtain, make sure that the curtain is evenly leveled to become unruly.
Curtain Ideas
Xem thêm : How To Use A Neck Roll Pillow? Comprehensive Guide
Some curtain tips if you’re making a curtain.
It is best to have sheets instead of buying a new one.
Recycle what you have.
When it comes to making curtains, knowing sewing is a great way to save up some cash and time.
It is a small investment compared to how much you can save in buying custom-made curtains or buying new ones.
How To Make Curtains – Tie-Top Curtain Tutorial
Learn how to make curtains with this simple sewing tutorial. These beautiful, Pottery Barn inspired tie-top curtains are the perfect way to frame out your windows and add farmhouse charm. Follow my tips below to make these DIY curtains.
This post contains affiliate links, which means I make a small commission at no extra cost to you. See my full disclosure here.
Today, I want to show you how to make these really simple and really pretty tie-top curtains. They are perfect for a look that is inspired by Pottery Barn, without the Pottery Barn price tag.
Don’t worry if you’re not an accomplished seamstress: this tutorial is perfect for a new sewer.
If you are brand new to sewing, I have an entire, free sewing course that will walk you through everything to get you started, and teach you how to start sewing. Did I mention it is completely free?
As you may know, I love making things in my own home; it is one of my passions. And I love the drape and the flow of linen, I love the look of ties and ruffles, and you will see these features all over my home.
Sometimes, you’ll even see them on me — recently, I shared this really adorable Shirred Dress Tutorial that had ties and ruffles!
We started rearranging and decorating our living room, so I wanted to make some beautiful curtains for it that incorporated these loves of mine. I’ll give you a full tour of our living room soon, since we have added a few things.
Actually, I wanted to get some tie-top curtains, but since our new farmhouse has really tall ceilings, I couldn’t find anything available online that would meet the height I needed.
So I created these DIY curtains myself, and I love how they add such a nice, draped linen texture. They really are so beautiful on the windows.
Tips for making Top Tie Curtains
- Treat your fabric how you plan to treat it. For example, if you plan to wash and dry your curtains, do that before sewing. I personally wash my linen on cold and hang to dry, so that would be the procedure I do before sewing.
- Always double-check your measurements.
- Use the first panel you cut as a template for the next panel.
Supplies You Will Need:
7 yards linen fabric (for 104″ – 112″ in length curtains)
I used Kaufman Brussels Washer Linen Blend 52″ wide
116″ for the main panels (Cut 2)
17″ by 3.5″ for the tie tops (Cut 24)
Sewing machine
Thread to match the color of your fabric
Iron
Pins
Fabric scissors
How To Make Curtains – Tie Top Curtains Step-By-Step
Cut out the ties:
Cut out 24 pieces 3.5″ by 17″. When cutting the ties, make sure to go off of the width of the fabric. You don’t want cut down one of the long sides, because we are using the full 52″ width of the fabric. Cut from the bottom of the fabric, not one of the sides.
Cut out the main panel:
- Measure your windows: I like to measure about 4 inches above the window trim, all the way down to the floor. I like to frame out the windows and make them appear larger.
- Take the length that you want, then add 6″ for the bottom hem, 1″ for the top hem, and subtract 3″ to compensate for the length of the ties. For me I had 112″ total length + 6″ (3″ X 2 for the bottom hem) + 1″ (1/2″ X 2 for the top hem) – 3″ (length that the ties add) = cut 116″ length by 52″ width (the width of the linen).
- So I cut out 2 panels at 116 inches long. The easiest way to cut the panels is to take your measuring tape and go down the length of the fabric, pulling it through until you get to 116 (or whatever length you need), then make a little notch. Do the same on the other side and make a little notch, fold it in half, and see if the notches line up. Then, cut to connect the two notches.
- After you have gotten the first panel cut and made sure everything is correct, you can use that panel to create the second panel.
Sew the ties:
- Fold one edge of the tie under about 1/2 inch, and then fold it in half lengthwise, right sides together, and then sew along the long edge, leaving both ends open. Make sure to backward and forward stitch at the beginning and the end.
- Turn it out using a safety pin, so the raw edges are tucked inside. Press it flat with an iron, making sure the seam is pressed over nicely on the side.
- Top stitch all the way around each tie, leaving one raw bottom edge left open (it will just be tucked into the curtain panel). A top stitch is just a stitch that goes around the edge of something to make it look nice and give it extra durability.
- Repeat that with all the ties.
Sew The Main Piece:
- Fold over the long sides about 1/2 inch and press it. Fold it over another half inch, and press so the raw edges are nicely tucked in and you are left with a clean edge. Do this on both long sides.
- For the bottom hem, we want to make a nice, big hem, so fold over the bottom edge 3 inches and press. I like to do this just in case the curtains are moved to a different room, or they get washed wrong and shrink and I need to make the curtains a little longer. A large hem gives you a little wiggle room.
- Fold that bottom over again 3 inches to hide the raw edge. Press.
- Fold the top edge over about 1/2 inch and press. Fold over another 1/2 inch and press.
Sew The Ties:
- Place two ties underneath the top fold before hemming it down. The key to getting them evenly spaced is to first know we are doing 6 sets of ties. Start by placing one set of ties flush with one end, and another set of ties flush at the other end.
- Space the remaining four inner ties evenly. I did this by measuring from the inner edge of the tie all the way to the inner edge of the other tie and divided by 5. Since my fabric was 52 inches wide, I placed my ties about 10 inches apart. You don’t have to be super exact as long as they are pretty evenly spaced.
- Tuck the raw edge of the ties under the fold and pin.
- Sew a hem all the way around the curtain panels. I like to sew it as close as possible to the bottom fold. I like to put my piece upside down so the bobbin thread is on top, which is not technically right, but this ensures I don’t miss the hem at all and then I make sure to get all 12 ties.
- If you are brand new to sewing, you can find my video on how to sew a hem.
- Once you have sewn a hem all the way around the curtain panel and sewed in the ties, you will want to pull the ties towards the top and put a top stitch on each tie.
- Another option would be to serge all of the raw edges of the ties and then just sew them already facing up in place on the top hem. Then, you could bypass tucking them in, sewing, and then flipping them over and sewing.
- Once you’ve sewn all the way around, hang and enjoy your curtains.
Conclusion
Now that you know how to make tie top curtains, I hope you can make one of your preferences.
There are no more limited choices since you can now make your own.
You can start a business with this one also. Be more practical.
Nguồn: https://iatsabbioneta.org
Danh mục: Home