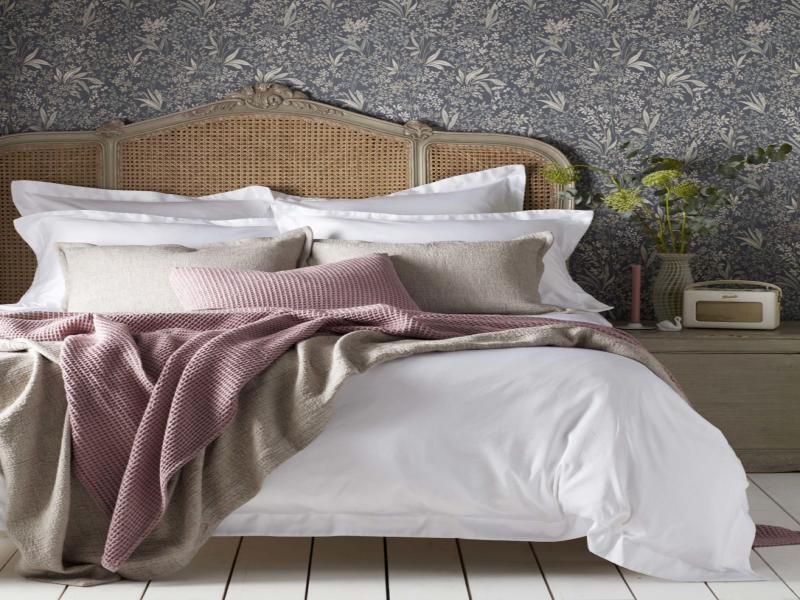
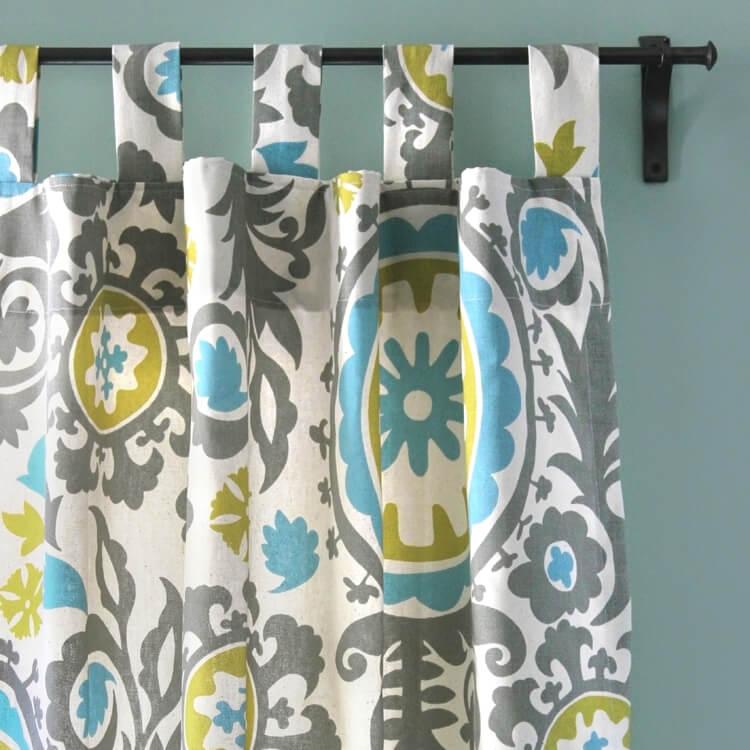
Give your room a whole new personality just by changing up the curtains. Whether you’re making new curtains from scratch or simply adding the tab tops, this design is perfect for stationary panels — and you can customize the look with mix-and-match fabrics or embellishments. Here we go!
- How To Install Air Conditioner In Wall? Step by Step Instructions
- How To Knit A Pillow? A Perfect Guide For You!
- How To Build A Captains Bed With Drawers? Complete Step-by-Step Guide
- How To Remove Stains From Bed Sheets? What You’ll Need
- How To Lay In Bed After Knee Replacement? Complete Step-by-Step Guide
Instructions
1. Cut the Panel Fabric
Give your area a whole new personality just by changing up the curtains. This pattern is ideal for stationary panels, whether you’re sewing new ones from start or just adding the tab tops. You may also mix and match fabrics and embellishments to create your own unique style. Let’s get this party started!
Bạn đang xem: How To Make Tab Top Curtains? Important Tips to Remember
Once you’ve cut out your panels, you’ll need to cut each panel a facing piece. The facing should be 3 to 4 inches long and the same width as the curtain panel.
Expert Tip: Make your curtain panels a little longer than you anticipate using them if you have a lot of fabric. Before you hem the panels, you can put them on your curtain rod to see how they look.
2. Determine Tab Length
Pin the length of your tabs to the curtain rod with a piece of cloth. It is generally recommended that the curtain’s upper border hang between 2 and 4 inches below its mounting rod. To account for the 12″ seam allowances at the tab’s two ends, double the length you pinned by 1′′.
3. Cut ‘Em Out
Put a tab on each of the curtain’s outer edges to see how many you’ll need. As a last step, spread them out about 6 to 8 inches apart.
The tabs are typically 112″ to 2″ wide. Starting with a 5′′ width, cut out 2′′ wide pieces (and the length you decided on in Step 1). Cutting a 5′′ wide strip and sewing the long edges together is another option. Either way, be sure to press your fabric flat after it has been turned right side out.
4. Finish the Panel Edges
Fold the cloth twice on each side and stitch to make a tidy edge for your curtain hems. The hem can also be done now if you know exactly how long you want it to be (or wait and do that as a last step). Because curtain seams aren’t subjected to the same abuse as clothing, you can save time by sewing with a greater stitch length.
5. Attach the Tabs
Pin the tabs to the back of your drapery. Make sure the tabs and panel stripes match if your fabric is striped. Use a 12″ seam allowance to sew across the top.
If your fabric is heavy or thick, you’ll need to space the tabs apart more. As a result, it will be easier to open and close the curtain panels on each side of the window.
6. Attach the Facing
In order to get the finished curtain panel’s finished width, fold the facing piece’s side and bottom edges. Press. Using right sides together, pin the facing to the curtain panel and then sew along the top edge seam allowance.
7. Press the Facing
Apply pressure to the face and tabs to provide a clean finish on the edge.
8. Sew the Facing
While pressing down, make sure to maintain the tabs extended as you flip it over. Close the top edge of the facing by stitching across the bottom. The stitching line is clearly visible in the photograph shown above. If you choose, you can also sew across the sides of the facing, but it’s not necessary.
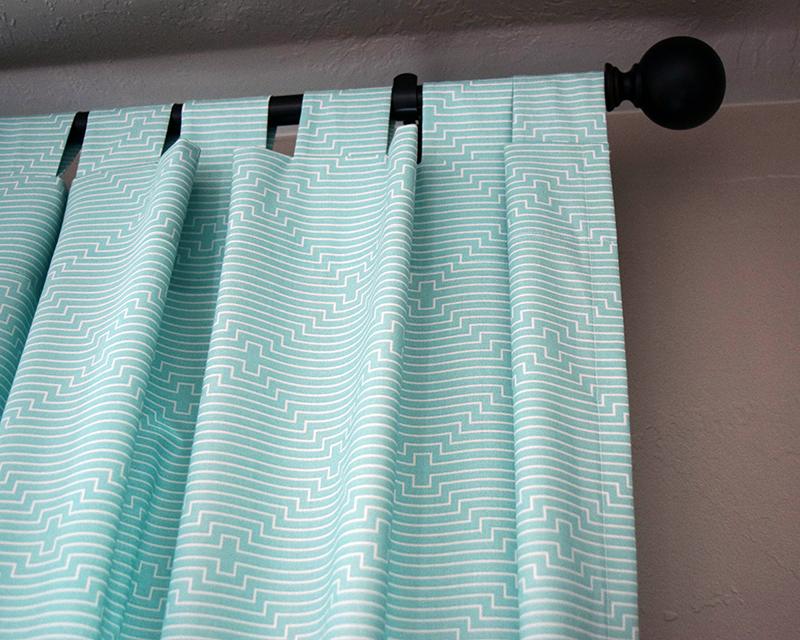
How to Make Tab Top Curtains
Tab top curtains offer a clean-lined, modern alternative to traditional window treatments and fortunately, they’re easy to sew. You only need a few simple items and a few hours of your time to construct these curtains. In terms of fabric, color, and pattern, you can create your own curtains to exactly match any kind of home decor.
Things You’ll Need
In order to sew a set of curtains, you’ll need the following materials:
- Your preferred fabric in the appropriate yardage length for your window
- Matching thread
- In a sewing machine
- Pinned and safety pin
- With a tape measure or other cutting tool
- rotary cutter and mat or scissors
- Iron
How to Measure and Make Tab Top Curtains
If you follow these procedures, it’s easy to make tab top curtains. These instructions can be adapted to fit your window and fabric of choice.
1. Measure Your Window Width
Begin by determining the width of your window’s opening. If you want to buy the proper amount of cloth, you’ll need to know this measurement. When closed, tab top curtains tend to be less full than other types of curtains, but this is a personal preference. Adding a few extra inches to the width of your window will allow you to achieve loosely gathered curtains. The width of each curtain can be determined by dividing this value by two. To account for hemming, you’ll want to increase the length of each curtain by an additional two inches.
2. Decide on Curtain Length
It’s entirely up to you how long your drapes are. To hang the curtain rod, you can place it either near or above the window’s frame. The length of your curtain should be measured from the top of the curtain rod down to the floor. For the tabs, subtract 3.5 inches from the overall length. Add around three inches to the length of your curtain if you want it to “puddle” somewhat on the floor.
3. Calculate Your Fabric Yardage
The breadth of the fabric you choose for each curtain should be at least as large as the final measurement you settle on. There is no need to piece the fabric together this way. For the majority of tab-top curtain projects, you’ll need a fabric width of between 54 and 60 inches wide. Your curtain width times two, and then add one additional yard for tabs and hems to get the length you require.
4. Cut the Fabric
For your curtains, you’ll need three major components:
- Main panels – The width of each panel will be decided in stage 1 of the design process. For hemming purposes, add six more inches to the length you determined in step 2. Two panels are required.
- Cut the curtain facing out of the fabric that is left over. This will be a three-inch-tall strip that is exactly the same width as the curtain panel. There are two strips you’ll need.
- Tabs — In order to speed up the procedure and maintain the tabs’ uniform width, you’ll be producing them from a continuous strip. In order to make all your tabs, you’ll need a three-inch wide and long strip. In order to keep tabs spaced every six inches along the top of the curtain, each tab will be eight inches long. Multiply the number of tabs by eight to determine the length of the tab piece. Multiple strips of fabric could be used to make your tabs if necessary.
Xem thêm : How To Winterize An Air Conditioner? Tips To Winterize Your AC Unit
Set aside the pieces you’ll need.
5. Hem the Panel Sides
On both sides of each curtain panel, sew a half-inch-wide rolled hem with your sewing machine. Set each panel aside with a gentle press.
6. Make the Tab Strip
The right sides of the tab should be facing each other as you fold it in half. Create a long tube by sewing a quarter-inch seam on the raw edge. Using a safety pin, flip the tube over and remove the cap. To flatten the tube, push the seam at the back with an iron. A one and a half inch broad tab stripe is recommended.
7. Cut the Tabs
Tabs can be made by cutting a length of tab strip every eight inches. As long as the tabs are sewn together, the raw edges will be hidden by the finished curtain.
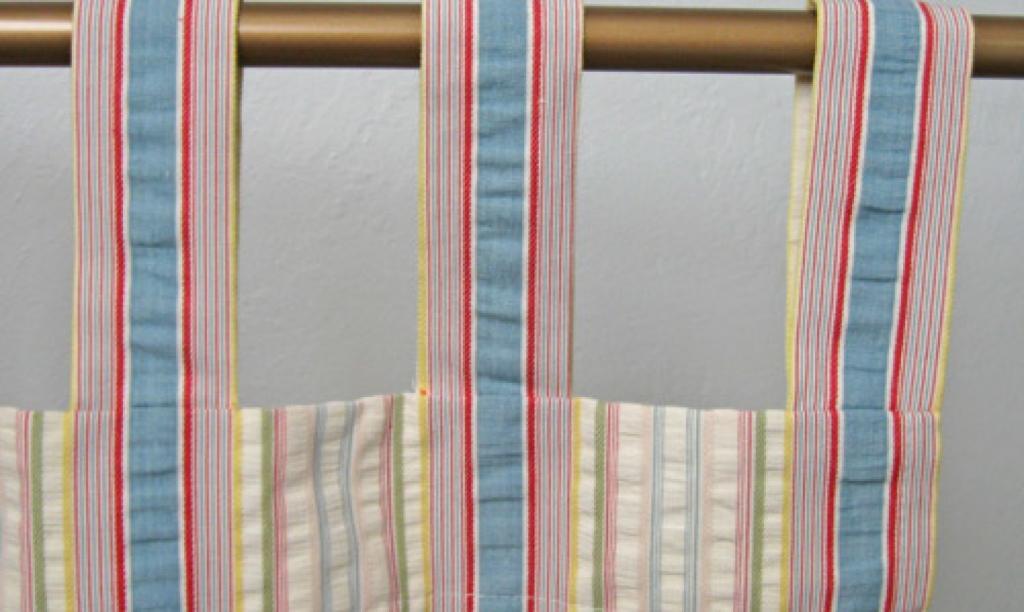
8. Arrange the Tabs
Right-side up, lay out the curtain panel so that it is face-up on your work area. Using the raw ends as a guide, fold each tab in half again. Place the first tab with its raw edges aligned with the panel’s raw edge and the tab loop pointing down. After pinning it in place, continue tying tabs every six inches on top of the curtain panels.
9. Sew the Tabs in Place
Using a raw edge aligned with the top of the curtain panel, place the facing piece over the tabs. Pin it in position, taking care not to move the tabs you’ve already placed. Remove the pins as you sew, keeping the seam a half-inch from the raw edge. Tabs are visible when the curtain panel’s face is folded over and pressed against the rear of the panel. Use the iron to provide pressure.
10. Finish the Facing
Pin the facing in place by folding the raw edges under. To keep the facing in place on the curtain panel’s back, use a top stitch. Once the panel is sewn, topstitch slightly below where the tabs are attached to ensure that they stay put.
11. Hem Your Curtains
Check the length of the drapes by hanging them in the window. Adjust the hem with pins if necessary. At the very bottom of each curtain, use your sewing machine to make an extra-wide rolled hem. To achieve a crisp finish, use the iron.
Helpful Tips
To ensure that your project is a success, consider the following suggestions:
- You can use any fabric to build your curtains, but they look best when they’re made of a medium-weight cloth. Consider linen or cotton twill.
- Using interfacing on the facing piece of a light-weight fabric will help ensure that the curtains will hang properly and not droop between the tabs.
- To avoid sewing the tabs, use ribbon instead of the material. Ribbon that is one and a half inches wide and strong enough to support the panel’s weight is required. You could go with grosgrain.
- The curtain panel should have a large button where each tab meets the curtain on the front side of the panel.
Custom Curtains You’ll Love
Custom tab top curtains are a simple and quick sewing project for the home. To get the style you want, you can choose the right fabric and the length and fullness of your curtains. If you’re patient and pay attention to the details, you’ll end up with gorgeous curtains that get a lot of praise.
Nguồn: https://iatsabbioneta.org
Danh mục: Home