A knitted pillow can be made in just two simple steps. Knitting needles, yarn needles, and crochet hooks can all look very complicated, but a beginner can still complete this project. You’ll need an acrylic yarn and a pillow form in addition to the previously mentioned things to make this pillow.
- How To Install Portable Air Conditioner In Horizontal Sliding Window? Quick Questions Before Starting
- How To Add Swivel Mechanism? 6 Easy To Follow Steps For You!
- How To Clean Portable Air Conditioner Coils? A Few Tips to Remember
- What Is The Best Growing Temperature For Vegetables In A Greenhouse?
- How Often Should My Air Conditioner Cycle? Things You Should Know About
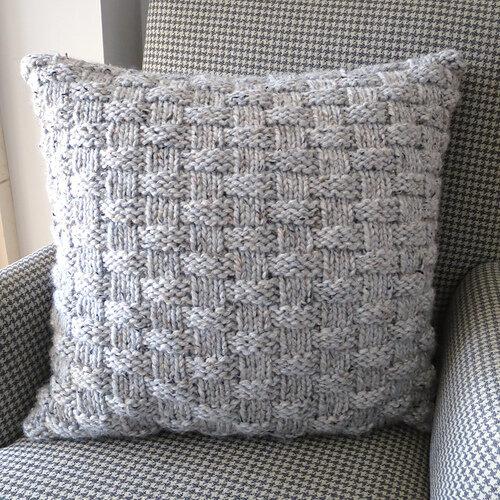
This is a great DIY project for a standard pillow form, measuring 16 inches by 16 inches. The end result is a decorative and functional knitted pillow in the traditional style. Follow the instructions below to get started, and if you want to add a special touch, you can decorate the finished pillow.
Bạn đang xem: How To Knit A Pillow? A Perfect Guide For You!
How To Make A Knitted Pillow
Step #1. Cast-on
This pattern is written for a pillow cover to fit a standard 16×16-inch pillow form, but you should modify the measurements to fit your pillow form. The resulting cover may appear modest at first glance, but it can be stretched to provide a snug and secure fit. With a 60-stitch cast-on and a good knotting of the ends, you can make a strip that measures 14 inches in width and 23.5 inches in length.
At this point, fold the piece in half so that the bind-off and cast-on edges meet. This knitted pillow is great because it can be used either front or back because both sides are identical. Now that you know you’ll be using the entire thing as a pillow, you can move on to the next step.
Step #2. Stitch
With a yarn needle, you should make stitches from right to left. Don’t start stitching up the left side until you’ve secured your yarn. Keep in mind that if you prefer a different seam finish, you can also crochet the sides with a slip stitch.
After finishing the seams, the pillow can be turned right-side out. You can stuff the pillow form into the gap between the cast-on and bind-off edges now. Last but not least, once you’ve slipped stitched the bottom side, you can smooth out the corners and call it a pillow.
How to Make a Chunky Knit Pillow Cover in Under an Hour
If you’re just learning how to knit, try your hand at this chunky knit pillow cover. This project is suitable for those who have learned to knit and purl and have completed simple items like a dishcloth or scarf.
This one can be put together in under an hour, and there are no complicated patterns or fancy seams involved.
This pillowcase is also perfect for giving stale pillows a new lease on life. Your sofa could have a completely new look with just some yarn and some time.
Or, in my case, for the nook in my own dining room.
I know I’ve said this before, but I’m not the most skilled knitter in the world.
Stop sending me messages and emails about how perfect or not perfect your stitches are; this project is about learning some simple stitches and making something you can be proud of, even if you’re just starting out and making a few mistakes.
The purpose of this blog is to encourage readers, even those without prior experience, to experiment with new craft techniques and create their own unique pieces of home decor.
Do not twist your purl rows like I did if you want a perfect stockinette stitch.
Xem thêm : How to Fix a Wobbly Swivel Stool? Steps By Steps Guide
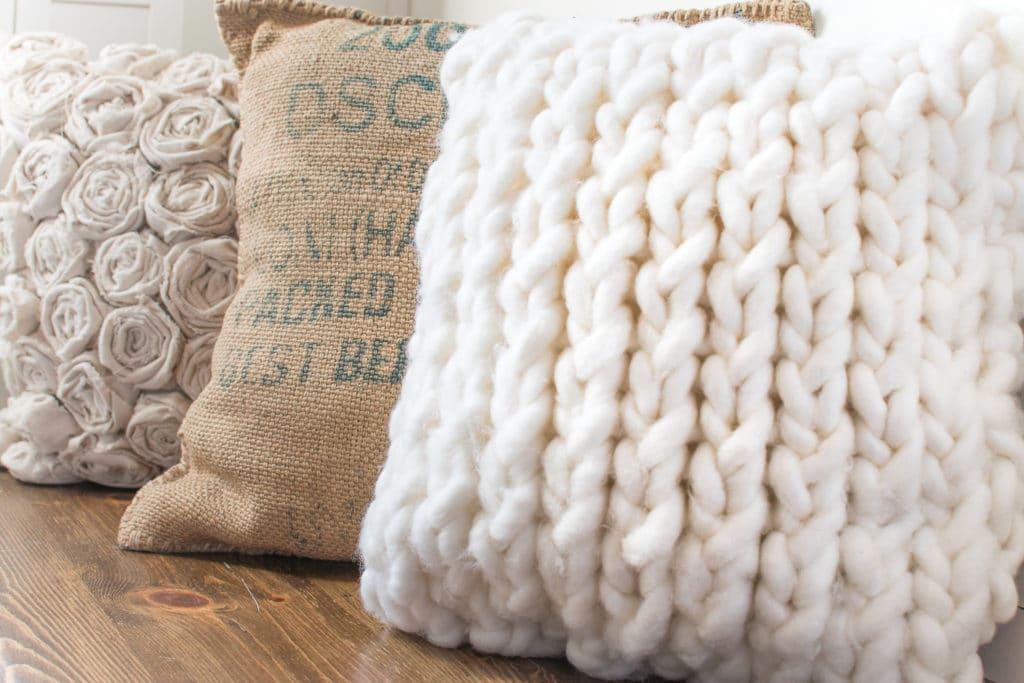
Both of the extra cushions were sewn by hand as well. I made a comprehensive guide on how to make that rosette pillowcase, if that’s what you’re interested in.
SIMPLE AND QUICK KNITTED PILLOW COVER
For me, this was a chance to use up some old supplies.
Last summer, I ordered a variety of jumbo yarns to use in a blog post I wrote. I knitted a large blanket and was curious about which jumbo yarns I liked best in case I ever wanted to knit another one.
WoW by Lion Brand was one of the yarns I tried for that post. Even though I couldn’t decide what to make with it, it became one of my favorites (despite the shedding!).
Woah yarn isn’t great for making accessories like scarves and blankets because it sheds and pills.
In theory, such a blanket could be stunning, but in practice, I fear that the constant shedding would render it useless in a matter of weeks.
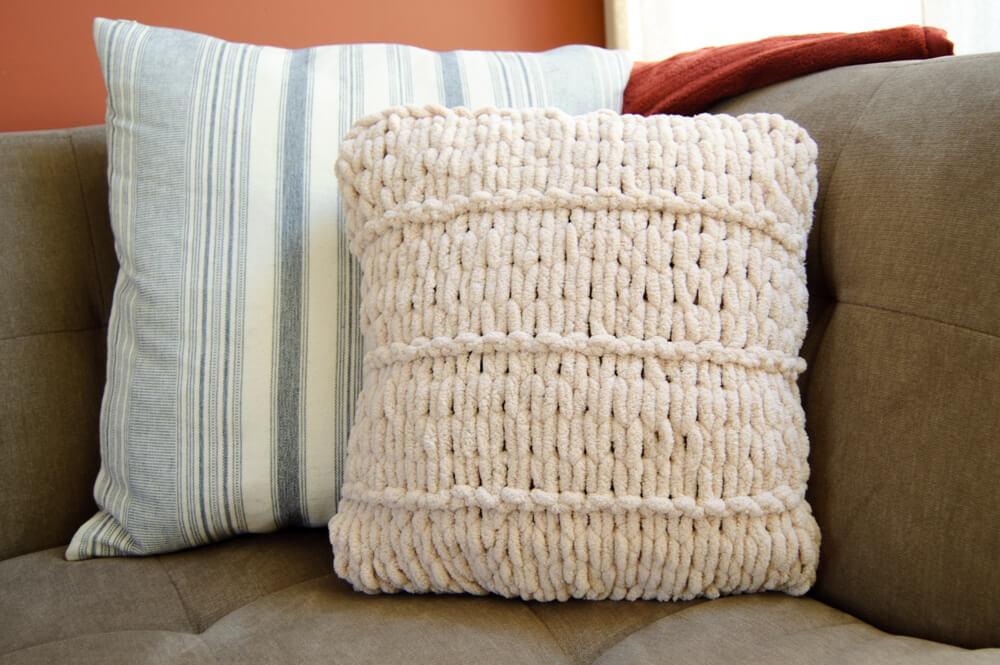
And a throw pillow? Sure, that sounds like the kind of thing this yarn would be great for.
What do you think, is it lovely?
MATERIALS AND TOOLS TO MAKE A CHUNKY KNIT PILLOW COVER
The links in this post may be affiliate links. If you click on one of my links and make a purchase, I may get a small commission at no extra charge to you.
Only the equipment and supplies that I personally use are ever suggested. In addition, I perform extensive quality assurance checks on each and every one of my works prior to release. ~
So, I worked with Non-Dairy Creamer Wow jumbo #7 yarn by Lion Brand. The creamy white color went wonderfully with my farmhouse-style table and chairs. It’s perfect, and I adore it.
I’m not crazy about the price though. There is, however, a more affordable alternative that I can offer you now:
A yarn with suspicious similarities is available at Michael’s. My suspicions are warranted because the color is identical. This yarn, by Loops and Threads, is called Spirit.
To cut a long story short, the Loops and Threads Spirit yarn is the most cost-effective option. I’ve seen Spirit yarn on sale several times, and each skein has twice as much yardage as comparable brands.
Materials
- Cushion Covers for 14″ x 14″ Throw Pillows
- Non-Dairy Creamer, three balls of Lion Brand’s Wow Yarn, a skein of Lion Brand’s Wow Yarn
(to save money, shop at several different yarn and craft stores) - OR, go to Michaels and buy two skeins of the Loops and Threads Spirit Yarn (on sale!)
- Puny needle and thread
Tools
- Knitting Needles, Size 50, Susan Bates Xtreme Wood 14″
A CHUNKY KNIT PILLOW COVER ANYONE CAN MAKE
That’s why it’s perfect for someone just learning to knit. There’s no need to worry about finicky seams, complicated stitches, or counting rows.
Xem thêm : What To Grow In A Small Greenhouse? Ultimate Guide
When using super jumbo yarn, the entire chunky knit pillow can be completed in under an hour. I timed myself and it took me 40 minutes to knit the pillow, along with two cups of coffee and a phone call. Weaving the ends together to complete the pillow cover took another 5 minutes. And then another 10 minutes of dog hair removal!
In addition, I should mention that you cannot use this pattern with any yarn other than the two I specified. Even though they may be labeled as such, not all jumbo yarns are the same massive dimensions. Similarly, if you alter the size of your knitting needles, I have no idea how the pattern will turn out.
Only a few of my brand-new knitter friends got hung up on my quick knit basket pattern, so I thought I’d add these notes to clear things up for everyone.
How To Cast-On For Beginners
Making a slip knot
If you want a neater cast-on every time, you can learn a variety of techniques. For instance, you need to hone your ability to tie a slip knot by looping yarn and pulling it through the loop. To finish, tie a knot at the end of a second loop, which is called a slip knot.
Making a single cast-on
Slide the knot onto the needle and pull to tighten. Simply wrapping the yarn tail that comes from the ball of yarn around your thumb will yield a single cast-on. The next step is to take your thumb off the yarn and pull it through the loop created by bringing the needle down and up.
A desired number of stitches can be achieved by repeatedly wrapping the yarn around the thumb. One helpful hint is to leave a tail at the end of the yarn that is the same length as the cast-on stitches. Ten cast-on stitches, for instance, can be made with a foot of tail.
Knitting cast-on
Create a slip knot on a needle for your left hand and get started. Then, using your other hand, slide the needle you’re holding under the loop on your left needle. Your left hand should be used to wrap the working yarn under the left needle, and your right hand should be used to insert the right needle into the loop created by the left hand.
By doing so, you’ll create a loop on the right needle, which you can then flip over and place on the left. The two cast-on stitches will be created when the right needle is removed from the loop and the yarn is pulled. Simply insert the right needle through the loop on the left needle and bring it under the work as before.
How To Slip Stitch
The slip stitch is another useful technique to master when knitting your own pillow. Putting the needle in as if you were going to knit is the quickest and easiest method. Insert the right needle into the stitch on the left needle and slide it off the left needle onto the right needle to create a twisted stitch.
When learning how to knit a pillow, slip stitch knitting is a helpful technique for creating decorative edge stitches. Your pillow’s seam will be stronger and more aesthetically pleasing thanks to this method. Keep in mind that when calculating the total number of stitches, you must also factor in the number of stitches along the edge or selvage.
How To Choose The Right Size Crochet Hook
Picking the right crochet hook is the final piece of advice to making a successful knitted pillow. The recommended hook size and number of stitches per inch will be listed on the label of your yarn. Crocheting a pattern and measuring your stitches to make sure the needle isn’t too tight or too loose isn’t going to hurt.
Conclusion
Knitted pillows not only have a special warm and inviting quality, but they also make for great do-it-yourself projects. In just two easy steps, you can knit a soft pillow to cuddle up with. As the above instructions only require a cast-on and a few stitches to complete, they are suitable for beginners.
Place the form inside, and then use a crochet hook or yarn needle to sew up the bottom. You can make a nice-looking knitted pillow if you give it enough time. So, why do you linger?
You should get started on this right away.
Nguồn: https://iatsabbioneta.org
Danh mục: Home