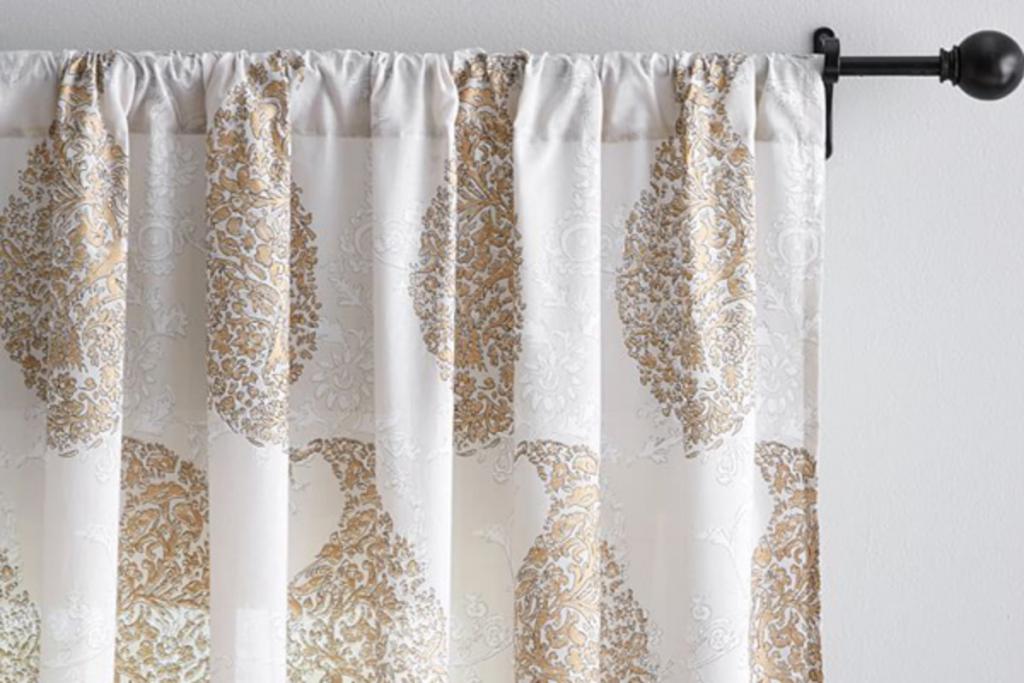
Fitted sheets can be used to make curtains that don’t require any sewing. Fitted sheets are used by many individuals to decorate their windows. Students, first-time tenants, and crafty folks are just a few of the people that utilize fitted sheets to conceal their identities in their homes. Most windows can be covered by fitted sheets. It’s simple to make curtains out of a fitted sheet. Adding a silk or lace border to the curtain is an option.
How to Make Curtains Out of Fitted Sheets
Step 1
Using a tape measure, measure the width and length of the window to ensure that your curtains will fit. Add an additional 8 inches to the distance. The hems of the curtains can be accommodated by an additional 8 inches.
Bạn đang xem: How To Make Curtains From Fitted Sheets? Step-By-Step Guide
Step 2
Step 1: Add 8 inches to your fitted sheet’s length and width. Remove all of the elastic binding by cutting the fabric to size.
Step 3
The breadth of the fabric should be folded in half, not the length. Create two curtain panels by slicing the fabric in the middle.
Step 4
Make a half-inch and a half-inch fold in the fabric’s backside (the side that is facing you). The fabric is being folded twice for each hem. On the reverse side of the sheet, use pins to secure the fabric. This step should be repeated on the other side of your curtain.
Step 5
Remove the pins as you glue the curtain hem in place with your hot glue gun. Use the backside of the sheet to adhere the glue. Then do the same for the other panel. The fitting sheet should not be glued to the pins.
Step 6
Hot glue the sheet in place by folding the top of the sheet in a 12 inch and pinning it to the backside. Pin and hot glue the top sheet hem down an additional inch. Then do the same for the other panel. Make sure your curtain rod will fit the inch hem before gluing it in place here.
Step 7
Install the curtain rod and hang the drapes. Cover your windows with this.
Step 8
Pin the bottom hem of the curtain to the backside of the curtain after measuring the length of the curtain. Repeat the process with the other curtain panel. Make sure the curtains are level with each other by doing this.
Step 9
Remove the drapes from the curtain pole. Remove the pins from the hem as you glue it down (on the curtain’s reverse). Repeat the process with the second curtain panel.
Step 10
To hang your curtains, use the curtain rod that covers your window.
Tip
A decorative border can be added to the curtain panels by hot-gluing them.
Cut up old bed sheets & turn them into fantastic curtains
Floral bed sheets can be a charming addition to a girl’s bedroom, but they don’t have to be thrown out when the time comes to switch things up. Floral bed sheets may easily be transformed into lovely and unique curtains for any room in the house with some thoughtful stitching. Making curtains from old bed sheets is a creative, entertaining, and cost-effective alternative to buying anything new, whether you want to block the sun in the summer or just want to freshen up the look of your area.
ADVERTISEMENT
Materials
-Stair step
-Tape length is measured in inches.
-Floral fitted sheet
-Scissors
-Iron
Ironing a surface
A measuring tape is an essential tool.
Pencil with red chalk
Transparent plastic measuring board with a 24-inch circumference is available
Machine to sew
-Pins for sewing
-Ruler
-Snippets of thread
A cutting mat from MemOffice
-Pillowcase
Rotary cutters with loops
Instructions
Xem thêm : How To Adjust The Tensions Of A Lazyboy Recliner? Step-By-Step Guide
Using a tape measure, measure the window’s width.
Using a step stool, measure the window’s height from the floor to the curtain rod.
Remove the elastic from a flowery fitted sheet.
Using a sharp knife, cut through the corners of the sheet until it lies flat.
To smooth out any wrinkles, lay the sheet out flat on an ironing board.
Fold the sheet in half and use a measuring tape to measure out half of the window’s width. Use a red chalk pencil to mark this measurement, which includes the seam allowance and a 4-inch allowance for ease, on the cloth.
A transparent plastic measuring board and a red chalk pencil are ideal tools for ensuring precision measures.
Cut the leftover fabric and save it for later use as a curtain ruffle.
Cut the cloth to the desired length, including the seam allowance, after taking your measurements.
Sew the curtain’s body fabric’s edges together with a needle and thread.
Flip the fabric over so that the white side of the fabric is facing outwards.
With the cloth folded over 1 inch, insert sewing pins to secure the bottom hem.
As in step 12, sew a half-inch fold on each side of the fabric with sewing pins.
The edges should be machine-stitched in place.
Place a floral pillowcase on a MemOffice cutting mat and turn it inside out.
20 strips of 10-inch by 2 1/2-inch cloth should be cut from the pillowcase after folding it in half lengthwise and once over the short end.
Using a transparent plastic measuring board and a loop rotary cutter, cut the strips from the pillowcase.
Fold a long strip of fabric in half, right sides together. Before sewing the fabric into a tube, make sure the back is facing out. Remove any extra thread by cutting it off. Repeat this process for the remaining 19 strips of material.

Use a small paintbrush to poke a hole into the center of each fabric tube to turn it right side out.
The fabric tubes should be placed on an ironing board and ironed flat.
Close each fabric tube with a machine stitch after tucking in one end.
Use a needle and thread to sew the fabric tubes’ open ends together.
To make the curtain’s ruffle, serge the edges of the extra cloth that was placed aside before.
Pin the ruffle in place by folding three of the ruffle’s sides down by half an inch.
Sew the three edges together using a machine.
The ruffle’s fourth edge should be basted.
Style the ruffle by gathering the basted edge together.
On a flat surface, lay out the fabric that will form the curtain’s body, with the back of the cloth facing up.
Place two strips of cloth on top of each other and place them on the bigger piece of fabric, as shown in the illustration. The first set should be 2 inches from the curtain’s left-hand top edge, and the remaining five sets should be positioned evenly across the top of the curtain.
Xem thêm : How To Recharge Home Air Conditioner? Repair or Replace
It’s now time to secure the curtain’s hem by attaching the five fabric strips.
In step 31, place the ruffle on top of the cloth, pinning it in place with the backside facing up and covering the five sets of fabric strips at the top.
All the curtain fabric should be machine-stitched to each other along its upper edge. Thread snips can be used to remove any extra.
Flip the ruffle over so that the ornamental pattern is facing up as well, and place the curtain on a level surface.
To finish the ruffle, use safety pins to secure it to the fabric.
Stitch the ruffle on the top of the curtain using the machine.
Hang the curtain by tying each of the five sets of cloth strips around a curtain rode.
Easy DIY Curtains: How to Make Pleated Curtains
Making curtains is not always easy, especially if you are looking for a certain color or design. You may, however, build your own custom pleated curtains with this easy-to-follow tutorial!
Materials
For those who want a specific color or design in their curtains, the process isn’t always straightforward. You may, however, build your own custom pleated curtains with this easy-to-follow DIY tutorial.
Cutting the fabric
In order to figure out how long your curtains should be, start by figuring out how far down you want them to hang from the floor. Then, figure out how broad you want them. Using these two dimensions, cut each piece of cloth a foot shorter than the required length and width of the garment.
Ironing the pleats
After you’ve cut out all of the pieces, it’s time to decorate them! You’ll need an iron to make these beautiful folded edges. Make a single layer of cloth by using your ordinary iron on the highest setting (typically cotton for most textiles).
Sewing them
Once folded, use a straight stitch or zigzag stitch to sew along the ironed edge of a unironed piece with the right sides together. The seam allowance should be flipped over and pressed, then the cloth should be folded over to hide the seams.
Pinning them
It’s time to sew down all of those pleats you just pinned in place.
Line up one edge with the other at an angle and sew down to the bottom of one pleat, then back up for about a quarter inch using a straight thread or zigzag stitch on your sewing machine. Repeat this process until all of your seams are stitched together.
Hanging them
It’s time to put your curtains on the rods once you’ve ironed and pinned them into shape. To begin, determine the desired length of your curtains and cut the fabric so that the end meets the rod.
Using a curtain pole or window frame, secure one end of the cord to the pole or frame. Once you have enough fabric for each pleat, slide it down a few inches.
How to Care for Pleated Curtain
The pleated curtain may shrink and lose its shape after a lot of washing. Steam iron the curtains on high heat for about five minutes to get them looking like new again!
You can also use a damp towel with fabric softener rubbed into it if your pleats are becoming too tight.
How to wash Pleated Curtains
Using a moist cloth, wipe down the pleats to eliminate any loose particles. Cold water should be used to rinse the curtains after using mild soap to clean them. For about five minutes, use a low-heat iron set to its maximum setting to dry them!
When washing the curtains, be sure to include a liquid fabric softener in the water. Soak the items in lukewarm water with one cup of vinegar and two cups of salt for at least an hour before rinsing.
Finally, place these in direct sunshine during the day for the best results! ‘
Can I Bleach Pleated Curtains?
The cloth should not be exposed to bleach unless a small, hidden area has been tested previously.
First and foremost, ensure sure the colors aren’t fading or running in an inconspicuous location before proceeding with any further work. If your curtains pass this inspection, you can proceed to apply bleach at the rate necessary to clean them up.
To make up for the lack of a measuring cup, simply fill the cup with water and add the bleach to it as necessary.
How to Remove Stains on Pleated Curtains
Tip 1: Use dish soap and water to pre-treat a stain on the fabric before attempting to clean it.
Don’t use chlorine bleach, and wash your clothes in cool or warm water!
What is Pleating?
The method of creating a fluffy surface by folding the cloth in half and stitching the edges together. Curtains with layers or pleats, rather from being flat, are a great way to add visual interest to a room.
Can I Dye Pleated Curtains?
Pleated curtains can, in fact, be dyed. There are two methods to go about it: 1.
Dyeing them a different color than they are currently is an option.
Nguồn: https://iatsabbioneta.org
Danh mục: Home