Cloaks, which can be worn in a variety of ways, are a universally popular item of clothing. This post will show you how to fashion a blanket into a cloak in 5 simple stages, just in case you ever find yourself in need of one.
What Materials Do You Need?
It’s not hard to fashion a cloak from a blanket. Few things are required.
Bạn đang xem: How To Make A Cloak Out Of A Blanket? Step-By-Step Guide
- A blanket big enough to wrap around your shoulders and head.
- A template – There are a lot of different cloak patterns available these days. If time is of the essence, though, a hoodie can serve as a stand-in.
- Marking fabric using tailor’s chalk is essential. Anything will do, although tailor’s chalk is preferable because of its easily removable nature.
- Measuring tape – This will help you or the recipient of the cloak get the perfect fit.
- Needles and pins — The pins will hold the fabric in place as you sew it by hand.
You should be able to easily thread the needle through the fabric.
- Thread Ideally, the thread you use will match the blanket’s color.
After you have amassed these materials, you can begin crafting your cloak.
How To Make A Cloak Out Of A Blanket?
Step #1. Prepare your back pattern
A hoodie can serve as a template if you disassemble it. If you choose, you can leave the design as is; however, remember that it will already include seam allowances.
The hoodie should be laid out on a wide sheet of paper to serve as a pattern. You can trace the entire hoodie or just specific features. The hood is removable and may be tucked away.
As a cloak is much longer than a hoodie, there is no need to trace the bottom. Simply follow the shape of the shoulders.
Once you’ve got the outlines drawn, you may cut them out.
Step #2. Ready your front pattern
The back is more difficult to create the pattern for than the front. The back pattern you made in Step One needs to be transferred to a large piece of paper. Leave a seam allowance of a few inches and trace around it.
Only the neck distinguishes this region of the body from the back. More depth is required than at the back.
Xem thêm : How To Clear An Overgrown Flower Bed? A Step-by Step Learning Guide
At this point, if you are pleased with the appearance of your template, you can remove it.
Step #3. Prepare your hood pattern
Although hoods are not required for wearing cloaks, they greatly enhance their cool factor when present.
You can really let your hair down with the hood. Still, there are some rules of thumb you should stick to.
The hood of the sweatshirt must still serve as a starting point for your creation. One way to accomplish this is to draw the hood on paper.
Once you’re done tracing the hoodie, you can modify its form anyway you like. Remember nevertheless, that the neckline contour is crucial and should not change.
Don’t try to make the neckline smaller to accommodate the cloak’s opening.
When you’ve settled on a design for your hood, feel free to snip it out.
Step #4. Cut out your cloak
Cloak pieces can be cut from the selected blanket once you have your pattern ready.
You can do this by folding your blanket in half lengthwise and arranging the back design on the raw edge of the cloth.
Avoid making vertical cuts, as this would destroy the cloak’s appearance. Use a curved line instead.
The front part can be based on the size of the back part, making the two practically identical. Do not forget to follow the front section’s neckline when drawing the outline.
Xem thêm : Decorating A Leather Recliner
Two front halves of equal size need to be conceded.
When it comes time to construct the hood, use your carefully crafted guide as a guide.

Step #5. Assemble your cloak
Put the right sides of the two front pieces together and place them over the rear piece. Close the seams.
Close the gap by folding and sewing in half an inch of fabric at the open end.
Align the necklines and sew along the seam to secure the hood to the cloak.
Close it up with whatever fastener suits your fancy. One of the easiest and most practical fastening methods is the hook-and-eye.
What Are Uses Of Cloaks?
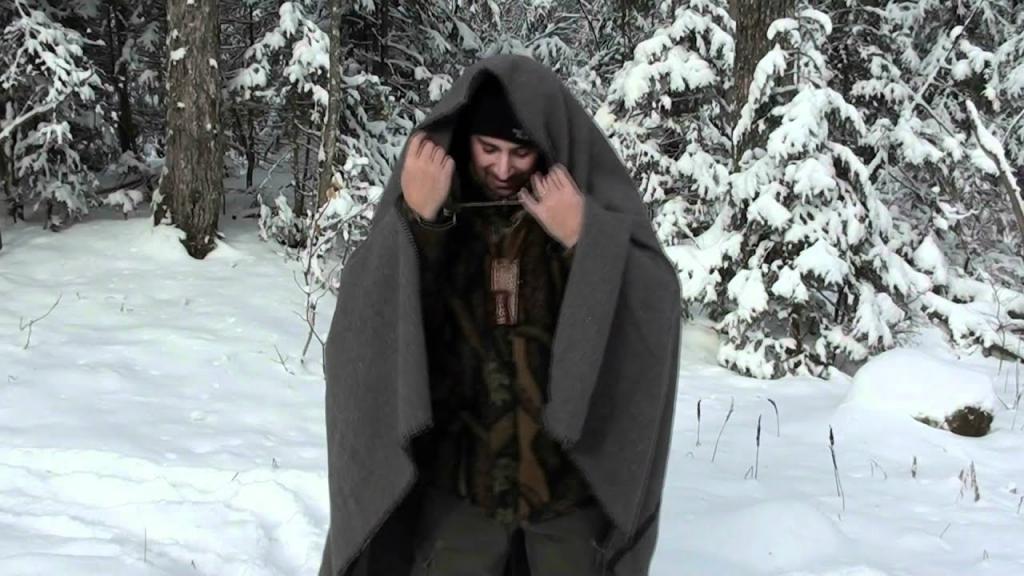
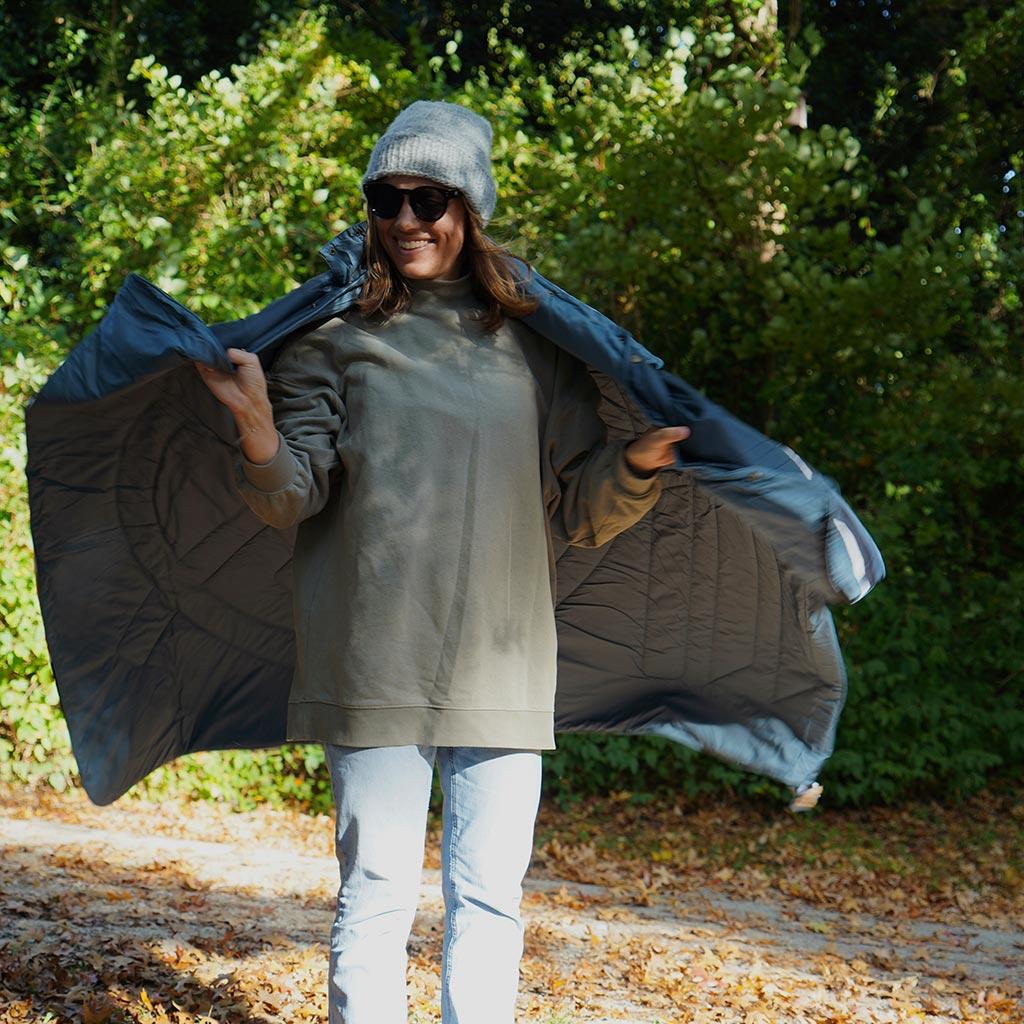
Cloaks serve as an excellent outer layer. The user is better able to withstand the effects of the elements, such as the wind, the rain, and the cold. In addition, they are a striking addition to any wardrobe.
The end of the 19th century saw their decline in popularity, but now they are making a resurgence.
Conclusion
Cloaks are the ultimate garment since they serve multiple purposes and are always in style. To make one, all you need is some time and patience.
Everything you need to know, from what supplies you’ll need to the specific procedures involved, is included in this page.
Nguồn: https://iatsabbioneta.org
Danh mục: Blog