Do you want to improve the aesthetics of your room? You may learn how to hang a blanket on a wall without using nails by reading this article.
We’ll also take a look at the benefits and drawbacks of using nails and not using them. When you’re done here, feel free to explore the other options we provided.
Bạn đang xem: How To Hang A Blanket On The Wall Without Nails? Step-By-Step Guide

Method #1. Using velcro
Step #1. Prepare the materials
Wash the blanket before using it as a sleeping pad. This is to ensure that when you put it on your wall, it will have a fresh, clean scent.
Keep it secure with adhesive velcro strips after washing.
Adhesive velcro strips can be used to affix objects to textiles since they are simple to apply and stick to the surface.
No sewing, gluing, or ironing is required when using adhesive velcro strips.
Washing and reusing them is no problem either, as they are extremely durable.
Step #2. Flatten the blanket
Lay the blanket out on a flat surface.” There should be no creases or wrinkles in the blanket. If required, use it.
Make sure the design is facing up.
Step #3. Prepare the velcro strips
Remove one of the velcro strips’ sticky surfaces. The length of your blanket determines the number of velcro strips required.
Velcro strips can be purchased in packs of five to six. Assemble your blanket so that there are enough velcro strips for it.
Lay down the velcro strips where you intend to place them on your blanket.
Step #4. Attach
Velcro strips should be attached to the blanket’s top. Velcro strips should be spaced about four inches apart.
Ensure that the velcro strips on the top corners extend all the way to the edges. This will prevent an unsightly overhang of cloth when the artwork is mounted on the wall.
Step #5. Stick
The velcro strips on the blanket are perfect for hanging it. Once you’ve fastened one of the top corners, you can begin by peeling the velcro strips from one corner and continuing to do so.
It’s important to make sure the blanket is level.
Method #2. Command hooks
Xem thêm : How To Hang Curtains From Ceiling? Comprehensive Guide
In order to use hooks, you’ll need to sew loops at the ends of your blankets.
Step #1. Prepare the materials
Additionally, you’ll need some sort of material or ribbon to make the loops in addition to your blanket of choice and a sewing tool.
Step #2. Sew
It’s just a simple sewing method. To begin, fold a piece of material in half and then sew the two halves together, excluding the ends.
Afterwards, flip the cloth inside out and see whether you can see any of the stitches.
However, if you have a ribbon handy, we can skip this step and just tie a knot in the blanket’s corner. Make a loop and sew it up.
To ensure a solid stitch, give it a little tug. Then your loops are ready!
Step #3. Stick the adhesives
Make sure the hooks are securely attached to the adhesives. Hooks should be placed where you intend to hang the blanket.
Stick them firmly to the wall, but don’t overdo it.
Step #4. Hang your blanket
You can now hang your blanket from the loops after you’ve hung the hooks on the wall.
Method 3: Hanging Fabric with Clothespins and Velcro Strips
Step #1. Mark the width of the fabric on your wall.
Mark the ends of your cloth with a pencil as you hang it on the wall. Make sure the fabric is hanging in a straight line and in the desired position by glancing at both sides.
To make this easier, ask a friend to hold up your fabric.
Step #2. Attach an adhesive velcro strip to the back of 5 to 6 clothespins.
To remove the adhesive strip’s backing, lay the cloth flat on a work surface. Do this with all your clothespins. If the length of the strip exceeds the reach of the clothespin, it should be shortened.
Depending on the length of your fabric, the number of clothespins you’ll need will vary.
For larger pieces of fabric, you can use normal-sized clothespins, while smaller craft clothespins can be used for smaller pieces.
Step #3. Stick your clothespins in a line on the wall spanning the width of your fabric.
Apply velcro adhesive by peeling off the second layer of backing. The first mark you make on the wall should have a clothespin attached to it. In a reasonably straight path, follow the marks you created on the wall until you reach your second mark. Each clothespin should be spaced around six inches (15 centimeters) apart.
- Clothespins should be spaced around 3 inches (7.5 cm) apart if the fabric is heavy.

Step #4. Clip the top of your fabric into the clothespins.
Put a corner of your fabric into the first clothespin after you’ve picked it up. Make one more row of clothespins along the line until the fabric is securely fastened. Make certain that the fabric is straight and tightly cinched up between the clothespins before you begin to sew.
Xem thêm : How To Make Toddler Bed Sheets? Comprehensive Guide
A couple more clothespins can help keep sagging fabric in place.
Method 4: Hanging Fabric with a Back Pocket on a Curtain Rod
Step #1. Measure the width of your curtain rod and mark it on your wall.
To determine the width of your curtain rod, use a tape measure. In order to determine where your curtain rod will hang, make two markings on the wall. Take a glance at each side of the wall one at a time to see if the marks are aligned with each other.
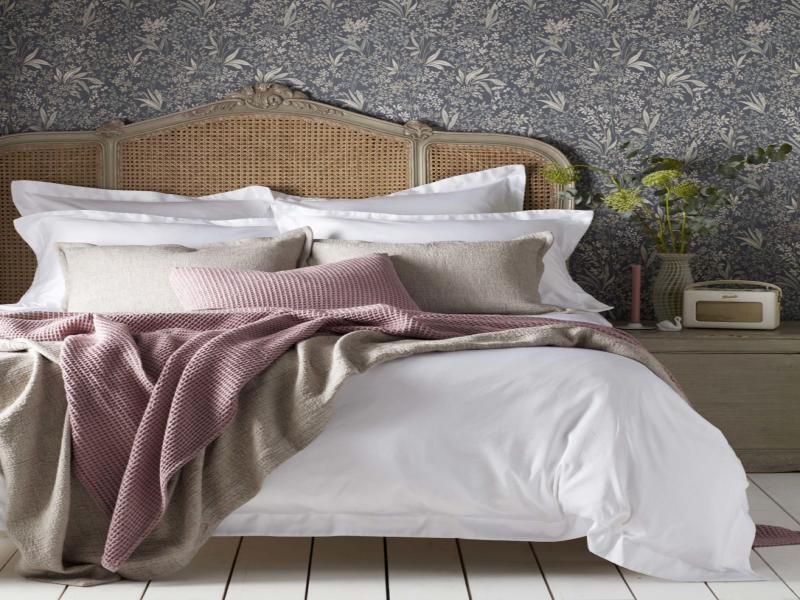
- If you like, you can use your cloth to create a headboard for your bed.
- Depending on the weight of the fabric, you can use a thin curtain rod or a stout curtain rod. If you want to hang a hefty piece of fabric from your curtain rod, be sure to check the box to determine how much weight it can support.
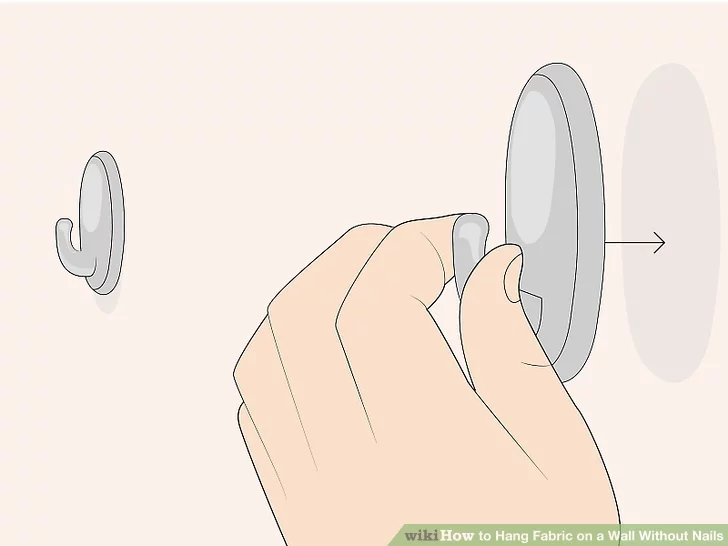
Step #2. Attach 2 large adhesive-backed hooks to each mark.
Adhesive hooks can be applied to a wall by peeling off the backing. Make sure they’re all in the same place and sitting on the wall at the correct angle.
- Adhesive-backed hooks can be found at most hardware or home goods stores.
- The hardware that came with the curtain rod can be used to screw it into your wall for a more permanent option. However, you’ll have to deal with holes in your walls as a result of this.
Step #3. Thread the curtain rod through the back pocket of your fabric.
Using the end of the curtain rod, insert it into the fabric’s pocket. To make the rod’s ends protrude from the cloth, push it all the way through it.
- The curtain rod can be threaded through the fabric’s back loops if it has any.
To add a rear pocket to your garment, measure the width of your fabric and then sew it on by hand. Then, cut a piece of cloth that is about 5 inches (13 centimeters) long and wide enough to cover your entire width. Leave a gap in the middle for the curtain rod and sew the scrap fabric to the top and bottom of the fabric piece.
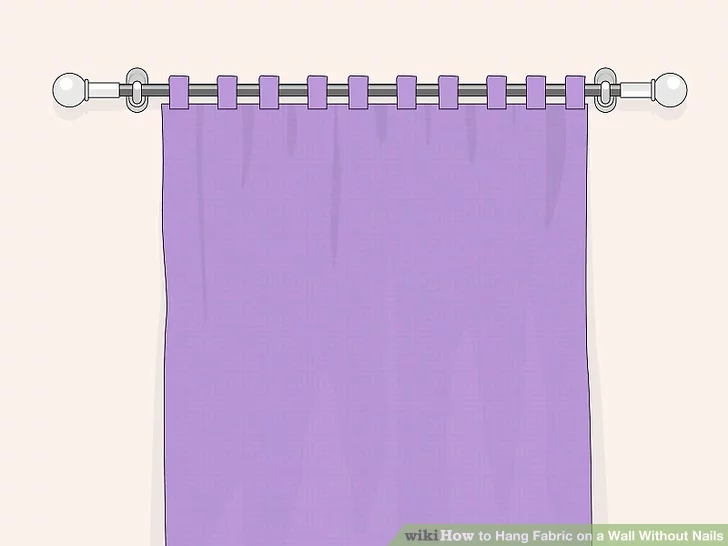
Step #4. Balance the curtain rod between the 2 hooks.
The curtain rod’s two ends should be placed on either of the hooks. To ensure a tight fit, nestle the curtain rod into each hook. If necessary, reposition the fabric on the rod to ensure that it is in the center.
- Hooks may not be in a straight line on the wall if your fabric shifts to one side.
What is the ideal way to hang a blanket on the wall?
If you’re hanging large blankets in your own house, nails are the way to go. The trouble arises, though, when you live in an apartment.
Most landlords forbid their tenants from drilling holes in the walls of their apartments. Hammering nails into a wall is going to be noisy, too. The other renters may be inconvenienced by this.
It’s a fantastic idea to use glue to hang your blanket. It doesn’t make a lot of noise, and they’re easy to use. However, they may not be able to keep your heavy blanket in place as well as nails can. ‘
Adhesives are a better option if you want to utilize light blankets, as this is not an issue with them.
What are the other alternatives that can be used for hanging blankets?
Hanging blankets on the wall isn’t the only option. Liquid starch can be used to completely adhere the fabric to the wall.
Alternatively, a curtain rod can be used to suspend the blanket. If you want to save time and money, you can use curtain rods instead.
Adhesive clothespins can be used to add a unique touch to your display. Assemble the clothespins on the wall and check to see that they are well-attached to the surface.
Then, use clothespins to secure your blanket. With this method, you’ll be able to switch out the blanket hanging on your wall whenever you like..
Conclusion
There are a variety of nail-free methods for hanging a blanket on the wall. Some are more long-term than others, but they all provide a higher level of safety.
In the end, it all comes down to what kind of blanket you have and whether or not you can change the walls.
Nguồn: https://iatsabbioneta.org
Danh mục: Home