Your fridge or freezer door has a gap after you open it to get something from it, then close it and return later to find it. As a result, your meal isn’t as fresh as it should be.
Even though it’s an aggravating circumstance, the solution isn’t difficult to find. If the doors on your refrigerator won’t close, follow these steps.
Bạn đang xem: How To Fix A Fridge Seal? Troubleshooting and Repair Guide
Common reasons the door won’t stay closed
You’ve previously made sure nothing in your fridge is pressing against the door, yet it still won’t close. There are only a handful typical causes, all of which are easily remedied.
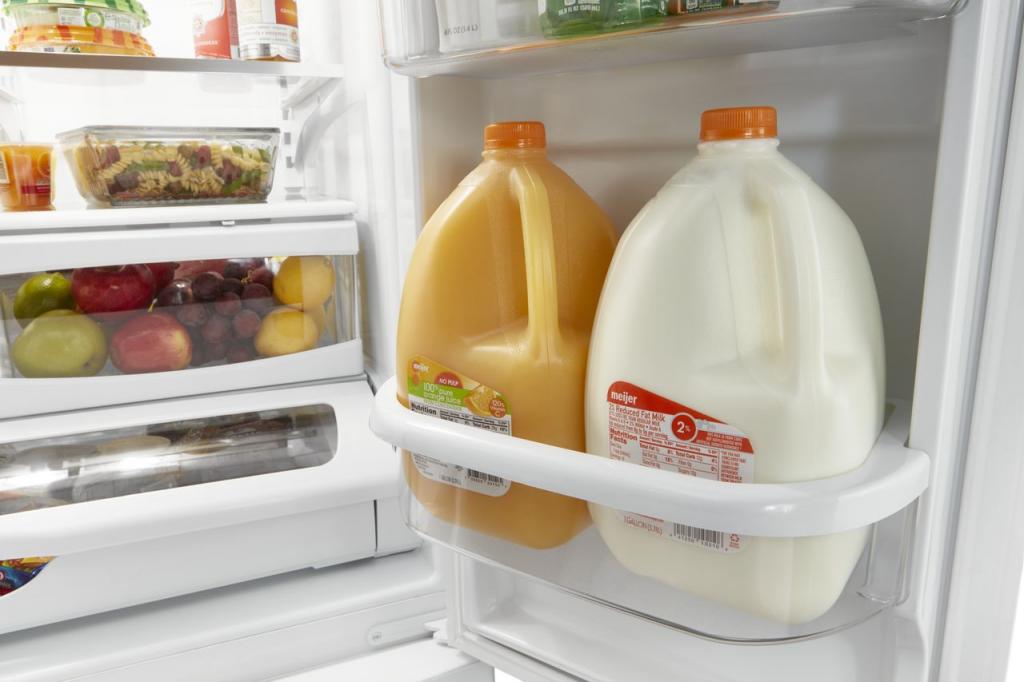
- The door is slammed shut because of the weight. Empty any large containers, such as those holding gallons of milk or juice, to lighten the load.
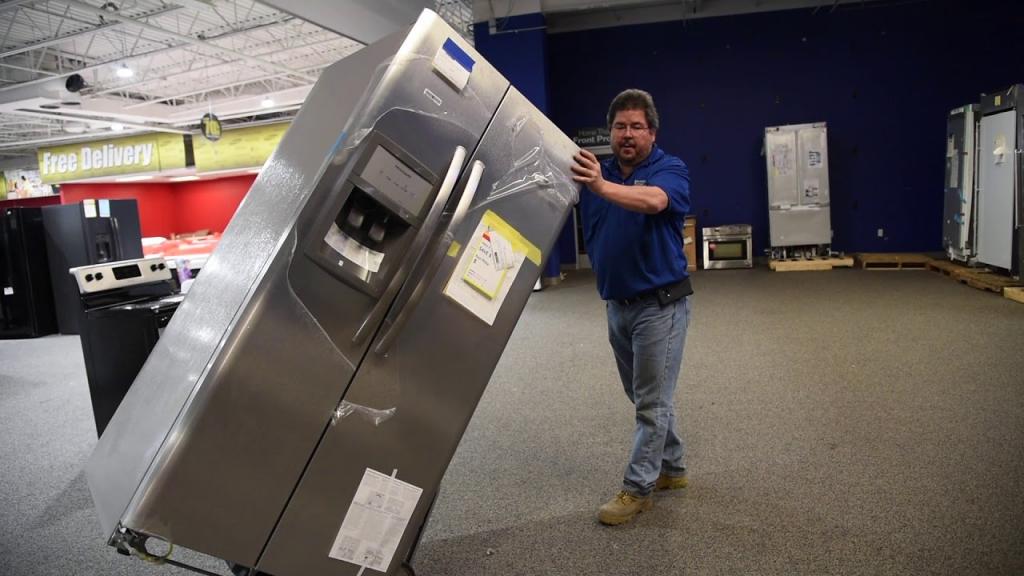
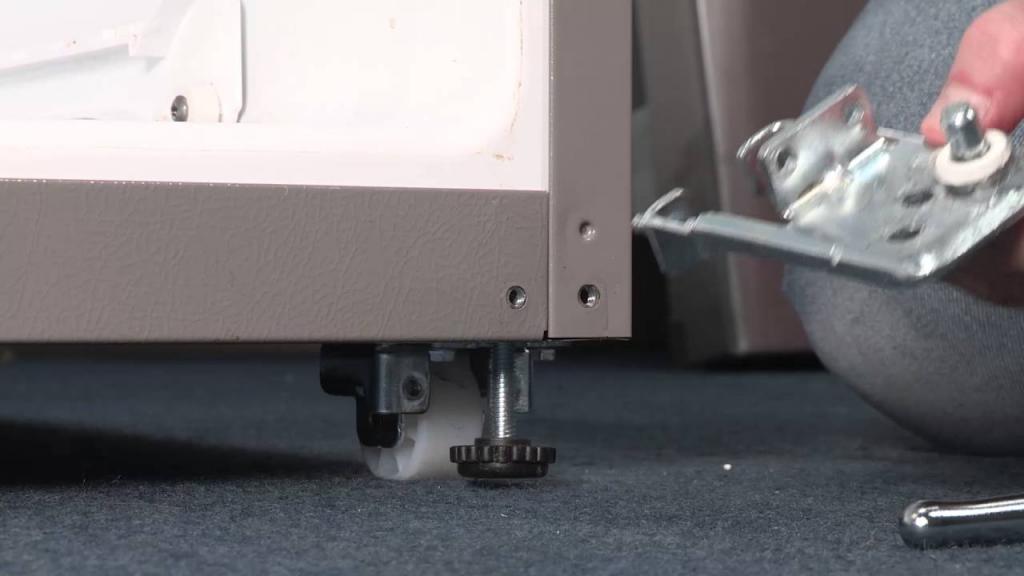
- It’s not level in the fridge. The doors won’t stay closed if the refrigerator’s front is tilted forward. Check the fridge’s level with a level before adjusting the feet.
- One or both of the hinges is misaligned. The hinges on your refrigerator might become strained and weakened over time. With a screwdriver, tighten and reposition the hinges.
If none of these things are the problem, you should check the seal around the door of your refrigerator.
Check the seal
The gasket that surrounds the door of your refrigerator or freezer performs just what its name suggests: it seals off air. It helps keep food fresh by trapping in the chilly air. Your electricity bill is going to go up as a result of the appliance working harder to maintain a safe temperature because of a defective seal.
This isn’t some high-tech device you’ve got going on with your seals. It’s just a rubber band that wraps around the edge of the door and secures it in place. When the gasket pops out of the groove, all it takes is a push to get it back in place.
While the door is closed, run your hand around the door’s edges. There is a loose space when you feel a tiny bit of cold air coming from there. Push petroleum jelly into the groove beneath the loose rubber with a cotton swab. This will make it easier to re-insert the rubber, and it will also help seal any leaks that may have formed. The seal can then be pushed back into place.
Clean the gasket
When a door refuses to close or keeps opening, it may be due to a clogged seal. Dishwashing liquid and warm water are combined in a bowl. Scrub the gasket with the solution on an old toothbrush. Make certain that all of the filth is removed from the seal. After that, use a moist towel to wipe down the gasket.
If you want to avoid having to clean the seal again, you should do it once a week.
Find out how often you should clean your refrigerator in this article.
Replace the old seal with a new one
In many cases, a new seal is all that’s required to get everything back on track. Make sure your refrigerator gaskets are in good working order once a year or so. If a seal fails the paper test, it can be determined. Pull the fridge door open by putting a piece of paper between the door and the fridge. Changing the gaskets if the paper comes out readily indicates that the seal isn’t working properly.
In addition, the seal can’t be saved if it’s:
- Cracked
- Torn
- It’s distorted around the edges
- Instead of being malleable, this material is hard
When it comes to purchasing new gaskets, the procedure is straightforward. To begin, you need to know the make and model of your appliance. Look at the back if you’re unsure. The model number and other relevant details are usually displayed on a plaque or sticker.
Xem thêm : How To Fix A Scratch On A Stainless Steel Fridge? A Few Tips to Remember
Once you’ve done that, head over to the manufacturer’s parts page and type in your unit’s model number to find the seal you need. Alternatively, you can have a replacement part ordered from your neighborhood appliance repair shop.
You’ll need to remove your old gasket before you can install the new one. Soak the new seal in warm water while you remove your old one. Straightening any bends caused by transportation will make it easier to install.
A gasket can no longer be replaced in a standardized manner. As a precaution, make sure you read the owner’s manual (which should be readily available on the website of the company that makes your refrigerator). A few high-end appliances contain additional features including buttons, snaps, and grooves. I’ll show you how to replace a more popular type of gasket step by step.
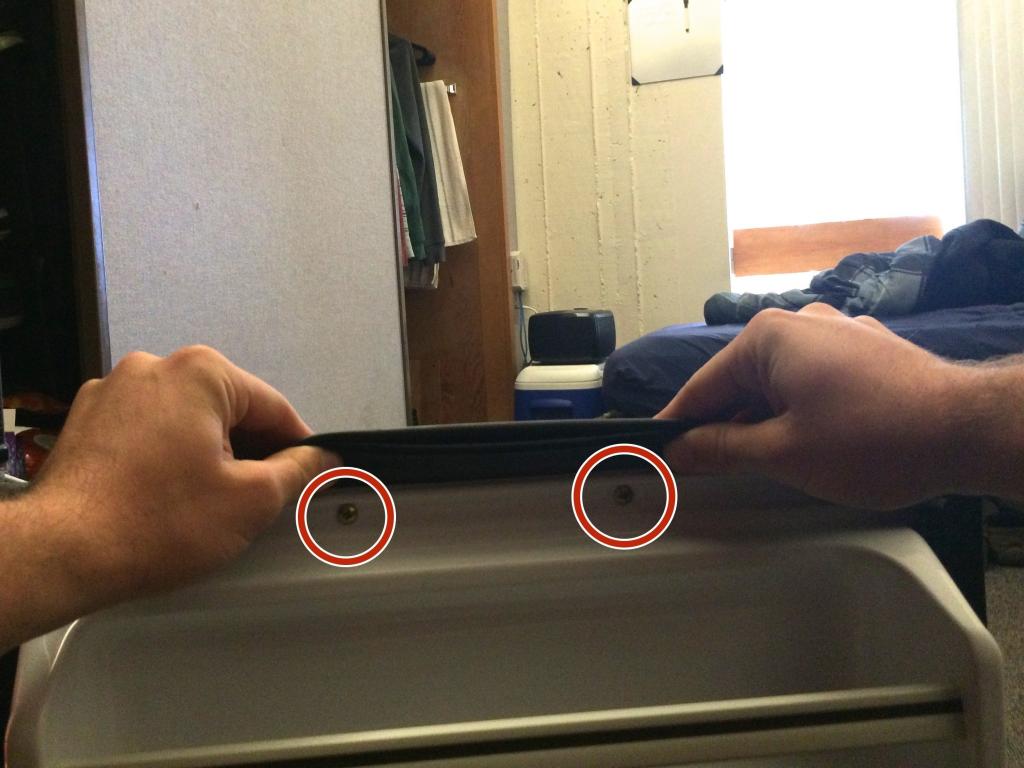
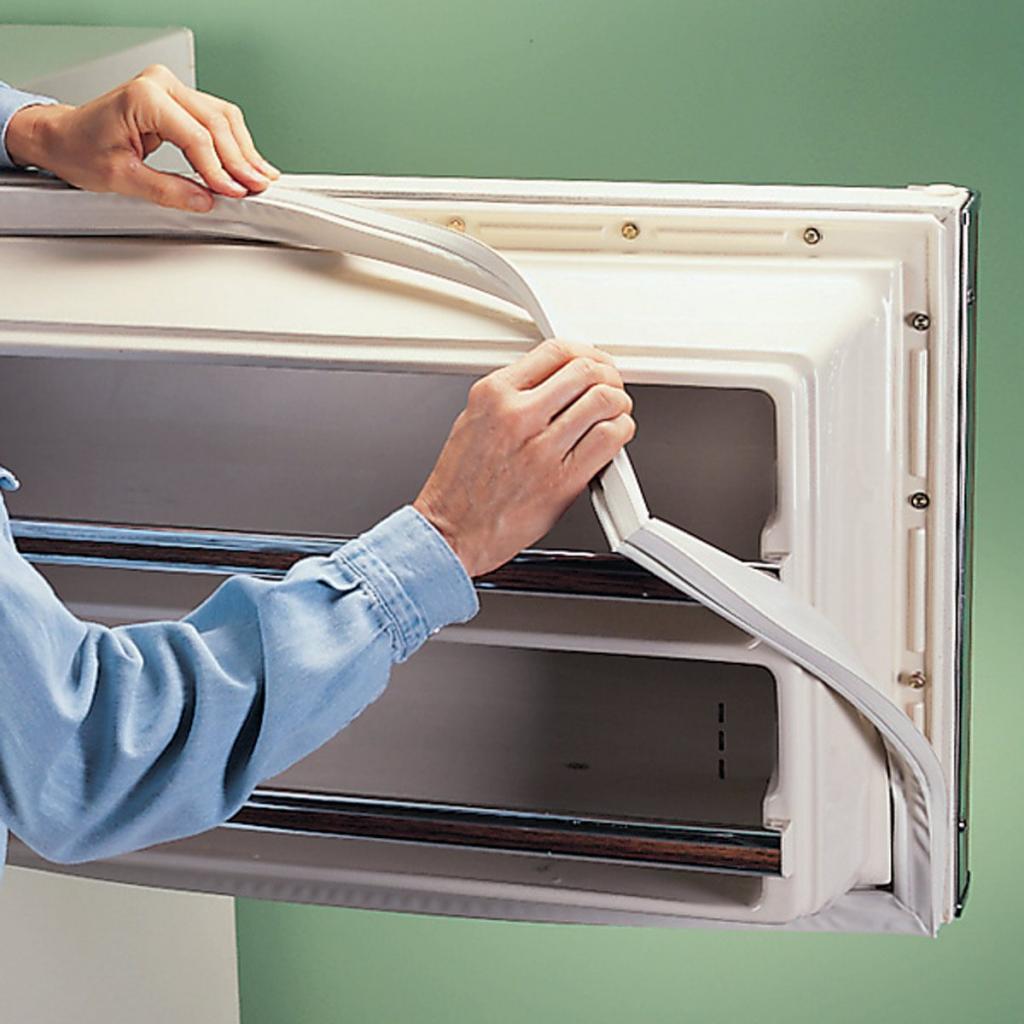
Start at the top and work your way down. Grab the door’s inner edge and pull it upwards to open it. You should be able to see a retaining plate attached to the gasket with hex screws. Loosen the screws holding the seal in place with a screwdriver. The gasket should pop right off at that point.
Do not panic if you do not see any screws. To remove the seal, just pull it out of the grooves with your fingers.
The process of putting on the new seal is exactly the same, but done in the reverse order. Begin at the corners and work your way toward the center. Retighten all of your screws, and then use a rubber seal to cover them up.
If there are no screws, chances are that there is a second groove at the front and your seal will fit into it.
Try opening the door for a moment. As long as there are no drafts, you’ve done well. If you notice a draft, check to see if the lip is tucked below the store’s wall. To reinstall the lip, you may need to re-tighten the screws in the vicinity and give it another go. Blow-dry the seal if necessary to remove any remaining gaps or warping. This should help to shape it.
How to Repair a Torn Refrigerator Door Seal
Refrigerator door seals and gaskets that are broken should be fixed as soon as possible to prevent a costly power bill and guarantee the refrigerator works properly. Frosty fridges and freezers are usually caused by a damaged seal on the fridge door. Your electricity cost will go up if your refrigerator door seal is ripped, because the appliance needs to work extra hard to keep your food cool. In the freezer, it can lead to frost buildup, which inhibits airflow between portions.
Repairing a damaged or cracked door seal is more common than replacing it. You may be able to fix minor damage, however. Continue reading to learn how to fix or replace your door seal.
1. Quick Fix
Using silicone grease or petroleum jelly to repair a tiny piece of the door seal can help. Simply dab a cotton swab with silicone grease or petroleum jelly and insert it into the groove under the loose rubber to fix the problem. This should make it easy to re-insert the rubber and seal any leaks that may have formed.
2. Wash the Door Seal
Door seals that have become soiled or moldy may not seal properly. To repair a minor tear in the door seal, simply wipe down the seal with a damp cloth and wipe it dry. The door seal can be cleaned with warm water and detergent. Remove the door seal and scrub it thoroughly for a more thorough cleaning (see removal instructions below).
Silicone grease should be applied to the door seal once it has been cleaned and dried, then reinstalled into the refrigerator. This will help it work better and prevent new cracks from occurring. The refrigerator’s door seal must be reattached.
3. Repair the Door Seal
Xem thêm : How Many Watts Is A Small Fridge? A Must Read!
Wax paper and silicone sealant can be used to repair a broken door seal.
- Remove grease, filth, and mold from the door seal by wiping it down with a damp cloth.
- Seal any gaps in the seal by applying a uniform layer of silicone sealant to the damaged area.
- Waxed paper should be carefully applied to the silicone to protect it. Make sure it covers both ends of the damaged seal.
- Make sure the edges of the waxed paper are trimmed so that it can be folded into the seal’s original form.
- Wait for the sealant and paper to dry before closing the door. Make sure there’s a good seal between your fridge’s seal and its body.
- Allow for a minimum of eight hours for the sealant to fully dry.
4. Replace the Door Seal
A List of Necessities
- a new door seal is required
- Silicone grease or petroleum jelly can be used as an alternative.
- Use a cloth or some paper towels
- Drying with a blow dryer.
- A screwdriver is what you need (usually a Phillips-head)
Preparation
- You may wish to remove items from the refrigerator and store them in a cooler to keep the door open.
- Lay out the new door seal 24 hours prior to installation to ensure a proper fit (discussed below).
Purchasing a New Door Seal
- Replace the door seal with a new one from the same brand and model as your refrigerator. It’s possible to use a universal door seal, but it’s essential to have a replacement seal that will fit.
Remove the Old Door Seal
A refrigerator’s door seal type will determine how easy it is to remove the previous seal. In the vast majority of circumstances, you’ll be able to do it. To remove the door seal, unscrew the screws that hold the door liner in place around the door seal. Remove the old seal by removing the loosened screws.
Replace the Door Seal
1. Prepare the Door Seal
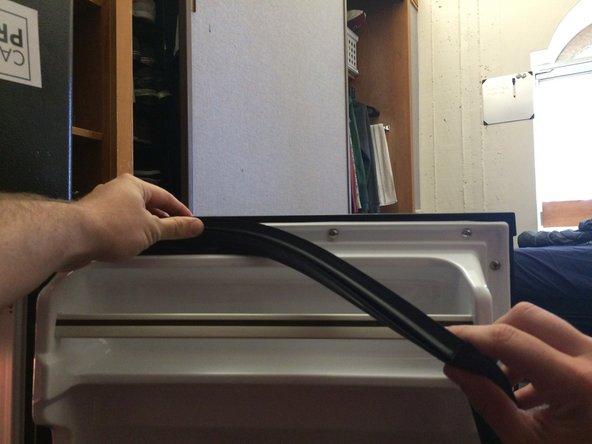
The package that door seals arrive in is normally folded so that they can be easily stored. Before you can attach the door seal to the refrigerator, you’ll need to unroll it and remove the twists and kinks from the material.
Leave the door seal out for 24 hours on a flat, stable surface. This will help the door seal to recover to its correct shape and form.
2. Heat the Door Seal
A blow dryer set to low heat can be used to remove kinks and folds from the door seal. In order to install the door seal on the fridge, this will make it easier. Use your fingers to straighten and remove creases from the door seal as you dry it with a hairdryer. Preparing the door seal for installation can alternatively be accomplished by soaking it in hot water in a tub or sink.
3. Clean the Area
Before installing the replacement door seal, thoroughly clean and dry the refrigerator’s door. This will aid in the adhesion of the new door seal.
4. Attach the Door Seal
Door seals come in a variety of shapes and sizes. To apply the first style, all you have to do is insert the screws into a groove around the door’s perimeter and push them in. Fit the door seal to the refrigerator using your fingers and a strong push.
Behind the door liner, another type of seal is installed and held in place by a lip. To secure it to the lip, simply press down firmly with your fingertips. It takes a little more work to get this door seal to fit and attach, but once it’s done, it’s quite simple to install.
The third style of door seal requires screws around the door liner to be loosened so that the door seal can be fitted between the outer and inner door panels. After loosening the screws, position the new door seal at the top of the door. Fit the door seal in the upper corners first, then work your way down to the lower half.
5. Check the Door Seal
The third style of door seal requires screws around the door liner to be loosened so that the door seal can be fitted between the outer and inner door panels. After loosening the screws, position the new door seal at the top of the door. Fit the door seal in the upper corners first, then work your way down to the lower half.
The third form of door seal requires screws surrounding the door liner to be unfastened so that the door seal can be installed between the outer and inner door panels. After freeing the screws, position the new door seal at the top of the door. Fit the door seal first, then work your way down from the top.
When installing the third form of door seal, screws that are encircling the door liner must be loosened to allow for proper fitment. Afterwards, unscrew the screws and put in the new door seal. Fit the door seal in the upper corners first, and then work your way down to the lower half.
If you’re unable to open or close the door of your refrigerator because the seal has broken, you may need to replace it. Swabs made of 20% cotton and 20% polypropylene are used to create a 2C seal, which is then pushed and sealed back 20% into the 20%channel.
Nguồn: https://iatsabbioneta.org
Danh mục: Fridge