Deadheading Shasta daisies may be of interest to you. Shasta daisies, originally from Europe, are now widespread across North America. Every spring or early summer season, these flowers reappear and continue to bloom until the beginning of September. Shasta daisies need to be deadheaded frequently throughout the growth season to ensure that their energy is focused on creating healthy and continuous blooms.
Consider the aggressive nature of Shasta daisies when planning your garden. Take advantage of a variety of daisies that don’t generate viable seed, or you may even remove all of the flowers before they flower. To discourage them from spreading, it’s preferable to put them in garden beds or a greenhouse, as they’re not native to the area.
Bạn đang xem: How To Deadhead Shasta Daisies? Easy Step-by-step Guide
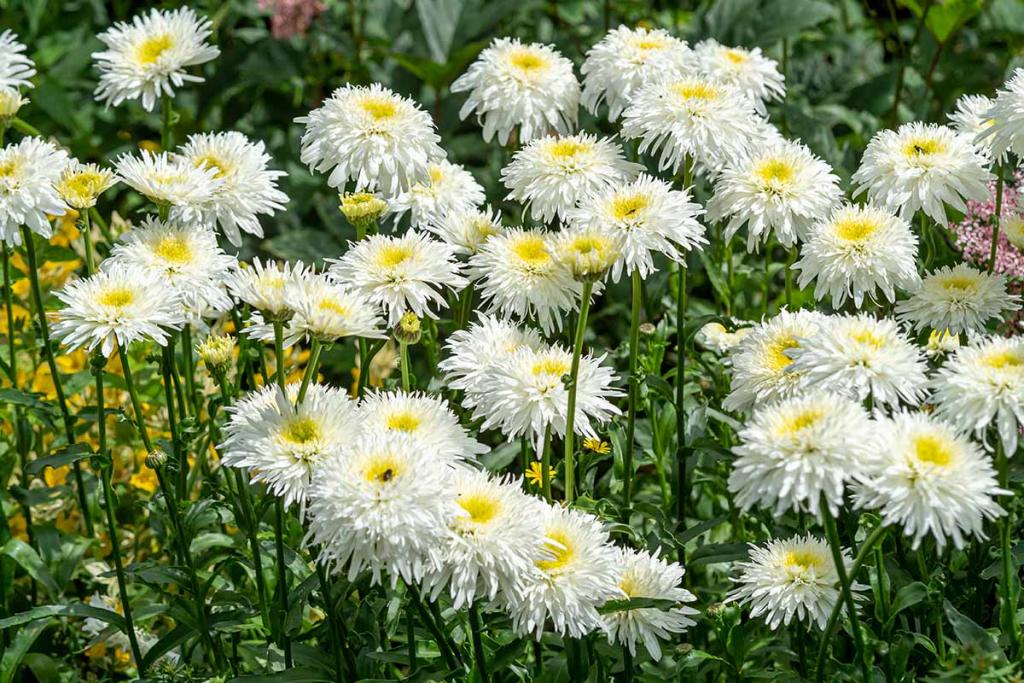
Daisy bunches can grow up to three feet tall and two feet broad. Yellow disk florets surround the white petals of their blooms. Dark green glossy leaves cover Shasta daisies. Shasta daisies are a favorite of florists since they are long-lasting cut flowers that may be used in bouquets for several weeks.
Deadheading Shasta Daisies
Daisies benefit greatly from the practice of deadheading because it makes them look better as well as encourages new development and more leaves on your daisey bush. Because of this, your plants will produce bigger and longer lasting blossoms if you regularly deadhead.
![Dead Head Shasta Daisy to Encourage More Flowers [Backyard Neophyte Landscaping Blog]](https://iatsabbioneta.org/wp-content/uploads/2022/06/how-to-deadhead-shasta-daisies-img_62b016aa72d77.jpg)
Deadheading is a skill that every gardener should be able to perform. Because Shasta daisies are generally easy to deadhead, it’s a good thing.
Before the blossoms have totally faded away. A clue that you need to deadhead your plants is if the blossoms begin to wilt, die, or turn brown. To get the greatest results, you can trim the blossoms with sharp gardening shears instead of tugging or pinching them.
Remove the blossoms and seed heads as soon as you observe that they are going brown or developing seed heads. Leave the initial set of leaves in place. A good rule of thumb is to snip off any healthy blooms or buds that are close to dying flowers or leaves and replant them where they belong.
Step-By-Step Guide on Deadheading Shasta Daisies
For Shasta daisies, it’s best to cut the stems at their base, which is where they meet their first set of leaves. This is because each bloom has only one stem. Deadheading encourages fresh growth and an increase in the number of flowers that appear. How to deadhead Shasta daisies: A step-by-step approach
Step #1:
Xem thêm : What Size Pot For Growing Spinach In A Greenhouse? Ultimate Guide
Find any dead or wilted flowers on your Shasta daisies and remove them.
Step #2:
Take a look at the dried and twisted blooms, as well as the discolored ones or the ones that have fallen.
Step #3A:
In order to prune a flower, cut its stem at a point where it’s just above the next set of leaves, or at the stem junction beneath it.
Step #3B:
If you don’t have gardening shears on hand, though, you can utilize the pinching method. Pinch the stems underneath the dead blooms with your thumb and foreigner.
![Dead Head Shasta Daisy to Encourage More Flowers [Backyard Neophyte Landscaping Blog]](https://iatsabbioneta.org/wp-content/uploads/2022/06/how-to-deadhead-shasta-daisies-img_62b016abe71fc.jpg)
This is where it all comes together in the last step. You have the option of discarding them or composting them in your garden.
Tips to Remember When Planting Shasta Daisies
Shasta daisies are easy to grow and don’t require a lot of time or effort. However, there are a few things you should keep in mind to guarantee that your flowers thrive:
Starting from seed or plant
Shasta daisies can be planted in two ways: from seed or from a transplant. Flowers should blossom the following spring if you seed straight. Planting young Shasta daisies, on the other hand, is best done in spring or early fall.
Choosing a location
It is recommended to place your shata daisies in direct sunlight if possible. The soil should be somewhat rich; over-fertilizing will result in a lack of blossoms and an abundance of foliage. Make sure to water your plants regularly and put your daisies in a well-draining soil to ensure their health. Dig 12 to 14 inches into the soil and top with two to four inches of compost to improve soil oxygenation.
Planting Shasta daisies
Xem thêm : How To Grow Cucumbers In The Greenhouse? Step-By-Step Process
Keep your plants about a foot apart when planting Shasta daisies in the ground. The top of your daisy plant’s root ball should be level with the soil’s surface. Place a layer of soil over the root ball and water it thoroughly. Keep in mind that higher plants may necessitate the use of stakes or supports.
Why Grow Shasta Daisies in a Mini Greenhouse?
In a little greenhouse, you can cultivate Shasta daisies for a variety of purposes. Daisies are generally low-maintenance and disease resistant, but they may still be vulnerable to aphids, snails, leaf spots and earwigs. When you cultivate your daisies in a little greenhouse, you reduce the chance of pest infestation and the development of illness.
Your Shasta daisy plants’ growth is also influenced by the weather. Flowering plants can be damaged or uprooted by extreme weather conditions like heavy rain and frost. Protecting them from the elements is done by putting them in a greenhouse. When the weather warms up, you may either move your plants outside or keep them growing in the greenhouse.
Cutting Back Shasta Daisies
Seasonal care for Shasta daisies includes trimming down the plants at the end of the growing season. Shasta daisies’ seed heads do not give any aesthetic value or winter food for birds, thus they should be removed. Even when their flower stalks fall back, these enthusiastic growers develop a new whorl of greenery at their base that provides a head start the following year. PennState Extension advises gardeners to be careful not to damage the sensitive young leaves during this period of rapid growth.
Shasta daisies’ bloom stalks should be pruned back in the autumn or early winter, according to the Arizona State University Extension. Use shears that are clean and sharp to remove all of the dead aerial vegetation. The Old Farmer’s Almanac advises cutting down to 1 to 2 inches above the soil line. The stems should be thrown away rather than left in the garden, where they could provide a breeding ground for pests.
Pruning Shear Maintenance
Although planting or sowing seeds is more exciting, maintaining your pruning shears is still a crucial part of gardening. Pruning Shasta daisies, which are susceptible to fungal leaf spot and other diseases transmitted by dull, unclean shears, is extremely important. It’s also important to keep your shears sharp to avoid damaging the plant, as dull shears prefer to crush and chew the stems rather than making a precise cut. Sharpening and replacing shears that are frequently used in the garden is recommended every few years.
After each usage, wash the blades with hot water to remove any plant debris. It is recommended that pruning instruments be disinfected with 10% bleach solution for 30 minutes in order to destroy any microorganisms that may be present. To make a 10% bleach solution, one component bleach and nine parts water must be combined together. After soaking the blades in a solution of bleach, it is critical to thoroughly clean and dry them. Make sure to lubricate the blades of your knife with an anti-rust spray like WD-40 to keep them rust-free!
Things You Will Need
- Bleach
- Injectable lubrication
- shears for pruning
- Bucket
Final Thoughts on How to Deadhead Shasta Daisies
For healthy plants, deadheading is essential. Your Shasta daisies will thrive and flourish if you know how to remove the spent blooms from them.
Nguồn: https://iatsabbioneta.org
Danh mục: Garden


