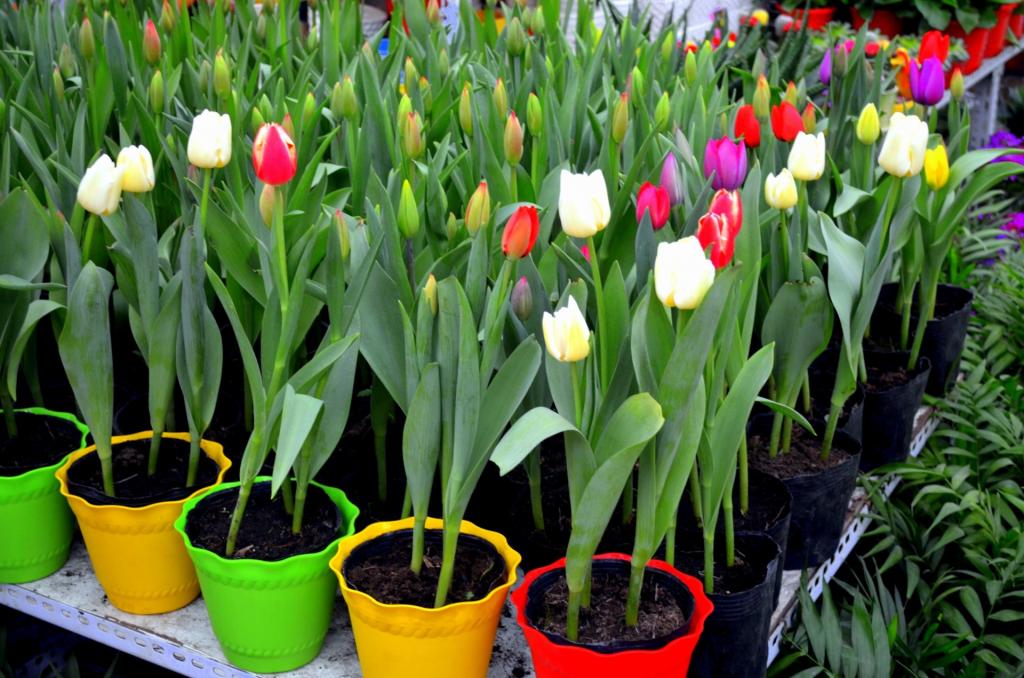
One of my favorite blessings is to get or purchase a pot of flowering bulbs. The vibrant hues of the flowers, which have been forced to bloom early, herald the impending arrival of spring. Although tulips are my favorite flower because they are so vibrant, I also enjoy the scent of dwarf daffodils and hyacinths, which fill a room with happiness.
- What Temperature is Too Hot for a Greenhouse? Tips For Controlling Temperatures
- How To Propagate Gaura? All You Need To Know
- How To Prepare A Greenhouse Petunia For Planting? Ultimate Guide
- What Are The Optimal Temperatures In A Greenhouse For Growing Petunias? Helpful Information!
- How To Increase THC Production? Complete Guide
The flowers will wither and perish sooner or later if they are kept in a warm place for an extended period of time. That doesn’t mean they’re done with their story. The bulbs in that container will provide you years of pleasure. Here’s how to go about it.
Bạn đang xem: How To Care For Potted Tulips? Complete Step-by-Step Guide
Remove the pot’s adornment, including any decorative foil or paper. This promotes healthy soil by ensuring proper drainage. Take your plant pot outside and place it on a plant saucer in an area with a lot of natural light.
Weekly, inspect the soil in the pots of the bulbs. Water and fertilize with an all-purpose fertilizer when the soil is entirely dry. The phosphorus content of most bulbs is increased, but nitrogen is still required to refill the bulbs. Formulas like 10-20-10 or 7-10-2 should be on your list of possible options. The first number signifies nitrogen for growth; the second shows phosphorus for blooming, and the third indicates potash for plant health.
The saucer beneath the pot is prone to collect water. Some of the extra water will be absorbed by the pot’s soil. After a day, discard any water that has accumulated in the saucer. The bulbs can decay if there is too much moisture in the air. Until the middle of May, continue in this manner. (The pot may be put outside after the frosts are passed, but continue to fertilize as long as the foliage remains.) When the foliage starts to turn yellow, remove the bulbs from the soil and allow them to dry naturally.
Separated bulbs can then be buried around plants or trees. Please refrain from using fertilizer or promoting growth at this time This is the dormant period for spring bulbs.
When the roots have shrivelled, separate bulbs can be let to air dry in a well-ventilated place. Keep your dormant bulbs cool and dry until the weather cools down in the autumn. Afterward, plant the bulb like you would any fall-purchased bulb, with drainage, bone meal, and the appropriate planting depth.
Care for potted presents in this way, and the joy they bring will last longer than originally intended. It will also leave a lasting impression on your home, creating a kaleidoscope of color.
How to Care for Potted Tulips
Step 1: What you will need
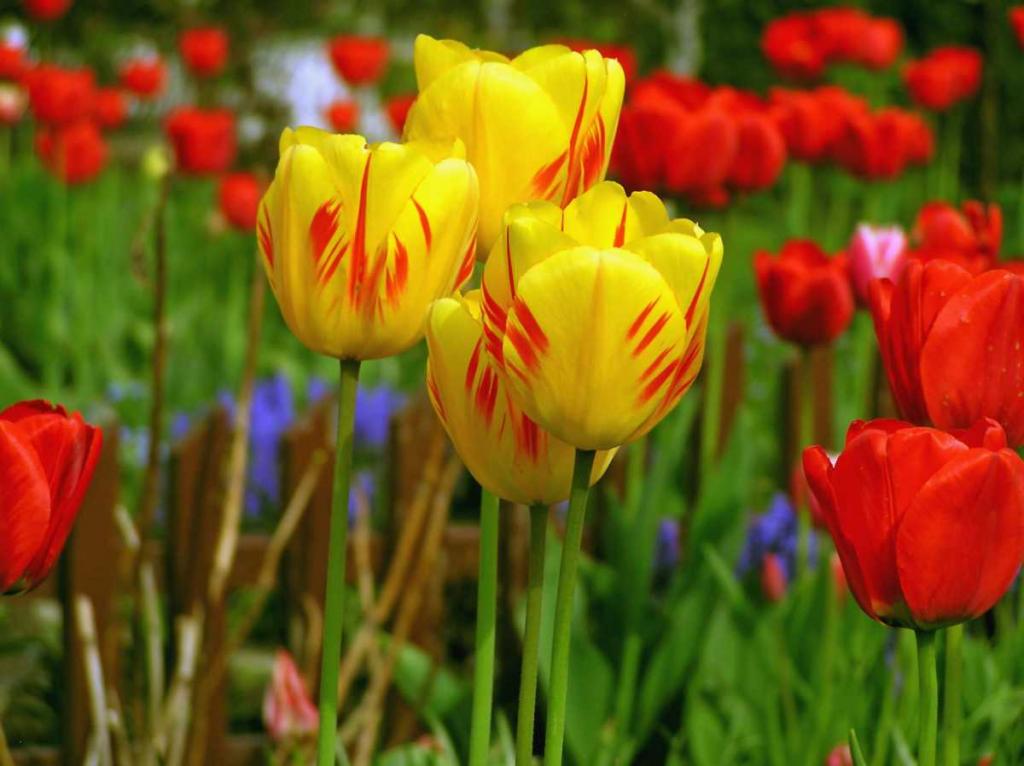
Tulips should be planted in clusters of five to ten for the best effect.
Some tulip bulbs, dirt, rocks, and fertilizer are all you’ll need to get started.
Select a pot for your tulip bulbs, as well as (in Step 3).
Additionally, you’ll need a watering container and a pair of gardening shears.
Step 2: Choosing the right time to plant your potted tulips
The best time to plant them in your own container is in the late fall, during the months of October and November. In the late winter or early spring, this will cause the tulips to bloom.
Tulip bulbs require time to rest before blooming, which is why they are planted in the fall. In order for the tulips to bloom in the spring, the winter temperature must be frigid.
Alternatively, you can buy pre-planted tulip bulbs that are ready to blossom in the springtime.
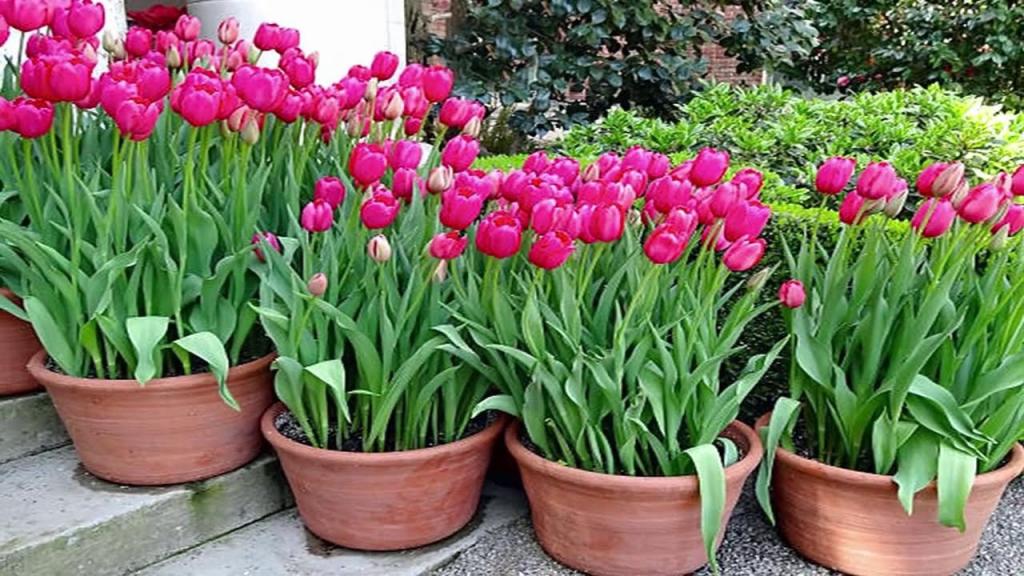
Step 3: Pick a pot
The bottom of the pot should have a drainage hole. You can drill drainage holes into your favorite pot if it doesn’t already have one.
Drainage without holes can be improved by using draining discs, rocks, or cracked pots.
It’s preferable, however, if the pot has holes in the bottom.
At a minimum, the pot’s height should be 7 inches.
Step 4: Fill the pot with draining media
Add broken bits of crocks to the bottom of the pot to improve drainage. Rock fragments are another option. As much as 20 centimeters is required.
Draining your potted plants with container drainer discs is another option.
Drainer discs for containers are a more expensive solution, but they keep the potting soil contained in your pot when watering, keeping your water dish clean and your table and floors free of mud.
Step 5: Fill the pot with soil and the tulip bulb
Potting soil should now be added to the pot. Only fill it halfway.
Xem thêm : What Is A Good Size Hobby Greenhouse? Helpful Information!
Make use of a regular all-purpose compost. Use your hands to break up any lumps.
Add organic material, like compost, if your soil is too sandy or clayey.
Tulip bulbs should be taken out of paper bags. When preserving tulip bulbs, use a paper bag since it allows the bulbs to “breathe”.
You want to put them in with their sharp ends facing up in the pot. The spherical, flat bottom will be lowered.
You might be interested to know how far apart the tulip bulbs are spaced.
A minimum of 3 inches between each bulb. Roots will be able to thrive in this way.
After that, add more soil compost to the pot. At the very least, three times the height of the bulbs should be used to cover the tulip bulbs.
Use a modest amount of pressure when pressing the dirt down with your hands. Remove any air pockets using this method.
Apply a high-quality fertilizer if desired.
Step 6: Take the potted tulips outside
Let the water drain from the pot after properly watering the newly potted tulips.
The tulip pot can now be placed in front of your home.
Step 7: Optionally, move the tulip pot inside when the stems are at least 1 inch long
The plant may begin to appear in the late winter or early spring. Keep an eye on the tulip stems to see whether they’ve begun to grow.
A layer of mulch is a good idea if you reside in a place where it gets quite cold, such as Canada.
If you wish, you can move the plants indoors when the stems reach a length of one inch.
It will take many weeks for the stems to grow to a length of 4 to 5 inches.
Step 8: Water the tulips once a week
Its growth will be sped up by the rain and snow of the winter months. You’ll notice the leaves sprouting from the compost as the weather warms up.
You should water them thoroughly 1-2 times per week if you’re keeping them in the house. The water should be able to permeate the soil before draining.
Root rot can’t occur if water isn’t allowed to flow away from the roots.
Take these procedures to plant and care for your potted tulips.
Step 9: Deadheading spent flowers
Keep an eye on the flower stalk until it becomes completely yellow or brown after it has completed flowering. You’ll need to remove the tulip’s deadheads now.
Snip the stem with a garden scissor and discard it. Before moving between plants, disinfect the blade with alcohol to prevent the spread of disease.
You won’t have to cut the foliage, and it will help the bulb get ready for its next bloom if you don’t.
About six weeks after the flowers have faded, you can cut back the leaves.
When is the Best Time to Plant Potted Tulips?
When planting tulip bulbs, you’ll want to do it at least 15 weeks in advance of when you want the tulips to blossom. The flowering time is normally between 14 and 15 weeks.
The optimal time to grow tulips in pots is when the nighttime temperature in your location is between 40 and 50 degrees Fahrenheit.
It’s normally around October in the northern hemisphere, before the earth freezes, when this happens.
Xem thêm : How To Propagate Potato Vine? Comprehensive Guide
Planting can begin as early as December in milder areas. Another consideration is whether or not to use pre-chilled bulbs in areas with mild winters.
Do You Need to Fertilize Potted Tulips?
Tulip bulbs normally have a wide range of nutrients, so you won’t need to add any fertilizer while planting them. In addition, high-quality compost will supply the bulbs with the nutrients they need.
A granular fertilizer can be added, if desired. fresh compost and fertilizer should be applied at these times.
- the first time you pot a bulb
- in the early spring
- When the spent flowers have been deadheaded,
How Long Do Potted Tulips Last For?
It is common for tulips to live for several years before re-emerging in the springtime. Your location’s climate is an important consideration.
Tulips can be maintained by watering and removing deadheads prior to seed forming.
The climate in your area and the tulip species are two major determinants. Tulips can last anywhere from one year to ten years depending on the kind.
If you reside in an area where winters are cold and summers are dry, they will live for many years.
Do Potted Tulips Need Sunlight?
Tulips in pots also require sunlight. It’s especially important to keep the tulip bulbs out of direct sunlight when they’re being planted.
Until the tulip has fully bloomed, it will need to be in direct sunshine.
How Do You Keep Tulips Alive?
Many tulips succumb to wilting because they are overwatered.
Use a layer of drainage media at the bottom of the container to prevent overwatering. Draining discs, rocks, or shattered crocks can all be used in their place.
A pot with a drainage hole on the bottom is ideal for this task.
1-2 times a week, tulips need to be watered thoroughly. Allow the surplus water to drain from the soil.
Root rot can’t occur if water isn’t allowed to flow away from the roots.
Plant the bulbs in the fall for best results. Cover the bulb with organic compost soil and at least three bulb heights. If you reside in a cold region, mulch the bulb to keep it warm.
Between one and four weeks, the tulip’s bloom might last.
Once the tulip’s blossoms have faded, you will need to remove the stems to prevent the plant from self-seeding. Cut off the dead blossom with a sharp garden scissor once the stalk has turned entirely yellow or brown. Leave the foliage on the bulb since it will help it prepare for the next flowering season when it comes back.
How to Get Your Tulips to Stand Up Straight?
Tulip stems that are bent inward can be straightened out by simply placing them in water for a few minutes.
Until the paper’s edge touches the dirt or water, wrap it tightly around each tulip stem. Straighten them out.
Wait for them to soak up some water or water them.
Remove the paper after an hour has elapsed.
This time your tulips will grow upright!
Tulips will sway in the direction of any sources of heat or light in your room.
Tulips will not naturally bend if they are kept in a cooler room out of direct sunshine.
Tulips, as you can see, are a breeze to cultivate! There is nothing else to do once the bulbs are installed.
Nguồn: https://iatsabbioneta.org
Danh mục: Garden


