‘How To Anchor A Small Greenhouse To The Ground,’ may be a concern for a gardener. You need to secure the little greenhouse to the ground to ensure that your vegetables will grow. Here are the most important points to keep in mind.
Your Ultimate Guide To Anchoring The Greenhouse
Having laid a solid foundation is the first step in securing a small greenhouse to the ground. The Earth anchor mechanism is often recommended by gardening experts because it is inexpensive, easy to obtain, and healthful.
Bạn đang xem: How To Anchor A Small Greenhouse To The Ground?
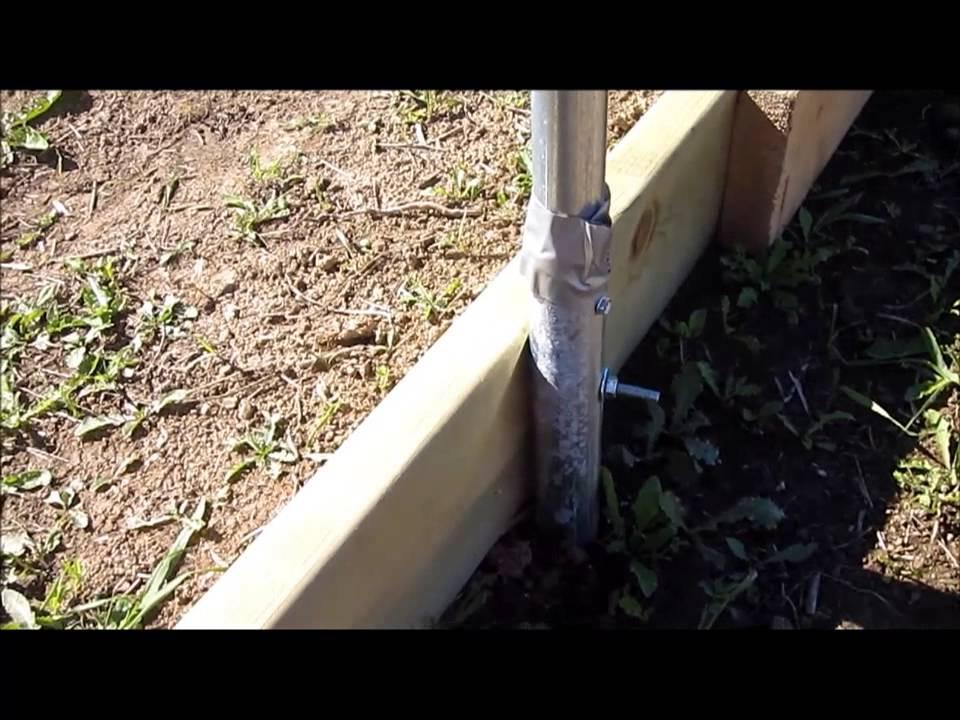
Each anchor system with the Earth consists of four anchors, driven steel, and galvanized metal, anchoring your anchors precisely at the base of the farmer’s base.
Step 1: How To Place The Anchor
The anchor needs to be around six inches from the corner of the base when placed on the ground. Use the hammer to force the steel-made drive into the anchor and into the earth.
The heavier the hammer, the more difficult it is to drive an anchor into a variety of soils. To break through tough soil, the gardener will need a larger hammer, and he or she must be able to push it all the way to the end of the cable so that it reaches the root just a little bit.
Step 2: Pulling The Drive Toward The Ground
Once the anchor is driven in, you can take the driving metal away from the earth and loop it right at the cable’s termination point. Three inches is the distance you should pull your line from the ground. This will allow you to align the anchor with the greenhouse’s base by rotating the anchor in your horizontal position.
Step 3: Final Procedures
Finally, you must obtain the cable’s end and get the loop, positioning the bolt of your lag so that the cable within the greenhouse is between the base and the washer of the lag. Once you’ve attached this bolt to its base, you’re done! For each corner of the greenhouse, simply go through the same process.
How Does A Gardener Anchor A Greenhouse To The Ground?
In order to secure a small greenhouse to the ground, you simply need to follow a few basic procedures. Get at least 0.30-inch-diameter plugs for the base of your greenhouse and secure it to the ground using anchor bolts. To secure your greenhouse to the ground if it doesn’t have anchor points, look for supports that have a plate.
You can then stretch out throughout the greenhouse’s breadth and length to secure the greenhouse’s frame. Use the threaded rods to fasten your frame by bolting them to each side of the support you have.
How Can The Gardener Secure The Small Greenhouse?
It is possible to use pegs to hold down your small polytunnel-style greenhouses, as the stakes are responsible for keeping them in place. Never hesitate to use stronger ground with the stake at the anchor if you feel this is necessary.
You may have a variety of options to choose from when it comes to gardening. As of right now, there are numerous options you’ve already considered, but these methods are never perfect and inefficient if your goal is to build a larger greenhouse in windy places.
In these situations, the best solution is to employ plates to secure your structure’s anchor to the earth. It’s these plates that will hold a greenhouse together along its perimeter, providing the strength and good range of resistance it needs, especially with the wind blowing in the opposite direction.
How Does A Gardener in the UK Anchor ApolytunnelTo The Ground?
You only need to follow a few easy procedures to complete the task of anchoring a small polytunnel to the ground. As a first step, secure the polytunnel foundation to the ground by using anchor bolts, or by purchasing plugs with a minimum diameter of 0.30 inches. Make sure that your polytunnel has support that features the plate if it doesn’t have anchor points for your hard ground
Then, you can spread over the polytunnel’s breadth and length to secure the polytunnel’s structure. Using the threaded rod, bolt the rods to either side of the support you have.
How Can The UK Gardener Secure The Small Greenhouse?
Stakes will hold down the smaller polytunnel area or low buildings in the polytunnel design, so you can use pegs to anchor your micro greenhouses. In the event you feel that this is necessary, don’t hold back on using firmer ground with the anchor stake.
You may have a variety of options to choose from when it comes to gardening. As of today, there are a number of options available to you, but they aren’t ideal or efficient if you want to build a larger polytunnel in areas of the UK with less wind shelter.
As a result, it is best to use plates to anchor your building to the ground. When wind is blowing around, a polytunnel needs to be strong enough to withstand it, which the plates will provide.
What Could Be The Best Base For A Greenhouse?
The greatest base for a greenhouse is a strong concrete base because it is the most long-lasting and useful structural foundation. By alone, this is the best option for large greenhouses that can be raised above ground level with ease.
The broom and detergent can be used to keep it clean and free of disease, or you can do it yourself if you like. The rats won’t be able to get into the structure with this.
Yet, you might need to take a look at the issue of standing water as this may drain from the areas nearby the edges of the base of the greenhouse. You can also drill drainage holes to alleviate any potential problems.
Xem thêm : How To Propagate Dogwood Trees? What are the Things that You Need to Consider?
This alternative may necessitate some financial outlay, but after the groundwork has been laid, the structures will be ready for construction. A greenhouse’s base should be held in place by bolts and other sturdy attachments.
Anchor greenhouse to ground: What are the main reasons?
Uprooting a greenhouse is complicated by the wind itself, which is the first and most evident issue.
Your greenhouse and all of its contents could be destroyed by severe wind currents. If the greenhouse is built on shaky ground, even the tiniest of breezes might cause significant damage.
Wild animals can also be a source of destruction. A few instances of wild animals breaching the greenhouse barrier and causing damage to the plants have been reported, but the number is small.
There are a lot of good advantages for choosing a sturdy greenhouse foundation. Your beautiful polytunnel will be destroyed if you fail to properly manage it.
It will be significantly more painful if you don’t prepare ahead of time and wait until the growth season to complete the work.
That will be the most painful!
Greenhouse anchorage: The Steps to keep things secure
We’ll now discuss the steps you can take to protect your greenhouse. When it comes to lawn and garden maintenance, caring for a greenhouse achor is a completely different animal than anything else you would encounter. In the next section, we’ll talk about the greenhouse anchor kit and other relevant stuff.
Step 1: Structure fixes
The first step is to utilize blocks to reinforce the building from every angle. Your results could improve if you apply patches to different parts of your body.
Step 2: Anchoring the surface
Screw anchors can be used to secure the greenhouse to a variety of locations.
The strategic elements are an important aspect to note here. Anchors can be easily identified, but they must be purchased with the correct diameter and length.
Another essential consideration is the sort of ground on which the event will take place.
For rocky terrain, arrowhead ground anchors are an excellent choice. Power tools are required to insert them because of their distinctive shape.
Step 3: Linking the anchors
Once the anchors are in place, the next step is to connect them.
Stainless steel cables are a no-brainer in this situation. It provides a lot of resistance and ensures the safety of the greenhouse.
Step 4: Secure the surroundings
Step one is to establish a firm foundation for your project.
Reinforcement with stud bolts and base plates is the obvious choice. But if you choose, you can use any other way you prefer.
Step 5: Additional security
Stakes covered with tar are excellent anchoring points that can withstand inclement weather.
Alternatively, you can use them to hold dishes in place.
We assume that many of you have encountered a few sources of confusion. Hence, in the following parts, we’ll take a closer look at several key aspects of importance.
How to weigh down a greenhouse? Plates for poly-tunnel security
There are two advantages to using plates to secure a greenhouse, both of which can be gained.
First and foremost, you’ll be obtaining an extra layer of protection for your greenhouse. Second, and maybe more evident, is the enhanced sense of security that comes with establishing a foundation.
Concrete Plating
Xem thêm : How To Plant Kale In A Greenhouse In Indiana? Comprehensive Guide
It’s easy to grasp how concrete plating works.
The base plate and stud bolts are all you need to get the construction up and running. It’s hard to shake the foundation because the concrete is so solid.
Using concrete cladding in a large greenhouse is a great idea because of its incredible robustness.
Regular Plating
Both fragile and tough surfaces can be accommodated by standard base plates.
An anchor plate with many strengthening points is all that’s necessary. Fix the base plate with the points to the surface while the tubes are driven into the ground.
A medium-sized to semi-large building can be built with conventional base plates. Overall, the building’s strength and stability are commendable.
Ground Anchors: The strongest plating option
In comparison to the standard alternatives, the ground anchor plates have a particularly distinctive design.
Ground anchors have the advantage of not requiring any sort of foundation. The reason for this is that they draw their power from the ground, which acts as a counterweight to their own.
Compared to the rest, these are your strongest possibilities. They’re ideal for large, heavy greenhouses because they’re light and strong.
Leveling a greenhouse base: Fixes for surfaces
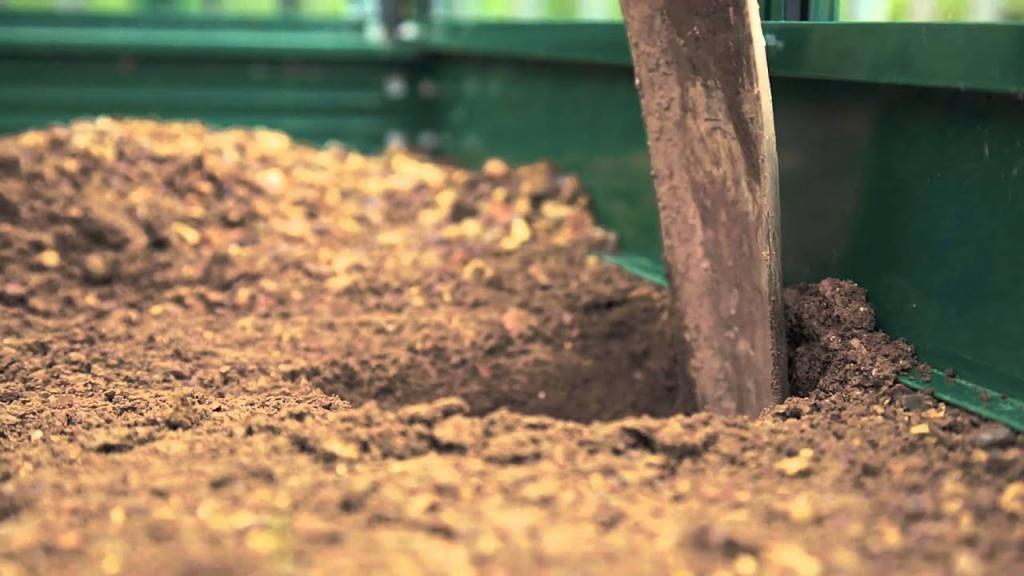
The first thing a seasoned gardener does is remedy problems with the soil. There are a limited number of predetermined alternatives available. However, the most typical method is to use a frame base.
However, the sole drawback to such solutions is their high cost. The extra money, however, does not seem out of place when considering the quality of the materials and the convenience of use.
To use a frame as a kind of security, perform these steps:
- Make a map of the area where the base should go.
- Begin by laying out where each hole should be located. More than 0.5 meters is too much.
- Fill up the openings with PVC pipes. Pipes should have a minimum diameter of ten centimeters.
- It’s time to take a closer look at the positioning and realize that it’s ideal.
- The pipes should be filled with mortar that has been prepared and poured into them.
- Let them air dry for at least two to three hours.
- If you need additional support, you can add plates or anchors.
That is the sum total of the matter. We don’t have any more work to do here.
Precision is all you need to worry about. And everything else will fall into place.
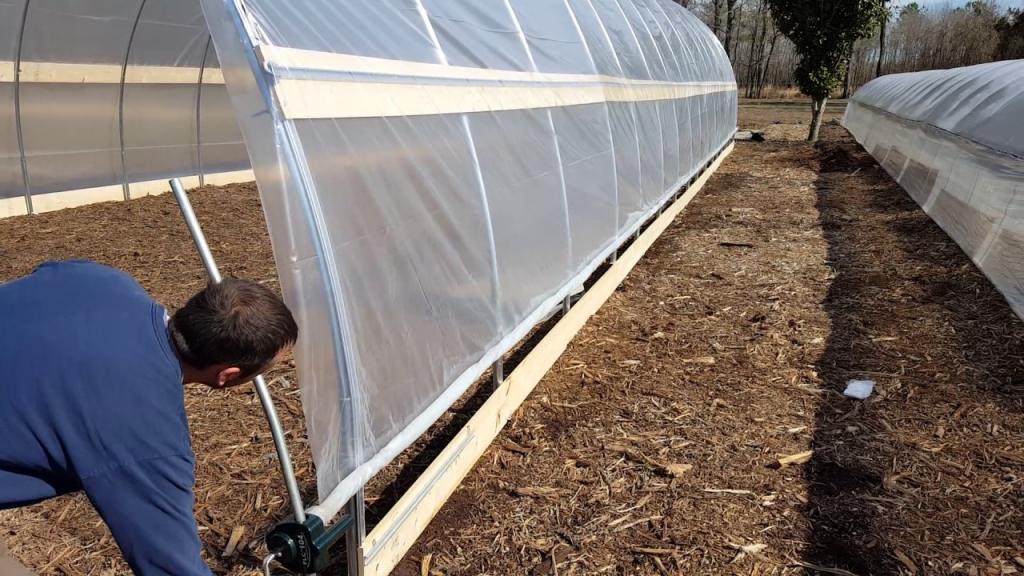
How to secure a plastic greenhouse: The steps
We’ll now go over how to properly anchor and secure a plastic greenhouse.
Advantages of plastic greenhouses
In spite of some drawbacks like pollution and fire hazards, plastic greenhouses outperform glass greenhouses.
Compared to glass greenhouses, they save 35 to 45 percent of energy. One of the advantages of the sun is the uniform distribution of its rays. It’s also worth noting that they’re more affordable than other options. Plastic greenhouses are also more lighter and easier to move than their glass counterparts.
Buying the material
When purchasing plastic for your greenhouse, don’t be afraid to splurge a little.
Cheap plastic films will not have good UV stability, which is a major issue when considering the total efficiency. normal. In addition, the life expectancy of such materials is low.
The Staples and Screw Method
- Painting and prepping the PVC pipes is the first stage. In order to minimize damage, they should not be edgy and have plenty of color coating.
- The plastic sheet is now on the frames, so position it there. Use whatever you can to get a better grasp on the situation at hand.
- Slide the plastic down the frames as you go.
- Don’t leave any gaps or voids in the coverage.
- Take away any extra plastic wrap.
- To keep plastic films in place, turn them on a lathe. Punch 3 to 4 nails into the lathe with a hammer while holding the plastic films against it.
- Repeat the process, stapling the remaining exposed edges.
This section, we feel, will provide you with a clear picture of how to put together the DIY kit we discussed previously. Small plates, nails and staples are all packaged together.
You have the option of purchasing them individually or as part of a bundle. In this case, you have a choice between the two possibilities.
Wrapping Up
The foundation of your greenhouse is critical, therefore don’t forget about this. There must be a sense of equilibrium and security in the design. In many cases, the base of the greenhouse is made of metal and is separate from the actual construction. Getting a small greenhouse securely fastened to the ground may appear to be a difficult task, but with the correct tools and resources, anyone can do it.
Nguồn: https://iatsabbioneta.org
Danh mục: Garden


