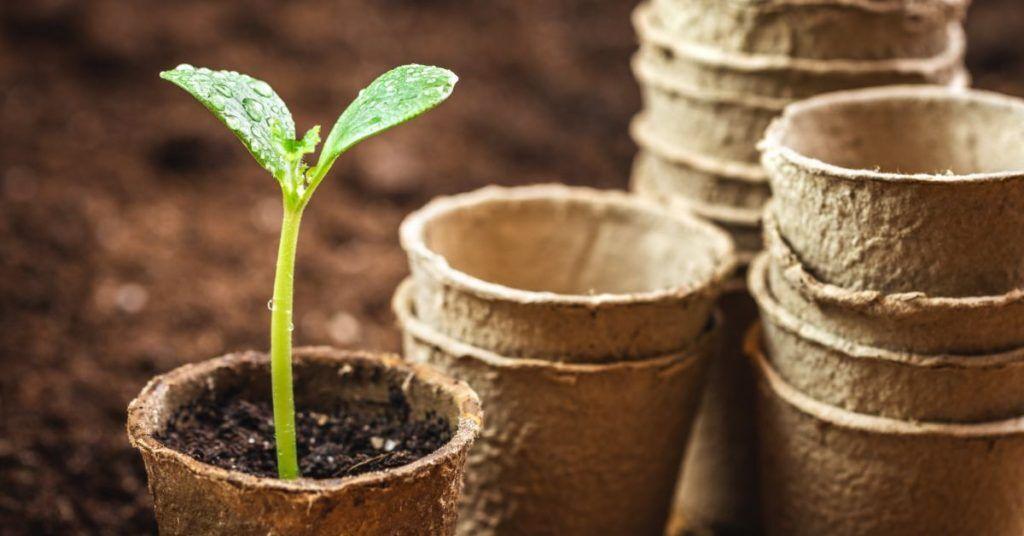
Using peat pots to start seeds before transferring them to the ground or an indoor garden is a terrific way to save time and money. Many different shapes and sizes are available, and they are a biodegradable substitute for plastic pots. The materials you need are likely already in your home.
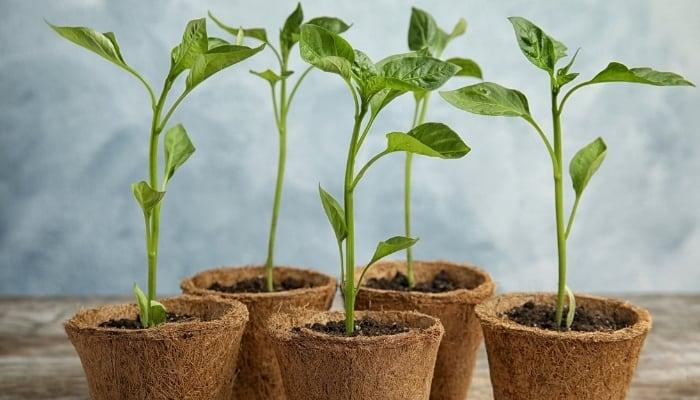
Whether you’re growing flowers, vegetables, or anything else, these pots are ideal.
Bạn đang xem: How Long Do Peat Pots Last? Common Question And Answers
How do peat pots work? What should you use them for? How long do they survive before decomposing? These are all topics I hope to address in this essay. Everything you need to know about these nifty little devices is right here!
What Are Peat Pots?
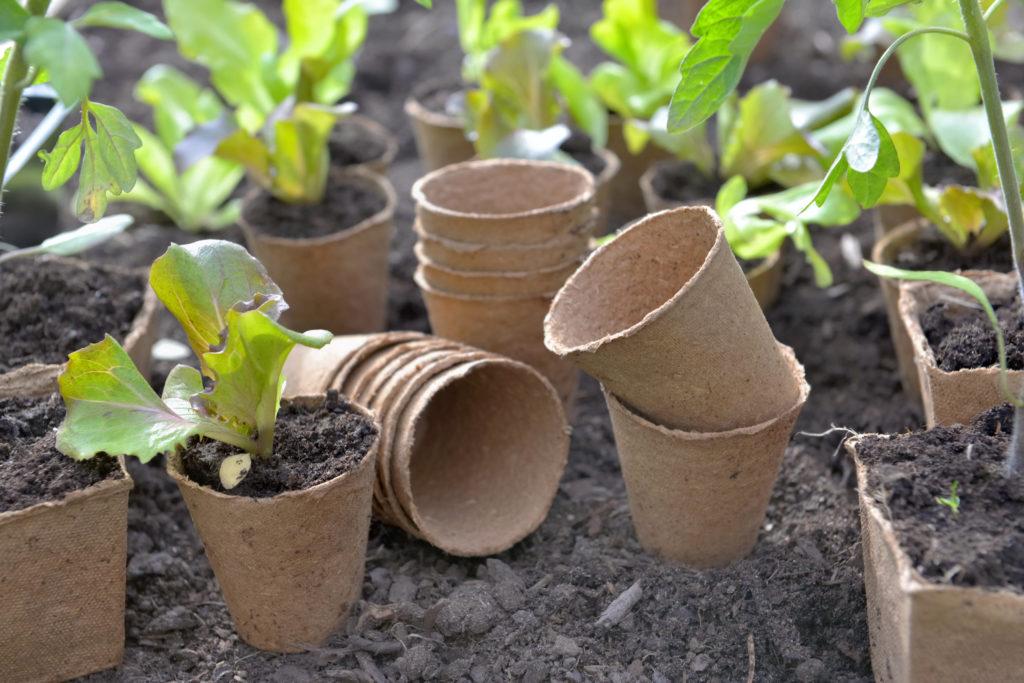
Peat moss and other plant components are used to make biodegradable and reusable plant containers known as peat pots. They are most commonly used as seed starter pots, however once the seedlings have grown to a certain size, they can be transplanted to larger containers.
Sustainable plant growth that does not exhaust the soil’s resources has been a goal of organic farming for generations. Peat moss is used instead of sand or gravel as the base material for the creation of these pots.
How Are Peat Pots Made?
In bogs and marshes, peat moss is made from degraded plants that have been exposed to the elements for a long period of time and have decomposed naturally beneath water or in saturated soil. Plants thrive in this soil because of its abundance of essential minerals and nutrients like nitrogen, potash, calcium, magnesium, and phosphorus.
In order to make these pots commercially, a huge amount of peat material is soaked in water, resulting in a thick, muddy slurry. This mixture will be stiffened with wood pulp before being fully blended into a peat slurry.
It will be necessary to press the slurry into shapes after it has been made ready. The moss and wood pulp are compacted and most of the liquid is squeezed out when it is pressed. A biodegradable pot will be formed if it is tightly compressed together and dried sufficiently.
Because of the wood pulp, these pots will be able to keep their shape long enough for seed starting in peat pots. If you wait too long to plant your seedlings, the pot will lose its shape and become unusable.
You can also make your own plant pots using of materials that you probably already have in your home. To learn more, continue reading.
What Plants Can You Be Planting In Peat Pots?
It’s advisable to choose plants that don’t require deep roots or can adapt well to short root growth if you want to grow them in a peat pot.
In this situation, you have a wide range of options:
- When starting out in peat pots, herbs are an excellent option because they’re easy to transplant.
- In order to avoid nutrient-rich soil being sucked up by the lengthy taproot of tomatoes, they should be transplanted right away. Without appropriate drainage, they can live for a long period with just one leaf coming out of the top while being kept moist by rain.
- Because seeds might take weeks to germinate into shoots, you should start them as soon as possible if you want flowers.
- If you like, you can also start seedlings in peat pots.
When you’re ready to plant your next batch of flowers, keep these pointers in mind.
Can You Grow Plants In Just Peat Moss?
Not at all. Pear most is not a potting mix in and of itself; it requires at least one other element, such as sand, perlite or compost before it can be used for plants.
What Are The Different Types Of Peat Pots?
Peat containers come in a variety of forms, including pots, strips, and pellets. Every one of them has a specific use, which I’ll go over right now.
Roots can grow deeper into the soil if the soil is looser, which some like. Others, on the other hand, prefer their food to be hermetically sealed, preventing any moisture from escaping.
Peat Strips
Peat strips are long strips of peat moss that are commonly used to start seedlings. They are the most cost-effective, as well as the most environmentally friendly, method of planting.
In the seedling tray, these strips of crushed peat form small chambers that serve as rows. The chamber can be divided into parts with a razor blade or a pair of scissors. Even by hand, these portions can be separated.
The peat layer inside the pot will ultimately decompose, resulting in less transplant stress for the entire portion.
These pots, on the other hand, were made to be portable and will only last as long as the plants require to get started. Before the peat layer begins to decompose, you’ll need to transplant these plants.
Peat Pellet
Peat pellets are more expensive than strips but less expensive than plastic pots because they are made up of numerous individual pieces.
In contrast to normal pots and strips, these pellets don’t use wood pulp. The pellets are formed by covering the biomass with a fine mesh material, which gives them a rounded shape.
Pellets are little compacted discs when they arrive.
Some kits include peat pellets and a plastic tray with circular indentations for the discs. If you follow the instructions for Jiffy peat pellets, you should soak them in warm water for a few minutes before planting anything.
Xem thêm : How To Measure Fertilizer? Complete Guide for Beginners
Peat cylinders form when warm water is poured over compressed pellets; the bio-mesh holding the pellets in place is barely able to keep them in place. With a small indentation on the planting side, it’s easy to plant a few seeds. It’s almost like you’re using fabric pots in miniature!
Peat Pot
The most common variety is the peat pot, which resembles a small plastic container with drainage holes at the bottom and is used to grow flowers after being filled with potting mix.
When roots begin to develop through the inserts, it’s simple to remove them! Biodegradable pots are also available, but how do you go about making your own peat? To see how we made ours from scratch, check out our blog post.
Containers for seedlings can be as little as miniatures up to huge ones for trees and bushes.
How To Use Them?
It’s the same procedure for peat pots as for other common garden containers: fill the pot with dirt, plant seeds or seedlings, and then water.
Peat pot seedlings are ideal for transplanting into larger containers or raised beds. There is no need to worry about the roots of your plants before transplanting them from peat pots because they can grow in them until they are ready!
In order to use peat pellets or strips, place them on top of your potting mix in a flat layer and then add additional soil until the peat pot is level. Even moisture levels are important in desert areas, thus this will help.
To construct a container out of strips, simply cut a piece long enough to fit the depth of the container you desire, and then use scissors to make slits around the piece where you’ll grab onto it when setting it in the ground!
Germination
It’s possible to start seed germination in a peat seed pot, but after the seedlings have their first set of true leaves, you’ll need to move them into an even larger container or raised garden bed.
The seeds, strips, or pellets must all be placed in a tray, regardless of their form. Add a seed beginning heat mat to the tray if necessary. Warmth from the peat moss encourages the seedlings to germinate more quickly. Just keep them away from direct sunshine.
Seedlings
Most veggies and flowers can be kept in the starting seeds pot or container for at least two weeks. Even so, you’ll need to move them to a larger container or raised bed once they’ve developed their first genuine leaves.
Transplanting
Make sure to loosen the base of the pot while transplanting plants from pots.
Prior to transplanting, a razor should be used to make shallow cuts around a pot’s bottom or through the pellet base. When transplanted, this makes it easier for the plant’s roots to penetrate and extend into the soil.
While doing this, be careful not to harm the roots. Plants could suffer a severe shock after planting if they are harmed during the transplanting process!
Now that the root mass is less visible, plant the freshly transplanted plant deeper than you first put it — roughly as deep as you originally planted the plant.
Keep watering and feeding your plants as you normally would, just like you would in a traditional container or pot garden.
Peat pots can be used to plant tower gardens with irregularly shaped sections because of their versatility. The peat pot becomes more pliable and easier to install once it has been moistened.
Do Peat Pots Dissolve?
Yes, peat pots disintegrate and become part of the soil over time. Watering too much will only hasten the process.
When peat decomposes, there is no specific time range. There are a lot of variables at play:
- How big were each of the pots that were used?
- What kind of soils were employed?
- How often (but not too much) did you give them a good watering (but not too much)?
- How far apart were they spaced, for example?
Disposable plastic containers, on the other hand, are far more durable.
As a result of this, roots will eventually break through the peat pot’s bottom and dislodge it from the root ball. This will necessitate the creation of new peat pots or the substitution of biodegradable planting pellets for the existing ones.
Where To Buy Peat Or Biodegradable Pots?
Peat pots and biodegradable pots are readily available for purchase online. You may also find them at several garden centers in your area. There are a few things to keep in mind:
1. Seed Starting kit -by Mr. Sprout
With everything you need to get started growing plants right at home, this seed starting kit is excellent for any home garden. Humidity domes are also included in the package.
There are no harmful effects on the environment because the kit includes biodegradable pots.
Xem thêm : How To Get Rid Of Tent Caterpillars? Comprehensive Guide
Peat pots, which are made of 100% organic peat moss, also assist retain moisture. Traditional containers like plastic cups don’t keep soil as moist as potting soil.
In this kit you’ll find:
- 2 Massive Plant Trays 1020 (No Drain Holes)
- Two Humidity Dome Structures (Lids)
- a total of 100 1.75-inch pots in 10 Peat Trays
Seeds developed faster because the lids kept the humidity in.
2. Jiffy Peat Pellets
These Jiffy peat pellets are great for seed beginning without a mess.. Simply add water and the pellet will grow. You can plant your seed after it has expanded from the compressed pellet.
The 50 pellets in the package are held together by a thin net. Transplanting your plants is as simple as placing them in the ground or a container when they are ready. You’ll lessen the effects of transplant shock and damage to the roots.
a 36-millimeter pellet that will grow in size (1.50in x 1.50in.)
3. ANGTUO Peat Pots
Only water from the top with this product, which is constructed of 100% sphagnum peat moss. It is suited for large seeds, larger plants like tomatoes, peppers, eggplants, etc. with a 4 inch diameter round container. Great for herbs and vegetables as well as flowering plants.
Easy as pie! No transplant shock. No root circulation. No wilted foliage. You don’t even have to take your seeds out of the pots; you can simply grow them and then plant them in your garden.
Included in the package are:
- Organic containers 30 times
- Plant Markers in the quantity of 20
How Do You Make Homemade Peat Pots?
You can use a variety of materials to construct your own peat pots. You might want to try:
- cutting sphagnum moss into parts
- strips of newspaper or coffee filters
- Towels, cheesecloth, and toilet paper
- newspapers
Compost, dirt, and sand are all good additions to peat moss for making your own pot. Prior to putting the mixture in a pot, make sure it is soaked with water.
You must leave your peat pots out in the sun to dry after you’ve constructed them. These will decompose on their own or in the open if left for a period of time.
Newspaper strips, toilet paper, or coffee filters can be used to build a pot out of nothing else. Soak the vegetables in water before placing them in the pot.
What’s left to do after building peat pots is to begin planting! It’s ideal to choose a container with drainage holes at the bottom and to avoid overwatering seeds when you initially plant them to ensure success.
Plants started in peat pots benefit from their warm, moist habitat, which promotes root development and makes transplanting a breeze later on.
What are peat pellets?
Peat pellets, like peat moss, are comprised of compressed peat.
Within 20 to 30 minutes of watering, the peat that is held together by a tall net grows to its full size (typically 1.5 inches).
Peat pellets, like peat pots, are used to germinate seeds and are also meant to reduce root shock when transplanted into the ground.
Some peat pellets can go up to a week without water before they need to be rewatered. Peat’s superior water-retention abilities are to blame for this.
After it transforms from dark brown to light brown, a sign that the pellet is drying out, you merely need to add water to replenish it.
Do peat pellets restrict root growth?
It’s the netting that prevents roots from penetrating peat pellets, so they remain root-bound. Additionally, the netting does not break down in the soil.
Can you reuse peat pots?
After a seed fails to germinate, the container can be used again. Digging out the old seed and replacing it with a new one is safe as long as it hasn’t sprouted due to infection.
In cases where the roots haven’t grown far enough to reach the pot’s sides, you can re-use the pots. Remove the plant and use the pot for another seed in this situation.
Conclusion
Peat pots are a great alternative to plastic pots because they are biodegradable. A wide range of plants, from flowers and vegetables to those that need more time in the pot before being moved into the ground, can be grown in these containers.
I sincerely hope you’ve found this blog post’s content to be beneficial. Let me know if you have any other questions.
Nguồn: https://iatsabbioneta.org
Danh mục: Garden


