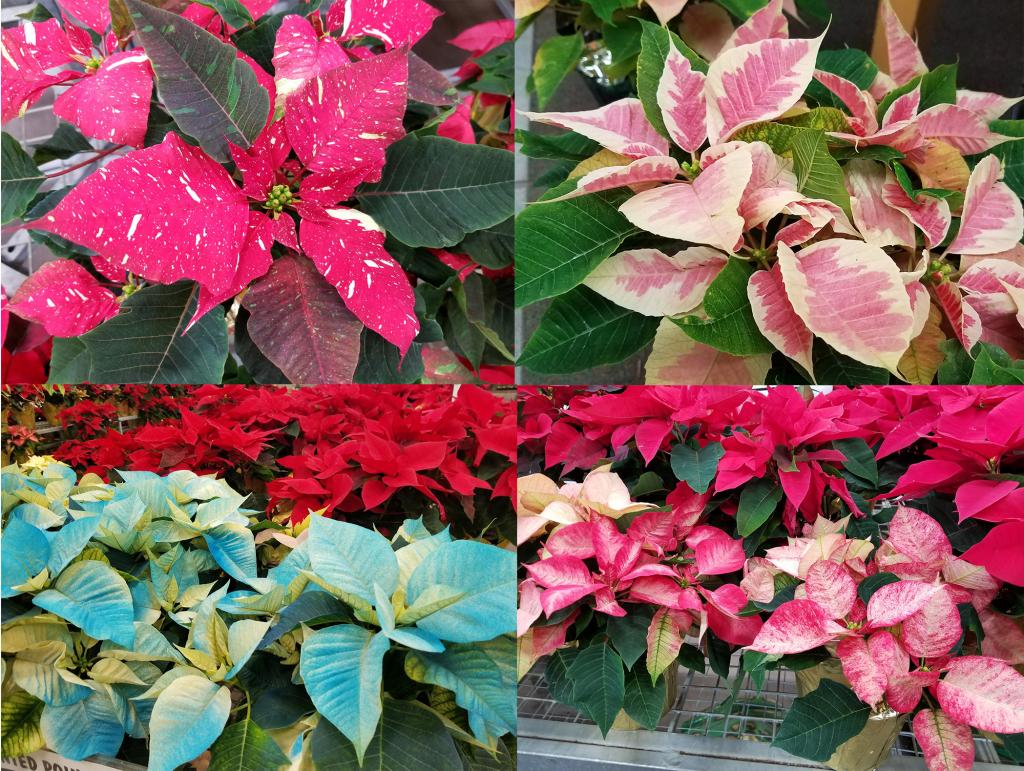
It’s the season of giving, but have you ever wished you could cultivate your own poinsettias? There is good news: it is possible!
Cuttings are the most common way of propagation for Christmas flowers, and this is what I’m going to show you today.
Bạn đang xem: How Do You Start A New Poinsettia Plant? Everything To Know!
These winter-blooming plants are grown from cuttings, which ensures that the newly reproduced specimens are clones of the parent plants.
Using our links to merchants, you may easily identify the products that are most relevant to your needs. Using one of our links may result in a small commission for us.
While it is possible for anyone with an established green thumb to complete this home gardening challenge, caution is advised because it can be somewhat difficult.
I’m going to present you with a step-by-step instruction so that your propagation effort will be met with success now that you’ve been cautioned that cultivating these holiday plants isn’t without its obstacles.
An early look:
What You’ll Learn
- Wait for New Growth.
- Amass Your Resources
- Take Care of Your Eyes and Skin
- Select the Containers You Desire
- Expanding Media Should Be Included.
- Remove Branches
- Rooting Hormone can be used.
- A Bright, Humid Environment Is Best
- Rooted Cuttings in Pots
Wait for New Growth
In order to start a live poinsettia plant from cuttings, you must wait until spring or summer.
Cuttings should be taken from young, active growth, according to Curtis W. Smith, Ph.D., an Extension Horticulture Specialist at New Mexico State University’s Cooperative Extension Service.
It is possible to start this project in the middle of winter, but your success rate will be lower than if you started it in the summer.

Gather Your Materials
Begin by gathering your materials and making sure that you have everything before you begin the cutting process.
It all begins here:
- A poinsettia plant that is thriving and showing signs of life.
- A pair of disinfected scissors or pruners.
- Small nursery pots, plastic cups, or a seed starting flat can all be used as sterilized growing containers.
- Potting soil or a blend of vermiculite and perlite or coconut coir as a growing medium.
- A clear plastic bag or humidity dome to protect the plant.
- A mister or spray bottle.
- One of those misting devices or spray bottles.
- Hormone that promotes root growth (optional).
Each of these topics will be explained in detail as I walk you through the seven processes. Reading through the full procedure in its entirety before beginning is highly recommended.
Propagate Poinsettias in 7 Steps
After waiting for the right time and gathering your supplies, it’s time to get started! Ready? There we go!
1. Protect Your Skin and Eyes
It’s a good idea to put on some gardening gloves or rubber dish gloves before you begin. When poinsettias are cut or damaged, a white sap is discharged that can be quite unpleasant, especially if you are allergic to latex.
Regardless of whether you are allergic to latex, avoid getting sap in your eyes at all costs. As an added precaution, you should consider donning safety eyewear.
The safety talk is over, so let’s get on with the business of the day.
2. Choose Your Containers
The next step is to get your pots ready for the cuttings you’ll be putting in them.
For the first four weeks of the cutting’s life, these containers don’t need to be excessively large.
You can use seed starting flats like these SOLIGT trays from Amazon to start your baby poinsettias.
Humidity Dome for Growing Tray
Once your cuttings are in situ, you can keep them moist with the included humidity domes.
Alternately, small nursery pots or even plastic cups can be used for the initial germination. Prior to utilizing nursery pots, disinfect them well.
3. Add Growing Medium
Flower foam or peat moss is used by commercial poinsettia growers as a starting point for the cuttings of their plants.
You don’t even need to start the cuttings in soil if they can develop in foam, because that indicates that they don’t require moist soil for growth.
It’s better to use something more environmentally friendly, such as seed starting mix or coconut coir, rather than less environmentally friendly materials like floral foam or sphagnum peat moss.
Sphagnum peat moss can be replaced with coconut coir, which is better for the environment.
Chips-N-Fiber Compressed by Prococo
For your new plants, Arbico Organics sells a high-quality Prococo coconut coir product called Chips-N-Fiber that is free of bacteria and fungi. The fact that data is compressed further reduces the amount of storage required.
Xem thêm : How Does Greenhouse Help In Growing Plants? The 5 Top Benefits of a Greenhouse Explained
Vermiculite and perlite can also be used as an alternative.
If you’re beginning your seeds in a flat like the one pictured above, you don’t need to add any more growing medium to it.
Depending on the length of your cuttings, you’ll need a potting media at least two to three inches deep in your container.
The potting media should not be wetted. Until their roots become established, your infant Christmas flowers will get their water from the leaves, not the soil. Below, I’ll go into more depth about that.
Poke holes in the potting mix where you intend to plant your clipping. A chopstick, a pencil or your finger can all be used for this.
4. Take Cuttings
It’s time to take some cuttings from your plant now that your containers are ready with your selected material.
One of the branches should have a three- to four-inch chunk of stem cut from it.
It’s possible that pinching off a slice with your fingers will work, but be wary of the sap.
Next, remove the cutting’s lowest leaves by pinching or cutting them off. In addition to sprouting from the bottom of the stem, this will aid in the formation of roots from the leaf nodes.
A few leaves should be left on top of the cutting so that it can draw moisture from its foliage.
5. Apply Rooting Hormone
No need to worry about it. In order to help your cuttings develop new roots, consider using a rooting hormone.
Take a powder or gel and dip the bottom of the cutting into it. Make sure that the substance covers the stem and the lower leaf nodes.
If you don’t have a large enough container, you can pour a little bit onto a piece of scrap paper and dip the stem into this lesser amount of rooting hormone before inserting it in the container.
This may extend the shelf life of your rooting product.
Make sure the cutting is inserted into the hole in the growing medium, and that the bare leaf nodes go all the way into the medium, after administering rooting hormone
When you push the stem into soil or coir, you don’t want to accidentally rub off the rooting hormone.
If you’re looking for a rooting hormone, Olivia’s Cloning Gel is the one for you. As a gel rather than a powder, you don’t have to worry about inhaling it, which I appreciate.
A cloning gel created by Olivia
Arbico Organics sells Olivia’s Cloning Gel in two-, four-, and eight-ounce bottles.
6. Place in a Bright, Humid Location
It’s time to spray your cuttings now that you’ve inserted them all into your growing medium.
You can sprinkle or spray the foliage of your new plants.
As long as the spray bottle never contains any chemicals or cleaning agents, a plastic one will do.
However, if you’re looking for something a little fancier to use purely for plant maintenance, a glass spray bottle would be a good option.
The quality of your water can have a significant impact on the survival of your young plants. A wide range of plants are susceptible to pollutants in municipal water, as well as bacteria and minerals found in well water.
I only use filtered water to water my houseplants.
Cuttings of the poinsettia will thrive in humidity levels of 90 to 100 percent.
If you have a greenhouse or a humidity dome, you can maintain your babies in high humidity for as long as they need.
If you have started your cuttings in small nursery pots or plastic cups, you can create your own mini humidity domes with transparent plastic bags.
Plastic bags can be used to make humidity domes if you’ve already started your seedlings in small nursery containers or plastic cups.
Xem thêm : How To Increase Terpenes In Cannabis? Special Tips and Tricks
Okay, thus far, this seems like a fairly straightforward task, right? The trickiest phase is ahead of you now.
Poinsettia cuttings require high humidity to thrive, but excessive humidity also increases the risk of some of the bacterial and fungal illnesses these plants are susceptible to.
Poinsettia growers have found a workaround for this problem by leaving a few fans on low all the time (which can also help strengthen the branches).
As long as your greenhouse is well-ventilated, it shouldn’t be too difficult to maintain these plants in a humid atmosphere.
If you are trying to maintain high humidity and good ventilation in your home, things can get a little more complicated.
In the event that some of your cuttings don’t make it, it’s a good idea to take more than you need.
Even if you’re just growing one plant, it’s best to keep your seedlings at least a few feet apart from each other in order to keep them from becoming infected with bacterial or fungal diseases.
You can also use a low-speed fan to assist circulate the air in the room.
To ensure that your poinsettia babies thrive, keep an eye out for new growth. Poinsettia cuttings take ten to fourteen days to establish roots.
7. Pot Your Rooted Cuttings
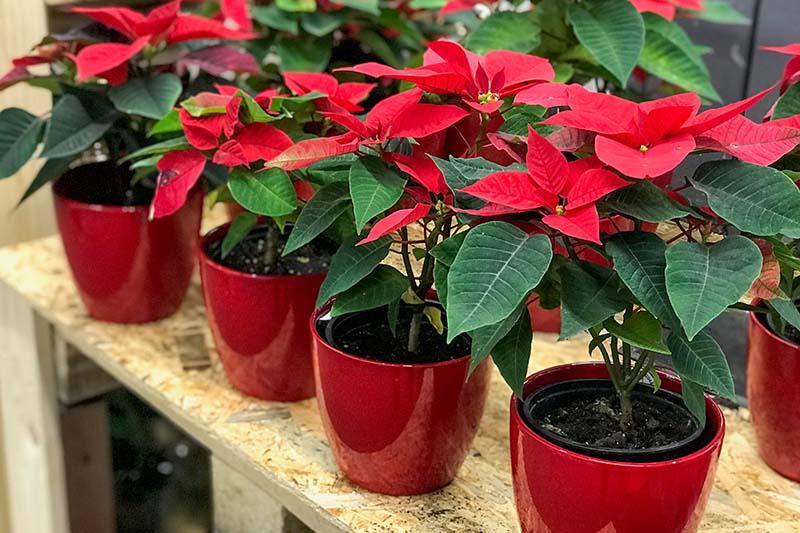
Your seedlings should be ready to be transplanted into pots in about four weeks. Use well-draining potting soil and pots with drainage holes for transplanting your Christmas blooms.
Three cuttings in a seven- to eight-inch pot or a single one in the center of a four-inch pot will yield a full-looking plant.
You can now water your plants as normal after transplanting.
Fill the pot to the point where the water drains out of the holes in the bottom. Between waterings, the soil’s surface should feel completely dry to the touch.
Your poinsettias can also be placed outside in partial shade if your climate is warm enough and temperatures are kept above 50°F.
They can grow into big, lanky plants if they are left to their own ways.
The shoot tip can be pinched back to encourage branching in rooted cuttings when they are six weeks old for a bushier appearance.
Here’s how it works:
A few leaves were stuck to the stem when you made your cut.
Keep an eye on that rooted cutting you have in your hand. Below the expanding point, a few bigger leaves should appear.
Pinch off the top half an inch or so of the stem’s growing tip, then remove the rest of the stem.
The plant will produce new shoots at the following leaf nodes if you pinch the growing point back. As a result, you lose one shoot but gain two in return. There are more flowers and colors in your plant as it sprouts additional shoots.
For the holidays, you’ll want to get things done by the beginning of September.
If you want your poinsettias to be as colorful as possible, you’ll need to expose them to a period of extended darkness.
Since poinsettias are photoperiodic plants, their blooms are dependent on long, dark nights for development.
Creating these circumstances may need a lot of time and effort, but it’s well worth it when you see the beautiful color of your homegrown Christmas bloom in the morning light.
Keeping your poinsettia after the holidays might teach you more about how to keep it blooming year after year.
Grow Your Own Holiday Joy
You’ve just learned how to cultivate your own poinsettias at home in seven easy steps.
This holiday season, if you follow these instructions and are blessed with a little bit of luck, you may find yourself with an abundance of fresh-picked poinsettias.
The question is whether or not you’re up for the challenge, gardener. Have you ever experimented with self-propagation of poinsettias? Let us know what you think in the comments section, and don’t forget to include a photo!
Nguồn: https://iatsabbioneta.org
Danh mục: Garden


