Three simple steps are all you need to know about how to store freesia bulbs. Because freesia is such a lovely perennial herb, knowing how to store it throughout the winter so that you may replant it in the spring is essential. Freesia bulbs, on the other hand, are the plant’s corms, not its actual bulbs.
Plants like peacock orchids and freesias have a tendency to confuse bulbs with corms since gardeners tend to think of all underground root structures as bulbs. Knowing their variations in plant care and growth might be helpful, however. Therefore, the word “freesia corm storage” should be used, rather than “freesia bulb storage.”
Bạn đang xem: How To Store Freesia Bulbs? Easy Step-by-step Guide
Your Guide to Planning, Planting, and Growing Freesias
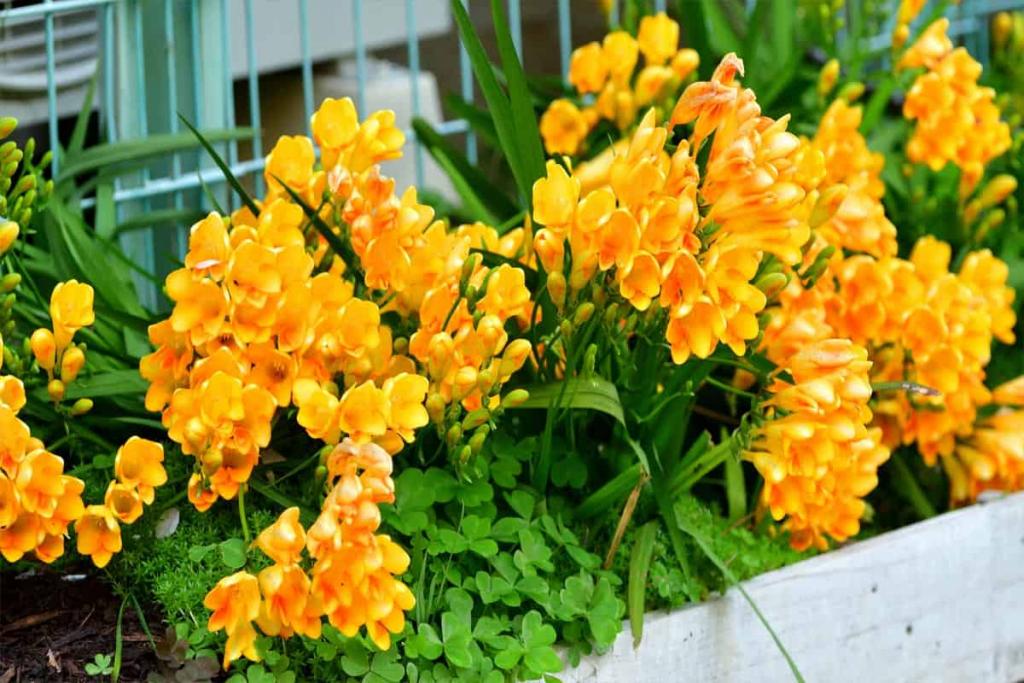
One of the most popular cut flowers in the world is the freesia. Pure colors, extended vase lives, and a lovely scent make them popular. It is possible to grow the corms in a garden or in a container for spring or summer blooming.

There are six to twelve trumpet-shaped flowers on each of the elegant 12″-15″ stalks. One or two blooms are available in a variety of hues, from white and cream to a variety of yellows and oranges as well as various shades of pink, mauve, and purple. Freesias have a pleasant, baby powder scent that fills a space.
Start with a Better Bulb
There is a noticeable variation in quality between two freesia corms when compared. The larger the corm, the more vitality it has and the more stems and blossoms it will produce.
Plan for Success
Freesias can thrive in full sun or partial shade. Temperatures of 55 to 60 degrees Fahrenheit are ideal for their growth, and they may not bloom if they climb above 70 degrees Fahrenheit. Freesias should be kept out of direct sunlight until they have sprouted in a greenhouse. When they are done blooming, keep the plants as cool as possible.
Zones 9-10 are suitable for growing Freesias because of their cold hardiness. They can be grown as annuals in zones 3-8, but they won’t survive the winter outside (see below). The USDA Hardiness Zone map can be used to determine your growing zone.
Soil and Water: Water carefully until the corms sprout after planting. To keep the soil slightly damp, irrigate it on a daily basis. Every two weeks, apply a liquid fertilizer to the plants when they are about 6″ tall.
WHEN AND WHERE TO PLANT FREESIA
Freesias can be planted outside in the fall in locations where they are winter hardy (zones 9-10). The placement should be in a sunny area with well-drained, healthy soil that has a good amount of organic matter. Plant the corms with the pointed end up, 1″ to 2″ deep, and 2″ to 3″ apart. They will grow in number over time.
Freesias can be planted in the spring for late summer blooms in milder climates. In the fall, the bulbs can be planted in pots and grown in a cool greenhouse (55-60°F) for winter blossoms.
Xem thêm : How To Grow Phlox From Cuttings? Comprehensive Guide
As freesias have a long tap root, they should be planted in containers that are taller than they are wide. Consider adding coarse sand or finely crushed stone to your growth mix to promote adequate drainage. Plant 6-8 corms 1″ deep, pointed end up, in a 5″ container. Keep the bulbs about 1″ to 2″ apart if you’re using a large pot.
Tips for Growing Freesia
What a plant needs to thrive can be determined by studying how it grows naturally. South Africa is the only place in the world where freesias may be found. When the weather cools and the rainy season begins in the late fall, this is the start of their natural growing season. Blooming occurs from late winter to early April after the bulbs grow in the fall. Flowers wilt, and leaves fall off after they are done blooming. When the weather is hot and dry, the corms go into dormancy.
Freesia corms that have just been harvested undergo a heat treatment to simulate the dormant period they experience throughout the summer. There is a chance that newly planted corms may take a month or more to emerge out of dormancy even with this treatment. Between 110 and 120 days after planting, a typical flowering time is observed.
Plant freesia corms in groups of six to ten, spaced no more than two inches apart. To create a rainbow appearance, you can plant a variety of different hues in close proximity to each other.
Freesias, like gladiolas, often require support for their stems. The best supports are those that encircle the stems. Use thin bamboo canes or small branches and bind the stems together with twine as an alternative.
Caring for Freesia in Zones 9-10
If you notice that the flowers are beginning to fade, trim the stems back to about 1″ long. Make sure to chop the foliage as close to the ground as possible until it turns yellow. It is fine to leave the corms where they are. Dig the corms up and keep them somewhere dry and warm if you expect the soil to be wet over the summer.
Caring for Freesia in Zones 3-8
In zones 3-8, most gardeners buy new freesia bulbs in the spring and grow them as annuals. You can save the corms by following these instructions.
The stems of freesias that are grown in the ground should be cut off once the flowers have faded and the foliage has turned yellow. Before the first freeze, remove all foliage and dig up the corms. Allow them to air dry in a warm, dry location away from drafts and extreme temperatures. Remove any residual debris from the corms when they are completely dry. In a dry, dark, cold (55°F) location, store the corms in sand or peat moss.
Freesia plants grown in containers should be pruned down after flowering and kept moist until the leaves turn yellow. Stop watering and place the pot to a dry area where it won’t get wet at this point. The corms and foliage should be removed once the soil has dried out entirely. New corms should be stored at 55°F with any previous debris removed.
How To Store Freesia Bulbs: Step By Step
Step #1. Gathering bulbs
Freesias can be stored during the winter and replanted in the spring. While this is especially important in locations with extreme weather, even greenhouse growers can profit. But because you have better control over the temperature and humidity in the greenhouse, it can also be used as a storage space for corms.
Dig around the plant to a depth of 8 inches for collecting freesia bulbs or corms. You’ll want to push up the soil around the perimeter of the plant to make it simpler to remove the corm. As you dig, be careful not to hit the roots and corm with your shovel.
Step #2. Preparing the bulbs
Xem thêm : How To Propagate Crown Of Thorns? Complete Guide for Beginners
Prior to storing the bulbs, gardeners need to perform several preparatory actions. It is important to thoroughly clean the corm and remove any loose dirt or debris. Using your hands, remove the old corms and cormels as well.
The old corm is at the bottom, and the cormels are the small ones that develop on top of it. Insecticides and fungicides can be used to protect the corm or “bulb” once it has been thoroughly cleaned and free of these unwanted elements.
Step #3. Storing and curing
You may store freesia bulbs by laying them out on a piece of newspaper and ensuring that they are not touching one other. You can use the attic or garage as a curing area as long as it is cool, dark, and dry, but a greenhouse allows you to better regulate the other variables. After three weeks of drying in the house, you can remove any remaining dirt by brushing the corms.
You may also have to remove any soft-spot bulbs that are broken or unhealthy at this stage. A paper bag filled with dried peat moss can be used to store the bulbs until they are ready to be used. So that you can plant your seeds at the best possible time, make sure to label your bags clearly.
Planting colors and kinds will also be easier to discern thanks to this. Furthermore, bulbs should be stored between 77 and 86 degrees Fahrenheit, as advised by North Carolina State University. When replanting freesia bulbs in the spring, it’s better to avoid those that have soft places after overwintering and curing.
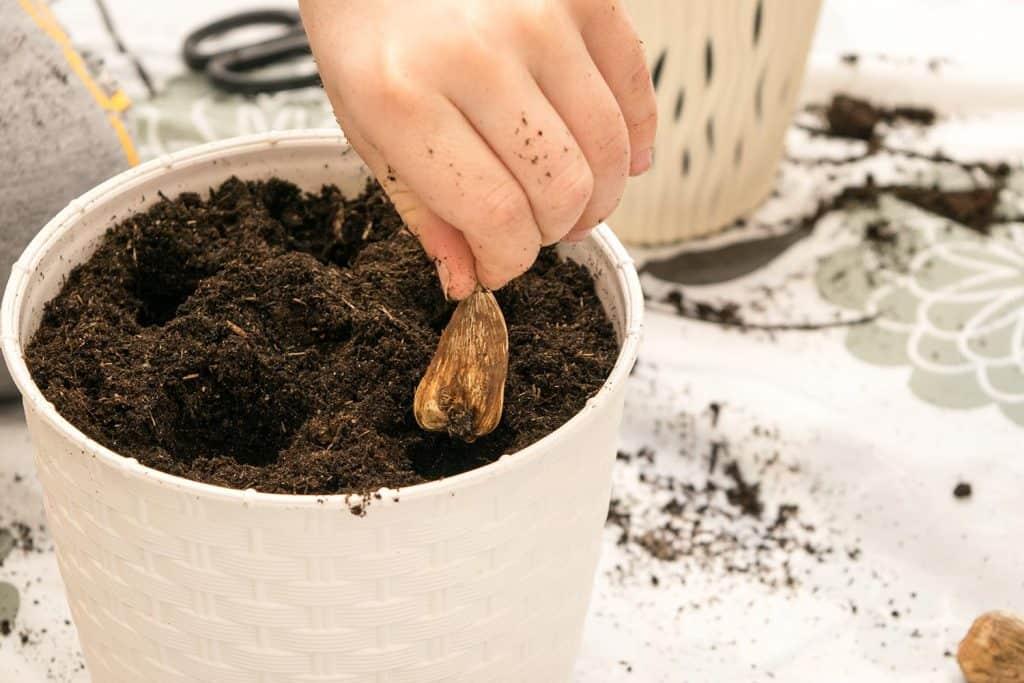
How To Plant Freesia Bulbs
Soak the corms for at least 30 minutes before using them to ensure they’re ready. If you’re unsure of the weather conditions outside, you can grow freesia in a greenhouse if you’re concerned about the risk of frost. Once the weather has stabilized, you may always transplant outside.
Full sun and healthy, well-draining soil are required for growing freesia bulbs. Loosen the soil and dig a hole three times the width of the corm to prepare the planting place. Before planting the bulbs, you can also add fertilizer to this hole.
Remember to plant the bulbs with the tips facing upwards and leave an inch of space between each one. It’s critical to keep the soil moist when planting and growing bulbs, as it is with all other plants. When the plants fall into dormancy, you can cease watering.
How should freesia bulbs be fertilized? During the growing season or when the corms sprout until just before dormancy, a balanced fertilizer applied every two weeks should be sufficient. As a last resort, you might pinch the dead flower heads to encourage new foliage growth until your plant is showing indications of slumber.
Conclusion
Gardeners need to take extra precautions in the winter to ensure that their plants are healthy and ready to be planted in the spring. If you want a successful freesia garden, you need to know how to store freesia bulbs or corms. Gather the bulbs by carefully digging around the plants’ perimeter.
Your “bulb” should be free of any old corms and cormels, as well as any loose dirt. For three weeks, place the corms in a newspaper in a dark and dry place. You can then put them in a paper bag with dry peat moss and keep them at 77 to 86°F in a refrigerator.
Corms can be replanted in the spring, but any with soft places should be thrown out because they are likely infected and damaged from the winter months.
Nguồn: https://iatsabbioneta.org
Danh mục: Garden


