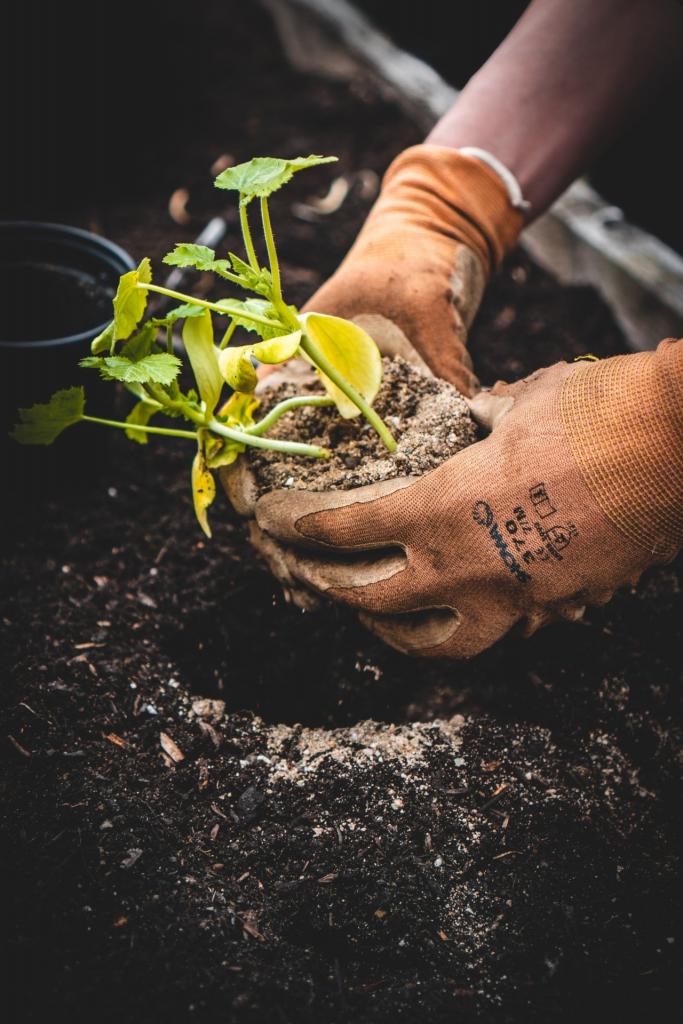
When you’re done with the first two, you’ll be ready to proceed to the third. For maximum root health and development, keep in mind the usage of sand as a medium for growing plants. When it comes to starting plants, it’s not enough to place them in a perfect setting; the medium is just as important.
In addition to being an effective medium for plant health and growth, sand is also inexpensive and readily available. However, using sand in the garden without first sterilizing it is a recipe for disaster. Here are three ways to assure that the sand you use is solely going to be a benefit to you.
Bạn đang xem: How To Sterilize Sand For Plants? Easy Step-by-step Guide
How To Sterilize Sand For Growing Plants
Step #1. Preparation
Preparing the necessary supplies to sterilize your sand is the first step in getting it ready for the garden or container plants. To speed things up, you can pre-heat your oven to 180 degrees Fahrenheit using this procedure. I think it would be helpful if you washed some of the sand as well.
Submerging the sand in water while simultaneously churning it is probably the most straightforward method. In this technique, you can make certain that the sand is fully cleaned before the next stage. Rinse out the sand and sand grains in a clean, dry area before moving on to the next procedure.
Step #2. Submersion
Once you’ve cleaned the sand, you’ll want to give it one more rinse or soak in hot water. In order to completely submerge the sand, pour boiling hot water into the bucket. Submerge the object for a few minutes before draining the water and re-immersing the object three or four more times.
As soon as you’re done using hot water to clean the sand, you must rinse it with water a second time. Even while it seems like a lot of labor, the goal is to have clean sand that can be seen through crystal-clear water after washing. After that, you can remove as much water from the sand as you like.
Step #3. Drying
When you’ve completed the first two processes, you’ll be left with sand that is moist. For drying, use a towel to remove all moisture. In order to achieve optimal sterilization results, spread the dried sand out thinly on a baking sheet.
Xem thêm : How To Heat A Hobby Greenhouse For Free? A Few Tips to Remember
To sterilize sand, simply place it in the oven for 30 minutes at 350 degrees Fahrenheit. After washing, the germs and bacteria should be destroyed by the heat. After checking for damp sand, if necessary, modify the baking time.
Why Use Sand For Plants?
Sand is a low-cost approach to increase the medium’s porosity, so that’s the easy answer. Soil that drains properly is easy to find, inexpensive and often even free because to the availability of sand. Be aware of the dangers posed by a lack of drainage in the soil, which puts the plants at risk of stagnant water.
It’s preferable to use horticultural sand, but builders’ sand can also be used. Gritty sand is essential for enhancing soil structure, so make sure you have enough of it. However, remember to sterilize it first to ensure that it is free of pathogens that can cause diseases to the plants.
How To Use Sand For Plants
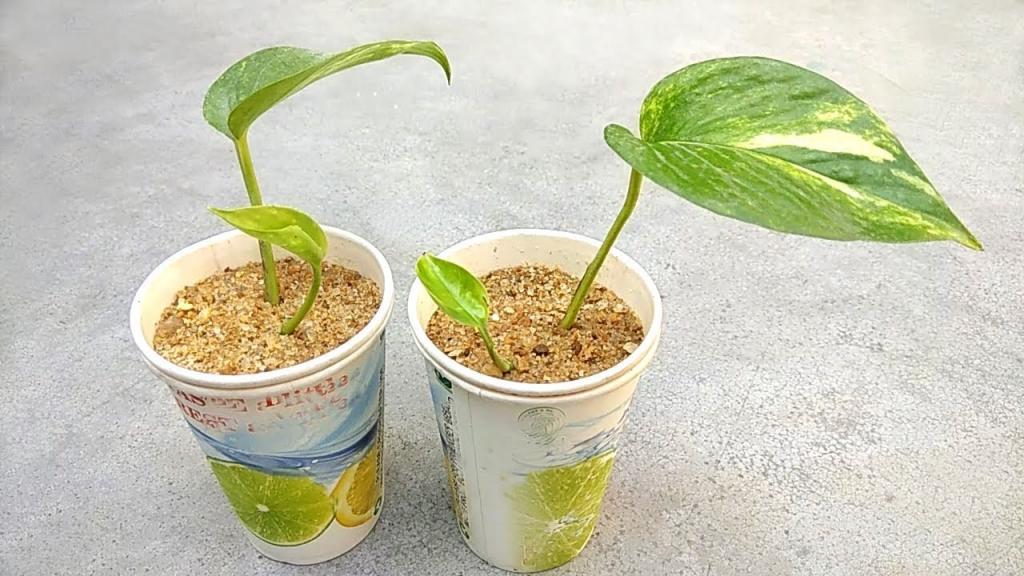
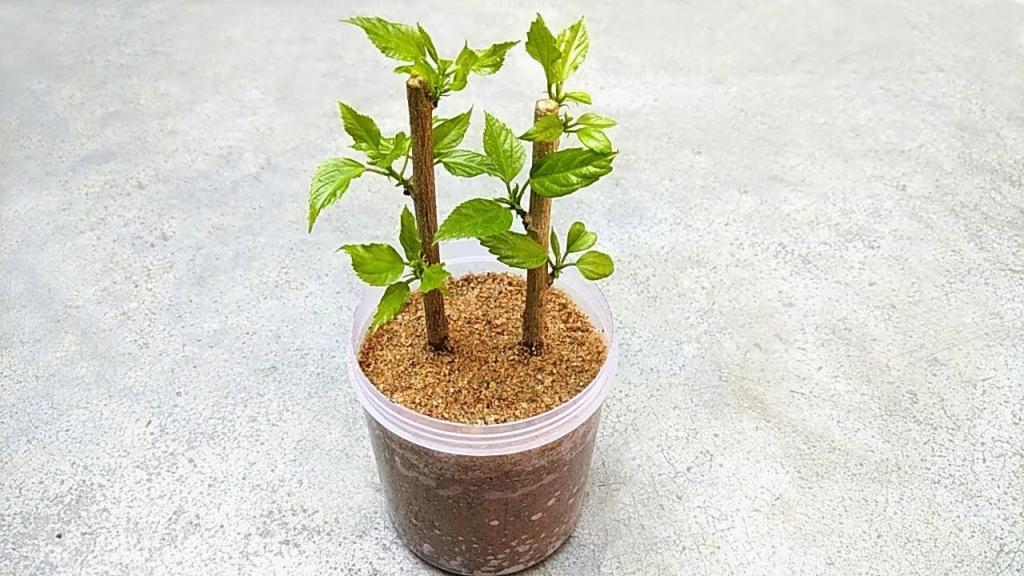
Seeds and cuttings can be started in a soil-free medium by combining sand and compost. This is a great way to speed up root development while growing in a greenhouse. Propagating plants is best done in a well-draining medium in a steady atmosphere.
Also, the soil is too compact for container gardening, therefore a mixture of sand and peat is ideal. You don’t want to choke the roots of your plants, so make sure you use the proper soil-to-plant ratio. The porosity of clay can be improved by using sand on top of the potting mix, or by adding sand to it.
As a final precaution, some gardeners use sand to keep their lawns dry. You’ll be able to get healthier lawn grass this way, and you won’t have to make any alterations to it. You can also make holes in the region in order to make the improvement more convenient. –
Methods for Sterilizing Soil for Seeds and Plants
Garden soil can be sterilized in a variety of ways at home. Heating soil in the oven or microwave can also be done using a steamer or a pressure cooker.
Sterilizing Soil with Steam
Xem thêm : How To Grow Periwinkle From Cuttings? A Few Tips to Remember
Sterilizing potting soil by steaming it for at least 30 minutes or until it reaches 180 degrees Fahrenheit is considered the best method (82 C.). Without a pressure cooker, steaming can be done easily and quickly. The pressure cooker should be filled with several glasses of water, and a few shallow pans of flat soil should be placed on top of the rack. Foil should be used to cover each pan. After 15 to 30 minutes of heating at 10 pounds of pressure, the lid should be closed and the steam valve should be opened just enough to enable the steam to escape.
When utilizing high pressure to sterilize nitrate-rich soil or manure, you should always exercise extreme caution, as this mixture has the potential to explode. For those who don’t have a pressure cooker, fill the sterilizing container with approximately an inch (2.5 cm) of water and place the soil-filled pans (covered with foil) on a rack over the water. Keep it open just enough to minimize pressure buildup while bringing to a boil. Allow it to continue to boil for 30 minutes after the steam has been released. Remove the dirt after it has had time to cool (for both methods). Until you’re ready to use it, leave the foil in place.
Sterilizing Soil with an Oven
Sterilize soil in the oven as well. Using a glass or metal baking pan, cover the dirt with foil and place it in the oven for around 4 inches (10 cm). Using an oven thermometer set to 180-200 degrees F (82-93 degrees C), bake for at least 30 minutes, or until the soil temperature reaches 180 degrees F. (82 C.). Beyond that point, poisons can begin to form. Remove the food from the oven and allow it to cool before removing the foil.
Sterilizing Soil with a Microwave
The microwave can also be used to sterilize soil. Fill microwave-safe containers with moist soil, preferably quart-sized ones with lids (no foil). Add a few vents to the top of the pot. For every couple pounds of dirt, heat the soil 90 seconds on full power for 90 seconds. Larger microwaves typically have enough room for many containers. Allow these to cool before using by covering the vent holes with tape. You can also put 2 pounds of moist soil in a polypropylene bag and seal it. Ventilation is important when using a microwave, so leave the top open while cooking. 2 to 2 and a half minutes at full power for heating the soil (650 watt oven). Allow it to cool before removing the bag.
Conclusion
If you want to use sand in your garden or greenhouse, there is an important step that you must take. If you don’t know how to properly sterilize sand for plants, you run the risk of exposing them to disease-causing germs and microbes. With the help of common home materials, you can accomplish this in just three simple steps.
The first step is to thoroughly rinse your sand in a bucket of water, and then thoroughly swirl the mixture until the water is no longer dark. The next step is to bring some water to a boil and use it in the same way. The water should be clear when the sand has been re-submerged in the hot water.
Dry the sand with a towel before putting it in the oven for 30 minutes. There should be no moist sand left for plants to grow in. Sterilized sand has numerous advantages for your plants, including enhancing the structure of the soil, so be sure to follow these three actions at all times.
Nguồn: https://iatsabbioneta.org
Danh mục: Garden


