A wide variety of bedding verbenas can be used in a variety of ways, with some flowering well into the fall. It is a good idea to take cuttings to ensure that your plants will survive the winter. Verbena cuttings are best taken in the summer. Overwinter them in a frost-free location, and you’ll have a healthy supply of verbena plants to replace any that were killed by frost in the garden.
- How To Grow Campanula? All You Need To Know
- How To Identify Pepper Plants? Complete Step-by-Step Guide
- How To Propagate Impatiens? Things You Will Need
- When Can I Start Growing American Marigold Seeds In Massachusetts In A Greenhouse? Helpful Information!
- How To Grow Grapes In A Small Greenhouse? Grape Care Tips
You Will Need
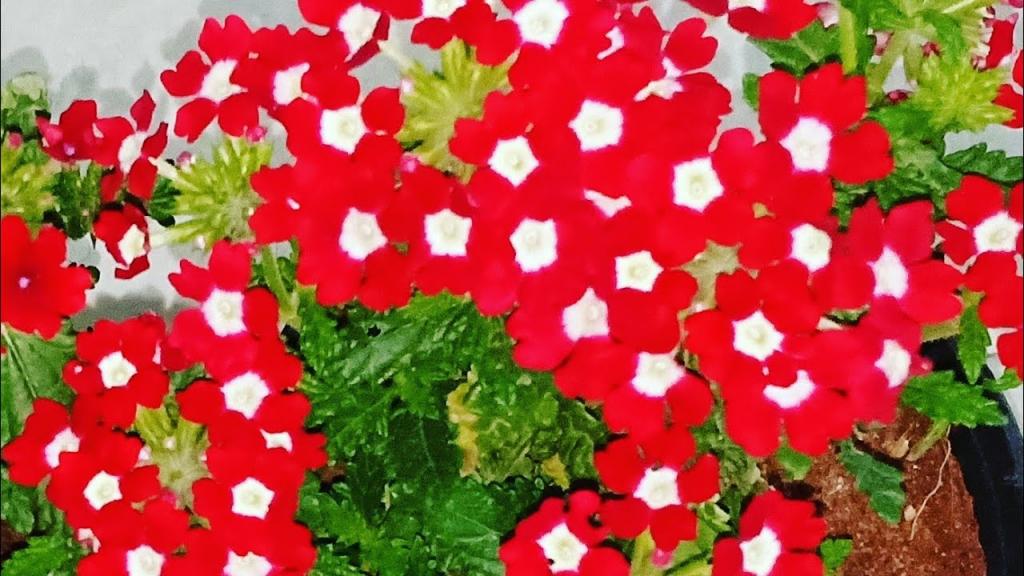
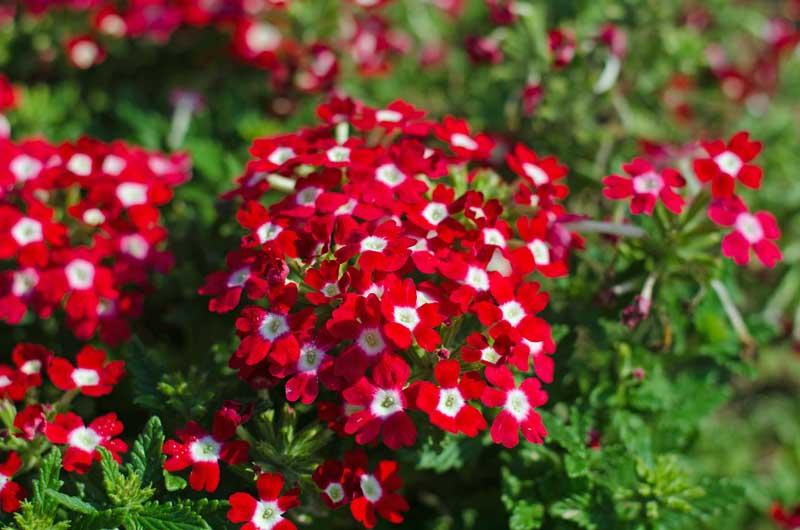
- Verbena is a flowering plant.
- Knife with a fine edge
- Pots measuring 10cm in diameter
- Multi-purpose compost
- Multi-purpose compost
- Compost that can be used for multiple purposes.
- Bandages made out of rubber
- compo
Total time:
a duration of forty-five minutes
Bạn đang xem: How To Propagate Verbena? Easy Step-by-step Guide
Step 1
Cuttings should be made in the morning, when the shoots are at their firmest. On either side of the main stem, remove the non-flowering side branches.
Step 2
Cut a 7.5cm-long piece from the stem just below the leaf joint. Take care to remove the lowest leaves to leave a stem long enough to be inserted into the compost.
Step 3
To stimulate root formation, dip the cut end of the stem into a mixture of rooting hormones.
Step 4
Up to five verbena cuttings can be inserted around the pot’s edge into a 7cm pot of gritty compost. Water is plentiful.
Step 5
Using a rubber band to secure the bag, place the pot inside. Make sure to keep it out of direct sunlight and heated. Check the drainage holes in the bottom of the container after six weeks for white roots. Separately pot each slicing as soon as they are visible.
Cuttings in Water
- Rooting the plants in water may be the most straightforward method of propagation for household verbena. Just above a node, a bumpy place on the stem where a new leaf will grow, cut off the stems.. Allow a few minutes for the rooting powder to dry on the cut end of the stem. Allow the stem to remain in a glass or vase of water for a few days before removing it. Thin white threads should begin to appear within a week. When the stem’s roots are well-established and strong, it’s time to plant it.
Cuttings in Potting Soil
- Verbena roots well in starter pots, too, even in the homestead. Remove the leaves by cutting the stems straight across just above the node. Allow the stems to dry for a few minutes before dipping them in rooting hormone powder. Using new potting soil, plant the stems in tiny pots. Roots will develop in the stems. It is possible to keep the plants in pots during the winter and then transplant them into your garden in the spring.
Naturally Rooted
- It’s not uncommon for “Homestead Purple” verbena verbena to root itself. Using a small bit of garden soil, cover the stems of your plant if they are dangling over the ground. Observe the stems for white threadlike roots every few days. When the roots are formed, remove the stems from the parent plant and transfer the new plants to a new plot of soil.
From Seed
Homestead verbena can be grown from seed, but it’s not as easy as rooting it. Wait until the blossoms have faded and the seeds are visible in early October. Fill a small envelope with the seeds and shake to distribute evenly. Seed packets should be marked with the seed variety and date of harvest before being sealed. Refrigeration or another cool, dry location is a good place to keep the envelopes until the next spring planting. There are times when cross-pollination between verbenas might result in seedlings that look very different from their parent plants.
2 Ways How To Propagate Verbena Correctly
Rooting verbena from seeds
Seed collection
If you already have verbena plants, you can get seeds from them, but if you don’t, find a reputable supplier. Because you’re harvesting the seed pods of the dead blooms, the procedure is quite similar to that of collecting calibrachoa seeds. The dark and little seed pods of your verbena plants will appear later when the flowers have dried and died on the stalk.
Because seed pods can burst open if not harvested quickly, it’s imperative that you time your seed collecting perfectly. The pods should be collected when the blossoms have faded. Instead, green pods indicate that the seeds inside are not yet developed because they indicate that the pods are not yet ripe.
After they’ve been collected, let the pods air dry a little further. Once the pods have dried for a week, the pods can be gently rubbed to extract the seeds. The little, light brown seeds can then be stored until the spring and used for germination.
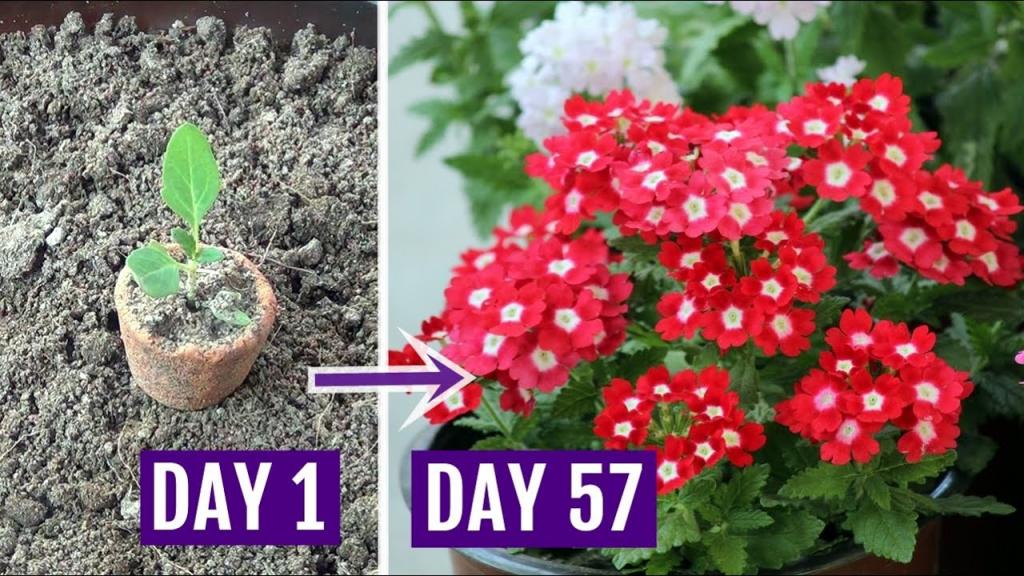
Planting and germination
Early spring or even autumn are ideal times to start verbena seeds and grow new plants. Small seeds can be planted in pots, or they can be strewn directly on the ground. The earth must be moist for the seeds to germinate, just like with other seeds.
Using compartmented flats and a well-draining, moist potting mix is ideal for indoor sowing. There are some gardeners who swear by using black plastic to cover the flats because darkness can aid in the germination of seeds. After germination, thin the seedlings.
The greenhouse’s temperature can be set between 64.4 and 69.8 degrees Fahrenheit, which supports germination within a few weeks. Planting in a greenhouse prevents your seeds from being subjected to the high temperatures found outside. Sowing six weeks before the last frost date indoors is the only option if you reside in a chilly area.
If it’s too cold or wet to start seeds outside, start them indoors at least 12 weeks before you want to plant them. As a result, some seeds may require cold stratification in order to germinate properly. On such case, what if you wish to sow your seeds in the open field?
Sowing verbena seeds outdoors
Xem thêm : How Long Do Tulip Bulbs Last Unplanted? A Few Tips to Remember
Sowing verbena seeds in the garden is much like doing so in a greenhouse. A well-drained, healthy soil is still required, as is patience in allowing the frost to dissipate. Covering the seeds with black plastic until they germinate and then thinning them when they have genuine leaves is an alternative method.
Seeds should be started inside, hardened off, and then transplanted when the weather and soil conditions are suitable. There are two ways to grow verbena: in full sun or partial shade, and as an annual or perennial.
Rooting verbena from cuttings
Verbena cuttings, on the other hand, can be easily propagated. When the plant shoots are firm in the late spring or summer, early morning is the best time to take cuttings. Summer cuttings are more likely to survive, while spring cuttings root more quickly, according to experts.
Remember to select the non-flowering side branches when taking a 3-inch clip below a leaf junction. Remove the bottom leaves in the same way as you would propagate other plants by cuttings. To help it grow, you can put the end of the stem into a rooting hormone afterwards.
The cuttings should be placed in a moist, gritty, and well-draining soil, and then the pot should be sealed in a clear bag to assist retain moisture. The greenhouse can protect the cuttings from harsh heat, but remember to place it in a warm position still. The roots should start growing within six weeks, and when this happens, you can separate the plants.
Conclusion
The cuttings should be placed in a moist, gritty, and well-draining soil, and then the pot should be sealed in a clear bag to assist retain moisture. The greenhouse can protect the cuttings from harsh heat, but remember to place it in a warm position still. The roots should start growing within six weeks, and when this happens, you can separate the plants.
Ideally, you should use moist, grittier, and well-draining soil in a transparent bag to keep the cuttings moist. The greenhouse can shelter the cuttings from the intense heat, but remember to place it in a warm location. Within six weeks, the roots should begin to grow, at which point you can divide the plants.
It’s important to plan ahead for everything from collecting seeds and cuttings to planting or sowing and transplanting.
Nguồn: https://iatsabbioneta.org
Danh mục: Garden


