When it comes to planting sedum tiles, all it takes is two simple procedures. There are a number of products in the market, such as Drop and Grow, that make it easy to plant these tiles. The end result is even more satisfying than the effort it took to get there.
- How To Propagate Penstemon? Complete Guide for Beginners
- How Much Does It Cost To Get A Greenhouse For Planting Vegetables And Fruits In Winter In The USA?
- How To Keep Sunflowers Fresh? A Few Tips to Remember
- Growing Artichokes In Arizona
- What Is The Best Soil To Use For Growing Marijuana In A Greenhouse
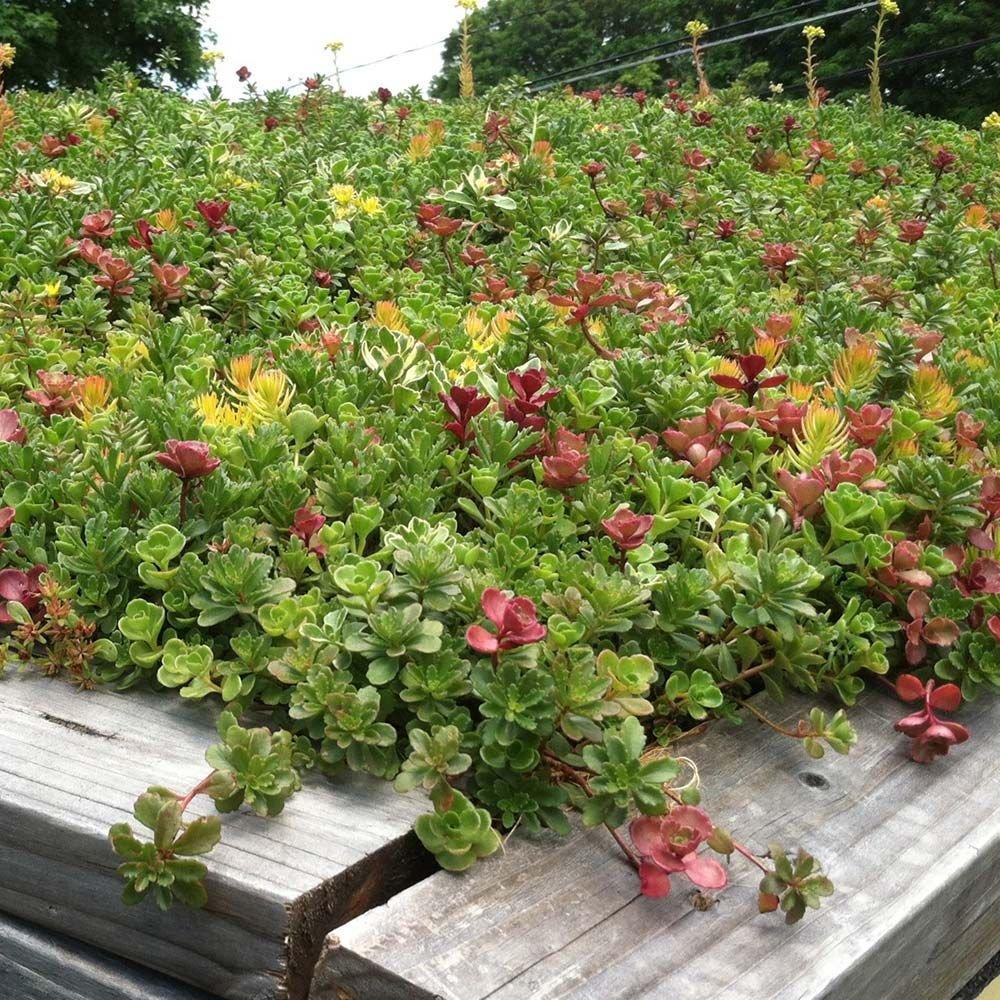
Sedum tiles are often used by greenhouse gardeners to lend a more vibrant look to their plants. Adding numerous sedum cuttings to your environment is a simple and easy way to add color and texture, so why not give it a try? Planting and caring for a garden, greenhouse, or backyard doesn’t have to be a hassle when you follow these simple instructions.
Bạn đang xem: How To Plant Sedum Tiles? Comprehensive Guide
About Sedum
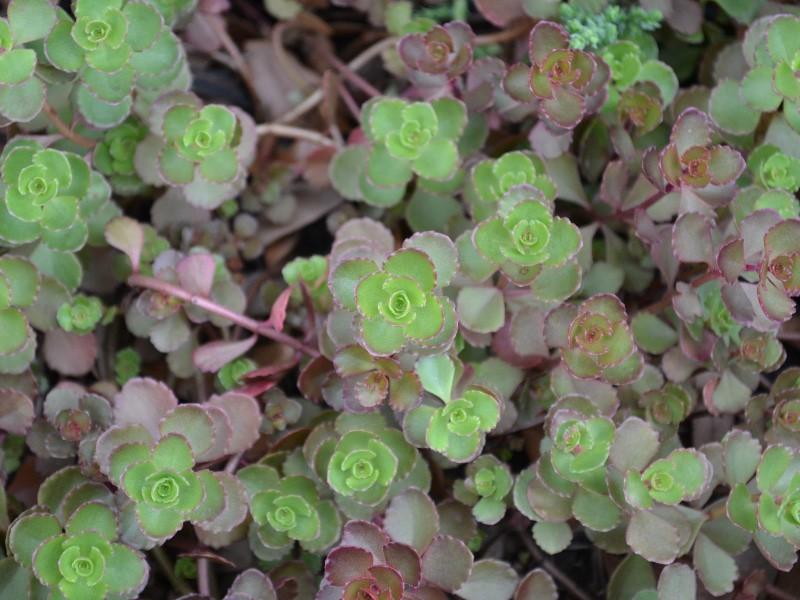
There are many, many different varieties and species of sedum—also called “stonecrop”—which makes them suitable for use in almost any garden design. They’re sturdy, low-maintenance, and a favorite among pollinators.
Sedum is commonly divided into two types based on how they grow: low-growing and upright.
- Sedum is a low-growing plant that only grows to a height of a few inches. Because of this, they are ideal for use as a ground cover along walks, in rock gardens, or as a cascade down a stone wall.
- Upright sedum grows in clumps that are tall and upright with dense clusters of reddish-pink blooms. Border gardens and pollinator gardens can benefit from their height and gorgeous blooms. Even though Hylotelephium has been identified as a whole different species, it is still known as “sedum” in popular usage.
When to Plant Sedum
- Plugs and pots of sedum are readily available for purchase and can be easily planted in the landscape. Sedum can be planted in the spring, after the danger of frost has passed but before the summer heat has set in.
- Early spring is the best time to sow sedum seeds in well-drained, medium-to-rich soil. For more information on soil amendments and planting-ready soil, check out this website.)
Choosing and Preparing a Planting Site
- A full sun location is best for overwintering Sedum if it is grown in an area with lengthy, harsh winters (Zone 5 or colder).
- Sedum thrives in sandy, poorly drained soils. It is very susceptible to root rot if grown in soil that holds too much moisture.
- When sedums bloom, they can become top-heavy if the soil is too rich, resulting in lanky growth.
- Deer, chipmunks, and other garden visitors may be attracted to the succulent leaves of Sedum.
How to Grow Sedum
- Sedum plants are low-maintenance after they’ve established themselves. Be sure to check on your plants frequently during the summer so that you can water them sparingly if necessary. Sedum doesn’t require any additional watering as long as it receives at least one inch of rain every week.
- The flowers of upright sedum should be left alone after they have bloomed in order to provide additional winter appeal. The seed heads they produce will be visually appealing.
- You can control the proliferation of your plants by dividing them in spring or fall. During the summer, cuttings and divisions take root easily.
PESTS/DISEASES
- Mealybugs
- Scale insects
- Slugs
- Snails
- Sedum’s succulent foliage can be eaten by birds, deer, squirrels, and voles.
Xem thêm : How To Increase THC Production? Complete Guide
RECOMMENDED TYPES
- In addition to being a gorgeous ground cover, Sedum humifusum features vivid yellow flowers.
- Autumn Joy, “Autumn Fire,” and “Brilliant” Sedum spectabile, a.k.a. Hylotelephium spectabile, adds a pop of magenta and pink to your yard.
- In the low-growing sedum “Blue Spruce,” the foliage is bluish green, and the yellow flowers look like spruce berries.
How To Plant Sedum Tiles For Success
Once you’ve purchased your sedum tiles, you may need to conduct some preparatory work. As a result, you must position them outside in order for them to get the sun’s rays. You might wet the plant in advance of putting it into the ground.
Step #1. Lay
Sedum tiles have the advantage of not requiring any digging when planting. Having a hole big enough to fit the root ball is all that’s needed to ensure that the roots are able to get into the soil. Prepare the dirt by loosening it once you’ve dug the holes, and then set the tiles correctly.
Cut the tiles into different shapes and sizes and arrange them in a way to give your room a more unique appearance. It’s also a good idea to give each tile at least six inches of space. Regardless of how you plant or use your plants, space is essential.
Where to use sedum tiles?
Sedum tiles can be used in a variety of ways due of their small size. Cut them to make borders or add visual interest to the walkway by placing them between the flagstones or along the edges. Create eye-catching wall art and vertical or hanging plants with your conversation pieces.
Step #2. Secure into place and water
Afterwards, the tiles need to be anchored down in order to prevent them from shifting or falling. This is accomplished by tightly pressing the earth around the roots, just as you would with any other plant. After planting, you can water the plants according to the instructions provided by Cottage Farms to help the soil and roots establish better contact.
How to maintain sedum tiles?
After planting sedum tiles, you don’t have to worry about maintaining them, because they’re hardy. However, it’s best to double-check the types you’re learning about to make sure they’re in the best possible circumstances. Some examples include watering them every other day for the first two weeks and once a week for the first summer.
Xem thêm : How To Propagate Coleus Plants? Step-By-Step Guide
To avoid damaging drought-resistant plants, only water when the soil is severely dry. Other than checking drainage, do not over-water these plants. Do you have to fertilize sedum tiles? A water-soluble fertilizer is a wonderful option during the growing season, but stop using it after September 1 to prepare for dormancy.
If you wait until spring, you’ll be able to apply fertilizer to the plants as they grow. The question of whether sedum tiles need to be pruned may arise. You can get away with without doing these things, but if the growth is becoming unattractive, you should consider trimming it.
How to winter sedum tiles?
If you don’t want to move over the winter, the greenhouse is a good place to grow sedum tiles. Most sedum plants, however, can withstand a cold winter, especially if they are planted in the ground. Containers can be brought indoors before the temperature drops below freezing in areas with harsh winters.

The plants can also prepare for the cold ground by watering late in the fall and checking soil moisture during the winter. When the weather warms up, it’s time to bring the plants outside.
Conclusion
But what if you don’t want to dig? You can still make improvements to your landscaping. Sedum tiles can be planted in two simple steps in this article. For the most part, they don’t require a lot of time or effort to get up and running.
Loosen the dirt around the desired site. Sedum tiles can also be sliced and arranged in any way you choose. The only thing you need to keep in mind is that the tiles should be 6 inches apart, and the holes should be big enough to fit the root ball.
It’s done! Sedum tiles don’t really require any upkeep, but you can always water, feed, and trim them if necessary. Generally speaking, these plants are self-sufficient, and they’ll grow without a lot of support.
Nguồn: https://iatsabbioneta.org
Danh mục: Garden


