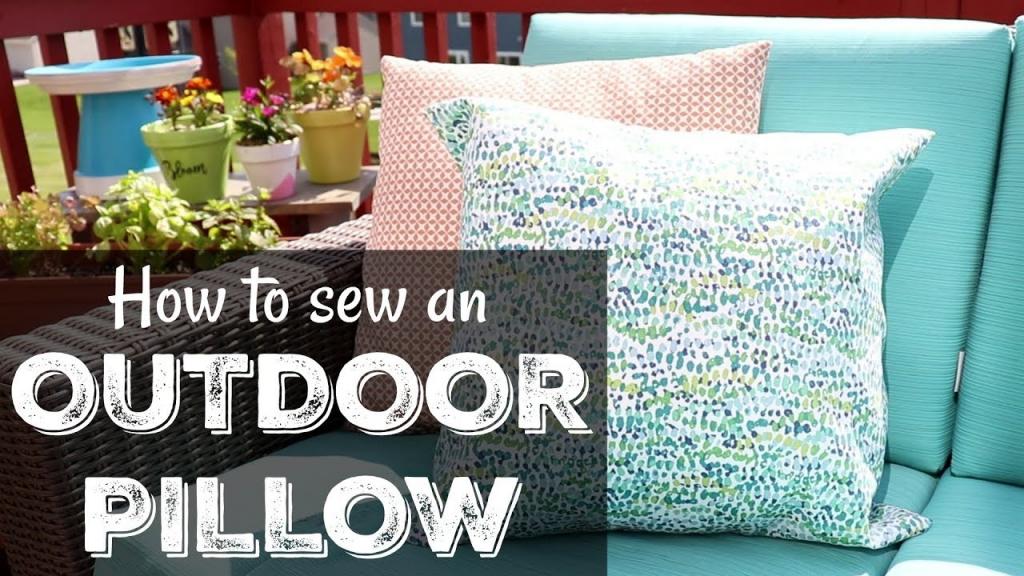
Do you want to know how to construct a pillow for the outdoors? DIY is just six simple steps away!
- How To Get Rid Of Sperm Stains On Mattress? A Few Tips to Remember
- How To Make A Firm Bed Softer? A Must Read Guide
- Why Does My Air Conditioner Keep Running After It Has Reached The Set Temperature?
- How To Install Portable Air Conditioner In Horizontal Sliding Window? Quick Questions Before Starting
- How To Prune Concord Grapevines? 5 Easy To Follow Steps For You!
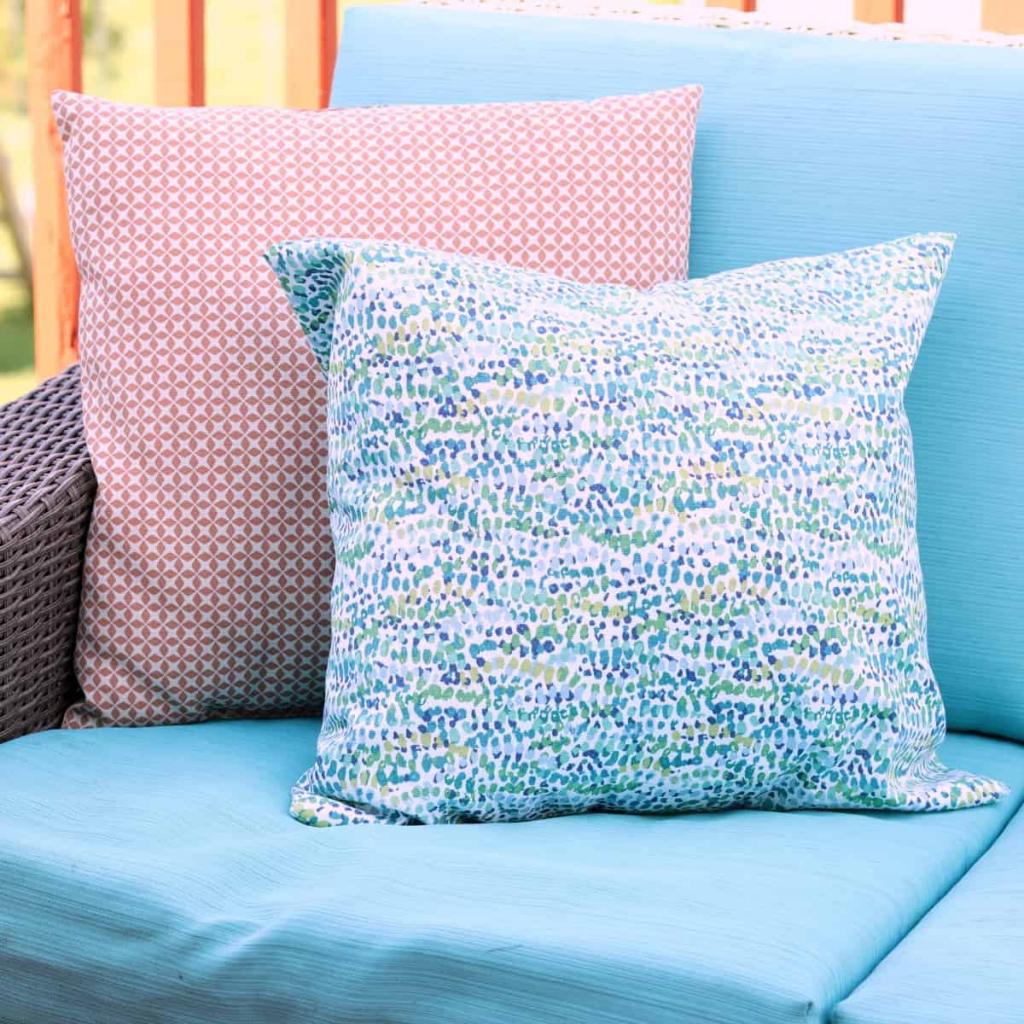
Pillows are an excellent way to add character and style to a room or location.
Bạn đang xem: How To Make An Outdoor Pillow? Step By Step Instructions
You may make your own outdoor cushions with some basic sewing skills and some ingenuity.
These home items are vulnerable to rain, heat, and other external elements that might cause harm.
However, by following this guidance, you can ensure that your end product will not only meet your personal preferences, but will also meet the requirements of an outdoor pillow.
To get the most out of your time outside, go through this process. Your visitors will be able to see and feel your presence in the place.
Supplies And Tools Needed
- Fabric intended for outdoor or external use (3/4 yard)
- Insert for outdoor pillows (Polyfill)
- The diameter of the pillow form’s piping is the same as the diameter of the piping.
- Spools of thread and needles (with zipper foot)
- A needle for stitching by hand
- Thread
- a set of pins (Heavy-duty)
- Scissors
- Pencil
- a yardstick, ruler, or other measuring device
Step By Step Instructions
How well are you at making outdoor pillows?
You can construct an outdoor pillow in just six simple steps. To get the results you want, be sure to follow the steps carefully and correctly.
Step #1. Cut the outdoor fabric
You’ll need to spread out your outdoor cloth on the work table.
Your pillow form’s dimensions, together with an additional seam allowance on both sides, should be measured and marked using your ruler and pencil.
If the pillow shape is 16×16 inches, then the fabric should be 17×17 inches.
The front and back of the pillow require two identical pieces, so do it twice.
Cut the fabric into two equal pieces, then sew them together.
Step #2. Make the Piping
Cut the cotton piping to the correct diameter of the pillow shape using scissors.
The length of the piping should be 64 inches for the 16×16 inch pillow form example.
In order to cover the welt, you’ll need a piece of fabric that is 2 inches wide by the length of the piping.
If you have a lot of different pieces of cloth, you may simply stitch the ends together to create a single piece.
In this case, you must ensure that the right sides of the stitches are facing each other.
Wrap the fabric around the cotton piping with the right side facing outward.
The piping can then be stitched in place using the zipper foot on your sewing machine.
Step #3. Put Together the Pillow Cover
Xem thêm : How To Get Rid Of Old Bed Frame? A Step-by Step Learning Guide
You’ll need two squares of similar cloth, with right sides facing each other.
Take the piping you just made and align it to the fabric pieces, ensuring that the raw edges are in the same direction.
The raw edges of the piping should be facing the same direction as the raw edges of the cloth.
Cut slits around the corners of the fabric to make the piping seem and lay flat.
You must leave a little gap at the bottom of the pillow cover so that the pillow form may be inserted inside.
Step #4. Sew the Fabric Pieces
In this step, you will see how the pillow will come to shape.
You’ll get a sense of how the pillow will form at this step.
Ensure that the pins are removed as you work your way along the cover’s perimeter.
Were you aware that you left a portion of the story unfinished?
Don’t attempt to join them with thread.
Step #5. Insert the Pillow Form
To finish the pillow cover, trim any loose threads and turn it inside out when you’ve finished stitching.
Using the opening that was left unstitched before, place your pillow shape into the casing.
Gently drag the form up to the corners of the pillow cover so that it can fill all the gaps.
A wide range of weather conditions must be accommodated when designing outdoor furniture and accessories.
As a result, a polyfill insert is more suited for outdoor applications due to its low maintenance requirements and ability to maintain its shape over time.
With this pillow filling, you won’t have to worry about it taking up too much space in your bed.
Step #6. Close the Opening
Using your hand sewing talents, you must close the gap.
Pin down the pillow’s opening to avoid making a mistake.
Sew it shut using your needle and thread.
Cut the excess threads, and voila, your pillow is ready for decoration and use.
Xem thêm : How Long To Let Your Air Conditioner Settle? Things You Should Know About
Finally, you’re ready to decorate and enjoy your new cushion.
In addition, practical additions like shreds of plastic might be used as a backup plan.
Why I Like Making Outdoor Pillows Using the Plastic Bags:
First and foremost, they’re completely free!
2. I feel good that I’m helping to reduce the ever-expanding mountain of them that seems to increase by the minute. You may expect to walk out of the grocery shop with an average of ten bags. In order to avoid receiving yet another plastic bag while shopping for a small number of items, I always bring a bag with me. Because I don’t have enough bags for my weekly food shopping, I usually wind up buying plastic to carry it all home.
3. You can make the pillow form any size you want – big, small, or even a roll style pillow.
In addition, you can build the pillow in any shape you like, including a roll-style pillow, if you prefer.
Gather all the plastic bags you have around. The outer bag should be the same size as your pillow cover, if not slightly larger. Your outer bag should be stuffed with items from the same sort of bag. Thicker plastic bags are less forgiving when it comes to forming to the shape of the item they’re holding. Use the thicker bags as the bag you stuff all the other thinner bags into. Grocery shop bags are the greatest option for this purpose. The kind you can get at your local Supercenter. Each stuffing bag should be stretched out and then rolled loosely before being placed in the bag. The outer bag will be smoother if they are all lined up. The cushion will look lumpy if you merely stuff them into the bag.
Gather all the plastic bags you have around. The outer bag should be the same size as your pillow cover, if not slightly larger. Your outer bag should be stuffed with items from the same sort of bag. Thicker plastic bags are less forgiving when it comes to forming to the shape of the item they’re holding. The thicker bags should be used to hold all of the smaller bags. Grocery shop bags are the greatest option for this purpose. The kind you can get at your local Supercenter. Each stuffing bag should be stretched out and then rolled loosely before being placed in the bag. The outer bag will be smoother if they are all lined up. The cushion will look lumpy if you merely stuff them into the bag.
Gather all the plastic bags you have. Find a bag that is the same size as your pillow cover or slightly larger to serve as an outer bag. Use the same bag to pack your outer bag. Some plastic bags are thicker than others, so they won’t conform to the shape as easily. As a general rule, use thicker bags to hold the rest of your smaller bags. Bags from a grocery shop are the greatest. Walmart-style products. To create a uniform pillow shape, spread each stuffing bag out and then loosely roll it, then place it in the bag. A smooth outer bag requires straight dividers, so do your best to maintain that alignment. The cushion will seem lumpy if you just stow them in the bag.
Staple the seam a fourth time to make sure it’s secure.
Create an indoor pillow form if you don’t already have one by shaping a plastic bag into a shape like a pillow.
Then, slip it into the pillowcase. Make it fit like a glove by pressing, molding, and shaping it.
I’ve completed my task.
To make my patio chairs more comfortable (and colorful), I added a pillow to the backs of each one.
More Easy to Make Outdoor Pillow and Cushion Ideas:
Other simple methods for reupholstering pillows and cushions with new fabric can be found by clicking on the following links.
Final Words
You’ve done a fantastic job expanding your outside living area!
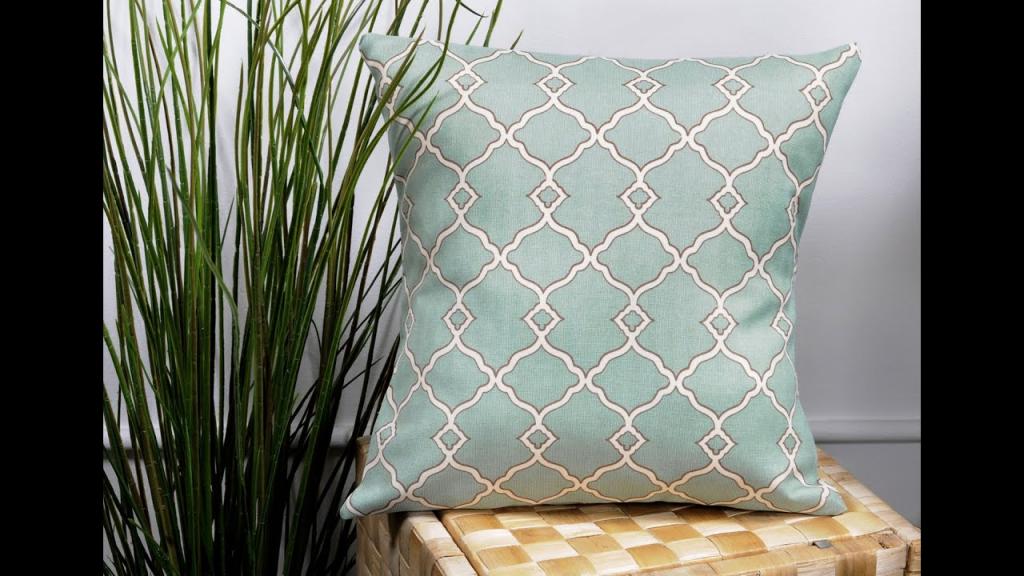
This home accessory can help bring your outdoor space together.
While making your own outdoor pillow may take some time and effort, there is no substitute for the sense of success and pride that comes from making your own.
With this knowledge, you may now sew any cushion you like for your house.
Learn how to construct an outdoor pillow while having fun.
Nguồn: https://iatsabbioneta.org
Danh mục: Home