Hardwood floors should not be submerged in water. It should come as no surprise to anyone who lives in a flood- or hurricane-prone area with an older home. If major amounts of water—flood-related or not—have come into contact with your wood floor, your floors will never be quite the same as new again, but you can take steps toward saving them from the junkyard. Hardwood floors are great for the architectural salvage yard, but you shouldn’t give up on your home just yet.
What You’ll Need
Equipment / Tools
- Squeegee
- Bristly broom
- Bucket
- Cloth or rubber gloves
- Soaked-up fabric
Materials
- TSP (trisodium phosphate) or a mild detergent/disinfectant/bleach as needed
Water Damaged Wood Floors: A Step-By-Step Repair Guide
Is your upstairs neighbor’s leaking bathtub dripping onto your wood floors? Did the cat knock over a glass of water in the middle of the night? Did you forget to close the window before the storm? Water can end up soaking into and warping your wood floors for a variety of reasons.
Is water from your upstairs neighbor’s leaking bathtub seeping onto your hardwood floors? Did the cat wake you up in the wee hours by knocking over a bottle of water? During the storm, did you forget to close the window? Wood floors are susceptible to warping from water damage for many reasons.
Identifying Water Types
When dealing with water damage, the first order of business is always to locate and fix the leak. Turning off the water supply or calling a plumber may be necessary. Once the water stops pouring onto the flooring, you’ll need to assess the damage caused by the water.
Mopping up clean water, like what comes out of your faucets, is a simple and straightforward DIY project.
For any wood surfaces to be suitable for restoration after a gray water spill, such as from a leaking washing machine, extensive cleaning is required.
As an example, if your toilet were to overflow, you’d have black water that would require expert help to disinfect.
Signs of Water Damage on Your Floors
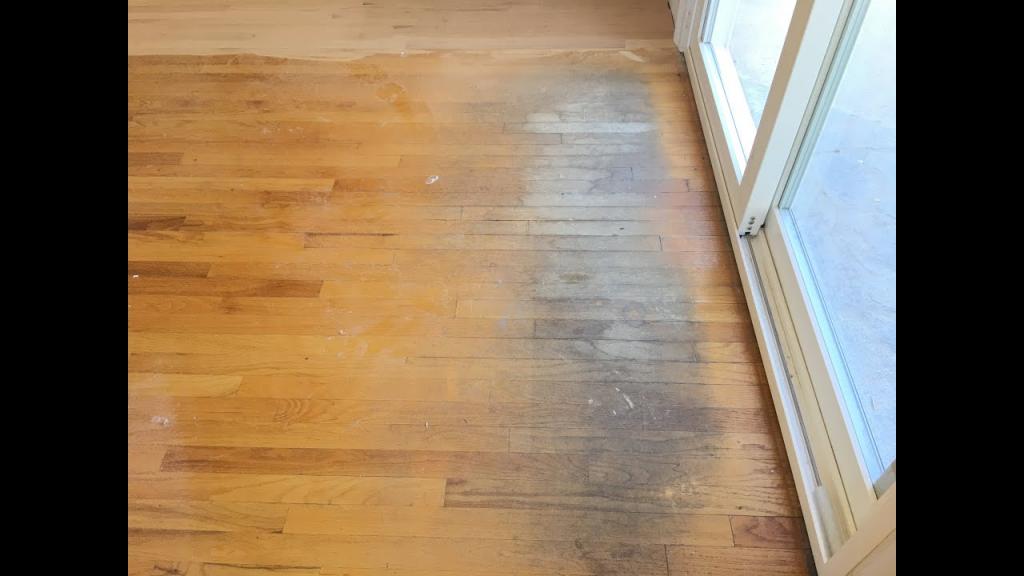
The next step is to figure out how your flooring reacted to the moisture. What looks like normal aging could actually be symptoms of water damage.
Inspect your wooden floors for the following issues:
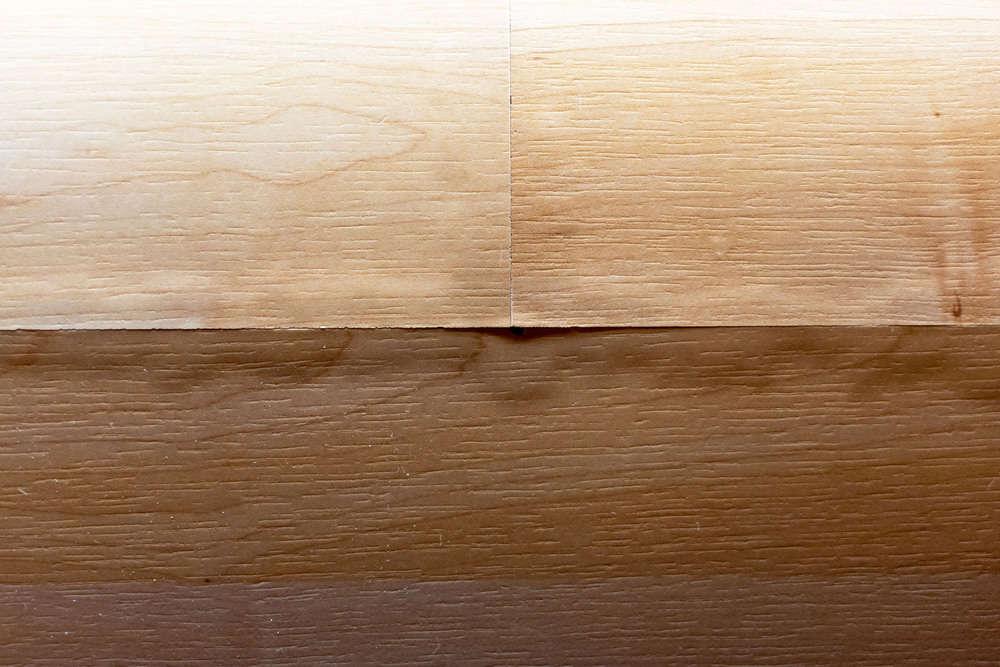
- This is known as “cupping,” and it occurs when the ends of particular boards are higher than the middle. Even over long periods of time, floors can cup as moisture from the air soaks in.
- If the middle of the boards are higher than the edges, this is known as crowning, the opposite of cupping. Leaving unfinished flooring in a humid environment can lead to crowning. Water is retained in the wood, allowing it to gently swell.
- Buckling occurs when cupping and crowning are not addressed and the floorboards burst out of the subfloor, exposing the subfloor to further deterioration. In the event that you keep bumping against your wooden floor, it is likely buckling.
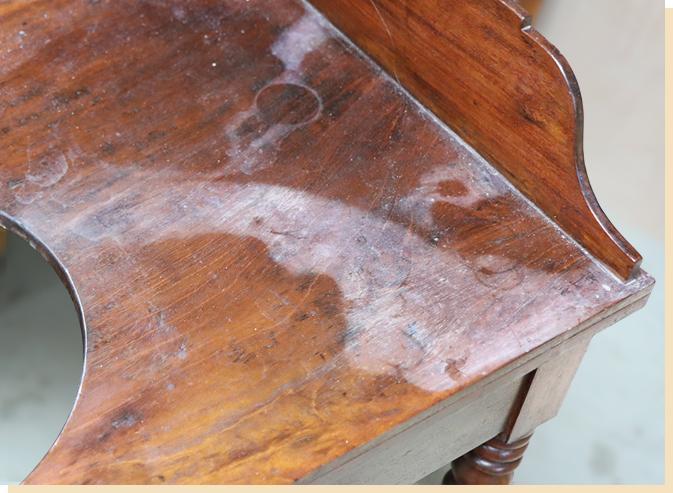
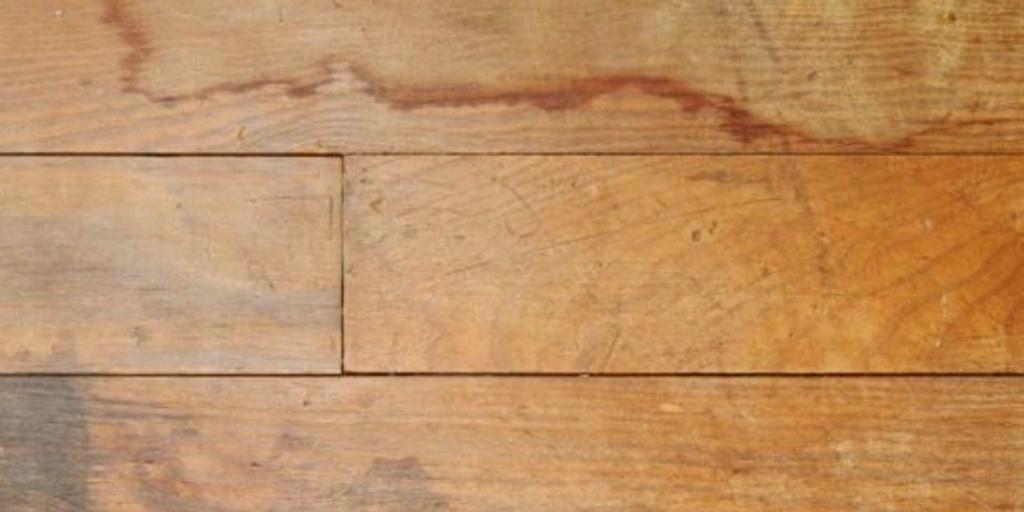
- Moisture-damaged wood can split and twist into any shape other than the smooth flat flooring you had, resulting in cracking and warping.
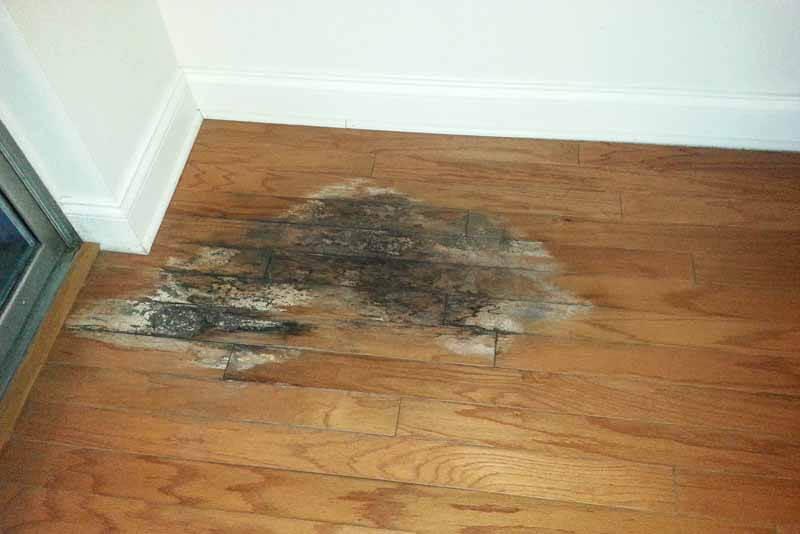
- Discoloration and a musty odor are classic signs of mold growth, so if you detect either of these, you should assume the worst. Discoloration of a section of wood that otherwise appears normal may be an indication of mold.
How to Repair Water Damaged Wood Floors
Fixing the floors can begin after water damage has been identified, the source has been shut off, and you have a firm grasp on the scope of the damage.
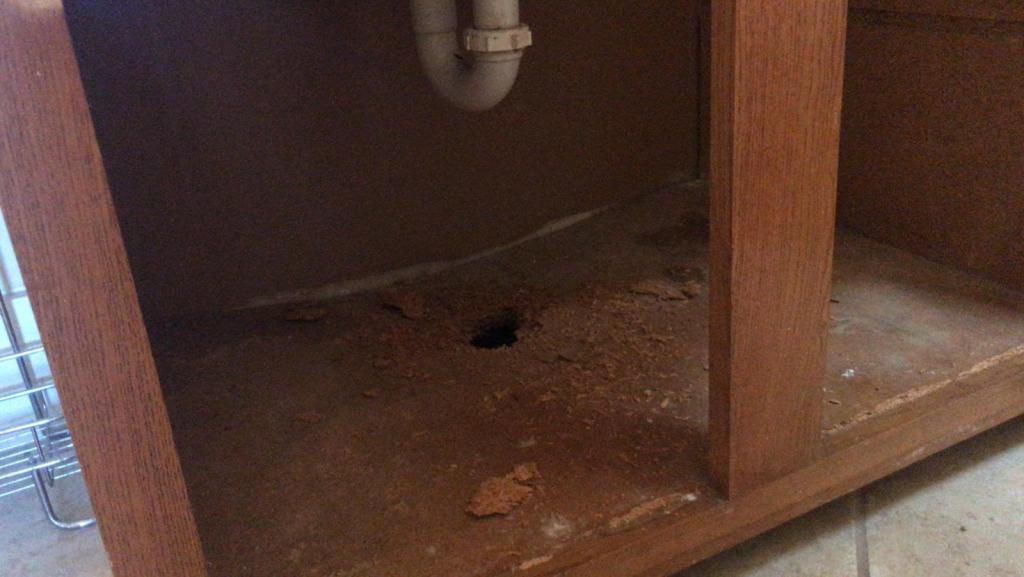
Xem thêm : How To Fix Water Damaged Cabinet Bottom? Step by Step Instructions
DIY floor repair can seem daunting at first, but these simple steps can help you get going.
1. Remove Water
If there is any liquid on the floor, mop it up and soak it up. If you have a water vacuum, you can utilize it to swiftly collect the water. Any damp carpets or flooring should be taken up and dried as well. Do not attempt to fix a black water leak on your own. Please contact All Dry USA.)
2. Clean the Floor
Use a disinfectant that is suitable for wood to remove any debris that may have accumulated in the water. Deterring mold growth on wood is another benefit of a thorough cleaning.
3. Dry the Floor
When you’re done cleaning the wood and pat-drying it, you may let the air out by opening the windows (if you live in a dry region) or using a dehumidifier. You should allocate a full day for this. Avoid rushing this process. Wood can easily crack if heated or dried with an appliance like a hair drier.
4. Sand the Floor (note: this is only for crowning or cupping floors)
Smooth down the floor by carefully sanding down the uneven spots until all of the planks are level. Varnish and re-stain the floors to match the existing flooring.
5. Reset the Boards
Nail or screw in the protruding edges cautiously when boards are buckling in all directions.
Basic procedures for repairing water damage to wood floors. Time and money might be saved by just doing the initial steps before seeking assistance. However, there are situations when fixing the leak is not enough and you will need to replace the flooring.
Do I Need to Replace My Water Damaged Wood Floors?
In extreme circumstances, flooring replacement may be necessary. If a leak were to happen while you were on vacation, for instance, mold could have time to spread, making it necessary to replace the flooring. In fact, mold can start to grow and floors may need to be replaced after only 24 hours of water damage.
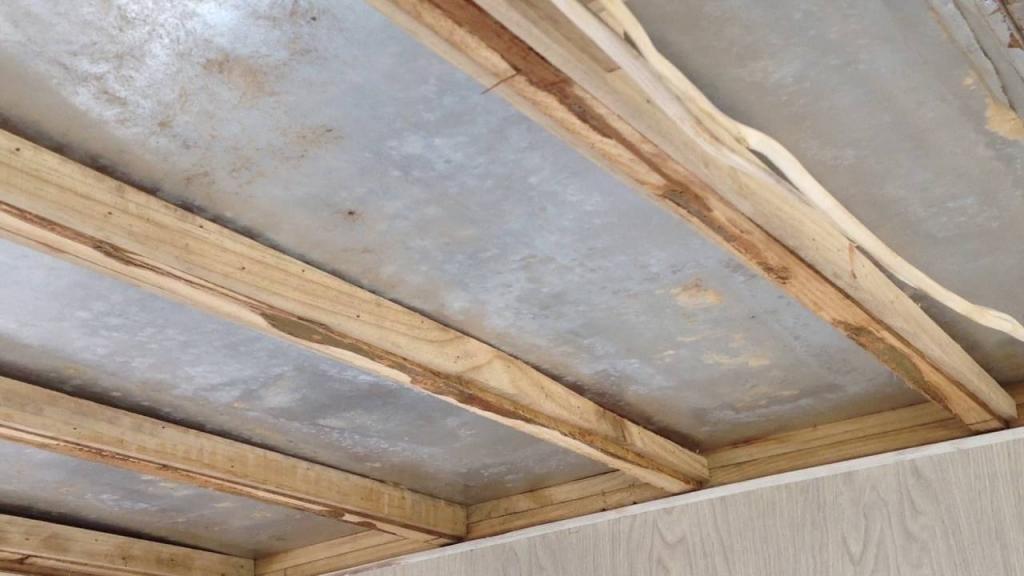
If the floor still buckles after you’ve done all we’ve suggested, it may be because the subfloor needs to be dried and cleaned before the upper boards can be installed.
How to Prevent Damaging Your Wooden Floors
A dehumidifier can help control the amount of moisture in the air in a room that tends to get stuffy. Rugs made of cotton rather than wood are simpler to dry after being soaked.
Since you now know what to look for, you can stop water damage in its tracks. In order to prevent the buckling of your flooring, it is important to address cupping and crowning as soon as it is seen.
Need Help? Call All Dry USA!
If you don’t know what you’re doing or if the repairs could put you in harm’s way, you should never try to fix something around the house (as in the case of black water flooding). If you don’t have the time or resources, don’t start nailing down floors or hiring an orbital sander. Home maintenance projects can escalate quickly into daunting undertakings, but you don’t have to do them alone.
Xem thêm : How To Fix Water Damaged Wood? A Few Tips to Remember
All Dry USA has 10 years of experience restoring wood floors that have been damaged by water. Here at Spotless Carpet Cleaning, we don’t only clean; we replace and refresh as well. Just dial (866) 286-5387 anytime, any day of the year, to reach a knowledgeable representative.
Clean the floor and treat moldy areas.
Mild detergent and an appropriate disinfectant, such Mr. Clean, are what you need to give the floor a good washing. To ensure a uniform mixture, put the detergent and disinfectant in a pail of warm, clean water and stir.
Scrub the entire floor and any adjoining woodwork with a strong brush (stairs, baseboards, newel posts, etc.). The brush needs to be rinsed in the bucket on a regular basis as you use it. Don’t waste water by dumping it on the floor, and try not to use any more than is absolutely necessary. Spend sufficient time scrubbing to get rid of any mud, filth, and grime, as any residue may foster bacterial growth.
TSP (trisodium phosphate) can be used to clear up moldy spots, as it is effective at killing mold and inhibiting its return. Scrub the mold and its discoloration out of the affected areas with the cleanser. Use clean water to rinse the area and a dry cloth to finish the job.
Run drying equipment and wait until the wood fully dries.
Since drying wood too quickly might weaken and crack it is recommended that the floor be dried gradually, slowly, and organically. Don’t ever use a space heater or a hair dryer on your hardwood floor, either. Excellent outcomes can also be achieved by using dehumidifiers and heaters on hardwood floors.
Allow the fresh air from outside to circulate into the room and dry your surface by opening the doors and windows. Fans or carpet dryers of sufficient size can be mounted over an open doorway to direct airflow through the window. However, if the humidity levels outside are higher than those inside, then you should keep the doors and windows closed and turn on the fans.
Sand the floor
After a wooden floor has dried, some of the boards may bow inwards or outwards, a phenomenon known as cupping. Heavy sanding with a drum sander or a decent orbital sander will help smooth out some of the cupping.
Significantly cupped regions, however, cannot be sanded flat again. The only way to fix up the floorboards in this situation is to nail them down on their faces. Sanding may be a frustrating and error-prone process, so it’s best to leave it to the pros.
Stain and refurnish
Under the paint on the wooden floor, mold growth presents a challenging issue. Because paint forms a seal that can trap water between the wood, you will need to throw out the entire set of furniture.
Abrasive cleanser and a paint scraper are the first steps in restoring the wood. When the floor is dry using the procedure described above, you can restore your hardwood floors.
Conclusion
When it comes to protecting your hardwood floors from water, prevention is always preferable. Be cautious to use the right sealant and to reapply it frequently. Locate the source of the water leak and fix it immediately.
To keep the floor in your home looking great for as long as possible, you should constantly do routine maintenance and deal with any signs of water damage right away. If you want to make sure the problem is fixed and doesn’t come back, hiring a water damage restoration or flood cleanup firm is a good idea.
Nguồn: https://iatsabbioneta.org
Danh mục: Damaged