What if you’re planning to dismantle your LG portable air conditioner, but you don’t know how to do so? Let us take care of everything for you with a few semi-challenging steps, including cleaning your air conditioner!
- What Causes Freon Leaks In Air Conditioner? Ultimate Guide
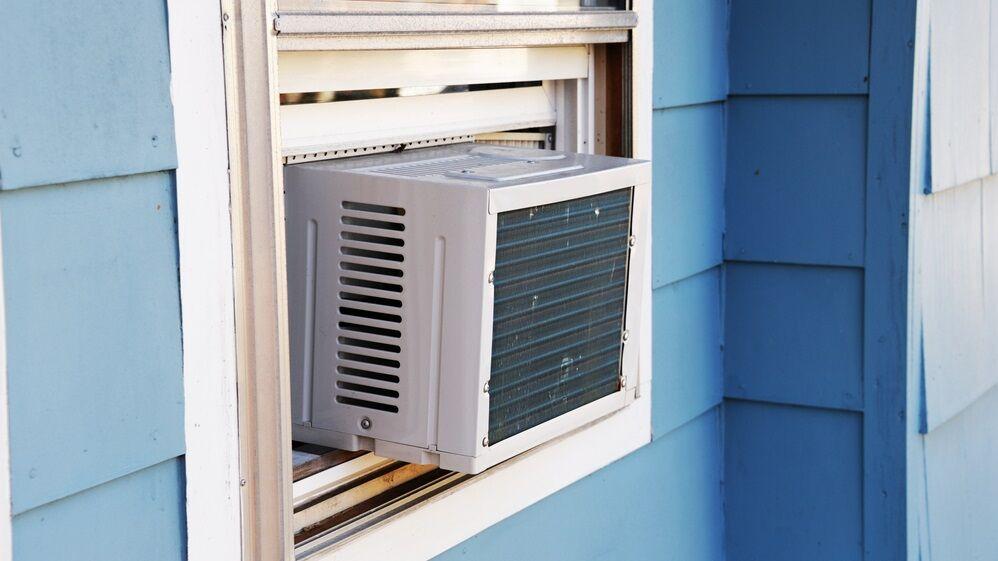
- How To Cover Air Conditioner In Wall? Comprehensive Guide
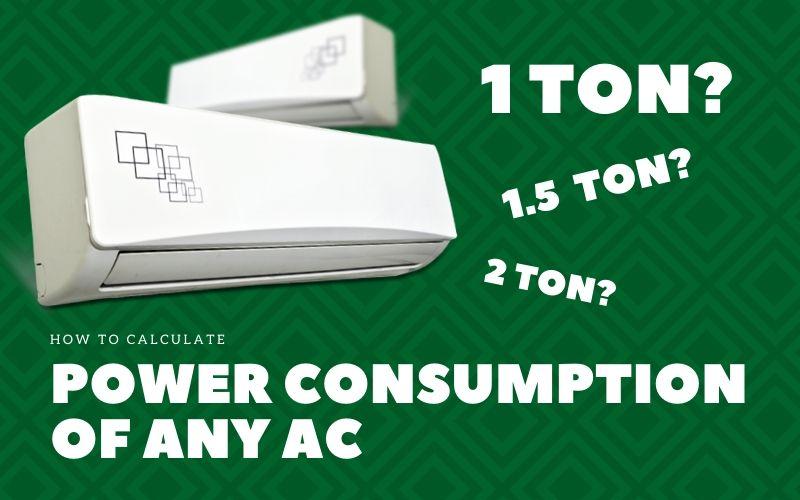
- How Many Watts Does An Air Conditioner Use Per Hour 2
- How To Make An Air Conditioner Without Electricity? Useful Guide
- How Big Of A Generator Do I Need To Run A 5000 Btu Air Conditioner?
Tutorials on cleaning the filter and the front of a portable air conditioner are most commonly seen. However, guides like these are hard to come by.
Bạn đang xem: How To Take Apart LG Portable Air Conditioner? Step-By-Step Guide
Your portable air conditioner’s electrical components may be faulty if it doesn’t cool or circulate enough air. It would be difficult to know what to do if you were faced with such predicament on your own.
That is why you should read this post.
Continue to learn more by doing the reading!
A portable air conditioner might be a lifesaver if you don’t have access to a central air conditioning unit during the summer. Installing them is simple and does not take up a lot of room. Why do so many people turn to a fan during the sweltering months?
![LG Portable Air-Conditioner] - How to disassemble the PA11WS - YouTube](https://iatsabbioneta.org/wp-content/uploads/2022/08/how-to-take-apart-lg-portable-air-conditioner-img_62fca1ab909dc.jpg)
If you live in a location where it’s starting to become cold again, you’re definitely thinking about getting rid of your portable air conditioner. Despite their modest size and ease of use, they’re a waste of space if you’re not going to use them.
Because of this, you’ll need to figure out how to dismantle and store it for the upcoming cold months. Whatever the case may be, dismantling the entire thing may be necessary if just a little portion of it needs fixing.
If a part on your portable air conditioner isn’t operating well, chances are it just needs a good cleaning. Portable air conditioners tend to accumulate dust, which can impair their performance. In either case, here’s how to dismantle a portable air conditioning unit.
Steps To Take Apart LG Portable Air Conditioner
Filters and front panels will also have to be dismantled as part of the procedure. We will, however, take additional steps to address the unit’s back end. And how to clean the condenser coils on the backside of the machine.
Most of an air conditioner’s components, including the filter, operate in a similar manner. You might expect to see a lot of dust balls in your air conditioner as a result.
Taking apart an LG portable air conditioner is easy if you follow these simple steps.
Step #1. Detach all outer accessories
You must first turn off and unplug your portable air conditioner from the mains before cleaning and disassembling it.
When you’re dealing with the interior parts, this procedure will prevent any electrical accidents.
In order to remove the exhaust hose and other wires, you must first disconnect them.
Step #2. Remove the front panel
Xem thêm : Why Is My Air Conditioner Not Blowing Cold Air? Helpful Information!
Screws are used to secure the front panels of some portable air conditioners. Make a note of where the screws go, and you’re done. Filters may be accessed by swiping open most of the cases.
Step #3. Set aside the filter
The handle makes it simple to remove the filter. Some portable air conditioners come with many filters, which are usually stored in their own compartments and not mixed together.
There should be two places on the front panel where cool air is released. The face of the condenser is now clearly visible once you remove the filter.
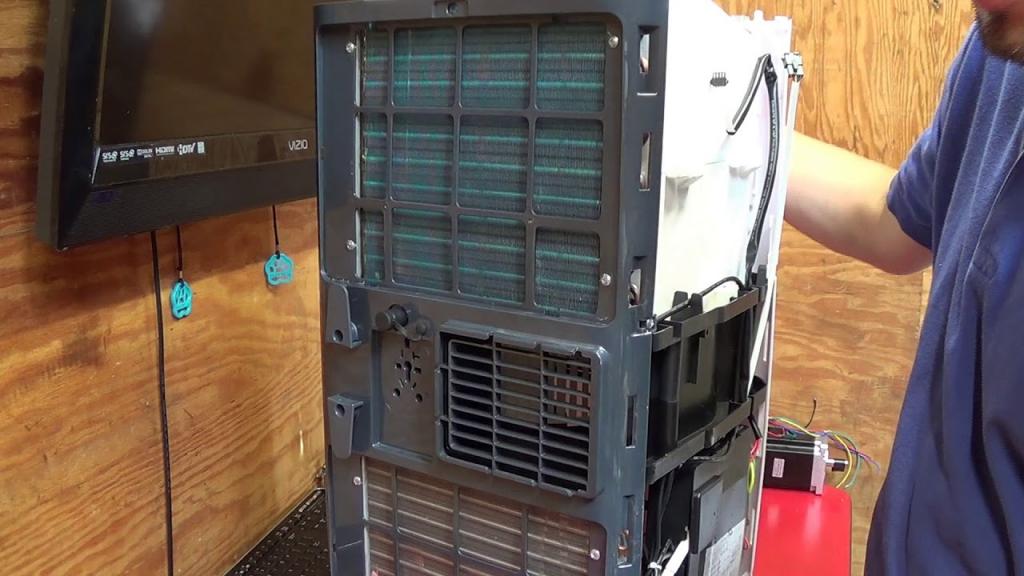
Step #4. Unscrew the back panel
It would be difficult to separate the front panel from the rear panel if you only disassembled the back panel. The front panel has been removed, so it should be simple.
Since screws are mostly used to secure the back cover, it won’t come off with a simple snap.
If you can’t get the lid off, check to see if you’ve missed a screw. Be sure to examine the sides and corners of your work before moving on. A trim tool can be used if you just want to remove the back panel and not the front one.
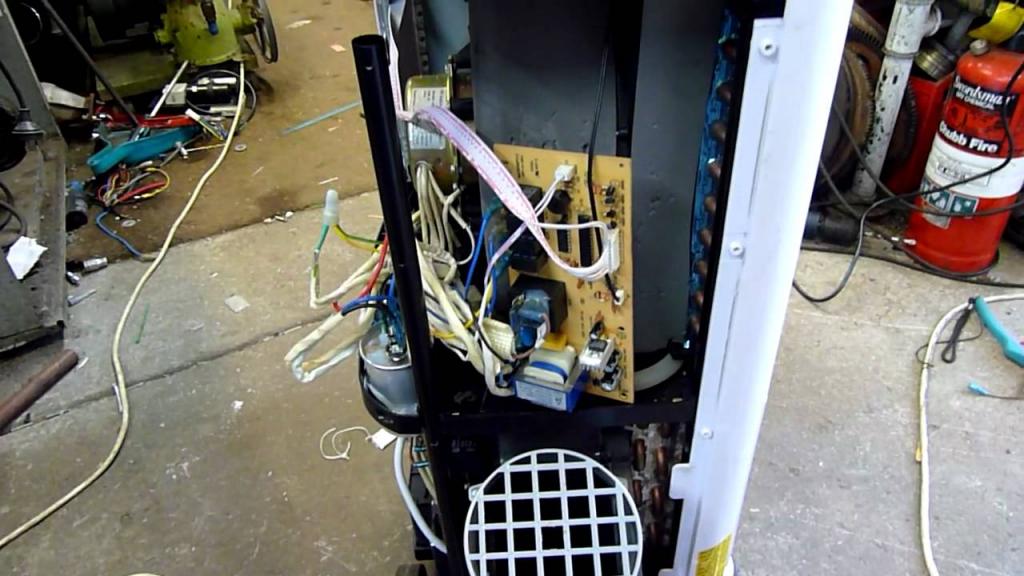
Step #5. Taking apart other components
Cleaning the condenser and filter should not necessitate disassembling any of the other electrical components.
You should get the advice of a professional before attempting these tasks on your own.
If you don’t know what you’re doing, you risk damaging the components.
If you had to recall all of the cords and components, you’d be overwhelmed.
Steps In Cleaning Your Portable AC Unit
You can now see the condenser from both sides. It’s going to be a mess because you don’t clean the rear, but we’ll have it cleaned up for you.
Step #1. Soak the filter(s)
Add soapy water or a water-detergent mixture to your large container, tub, or sink and begin scrubbing. Allow the water to permeate the screen as you soak your filter(s).
Step #2. Vacuum
If you’re cleaning the condenser for the first time, you’ll likely see a lot of dust in the coils. It’s better not to freak out because a vacuum in low power mode may easily remove them. Also, if you have a brush attachment, you can attach it to the nozzle.
The condenser’s front and rear should be vacuumed. Make sure there are no visible traces of dirt.
You can also use this equipment in sucking off all the dirt in the corners of your AC unit. So, feel free to remove the dust from the inner components that the nozzle can reach.
Step #3. Drain
Xem thêm : What Does A Capacitor Do In An Air Conditioner 3
You may also use this equipment to remove all of the dust from the AC unit’s corners using the suction provided by the machine. The nozzle may reach the inner parts, so feel free to remove any dust that may have accumulated there.
If this is the case, just remove the drain plug from the air conditioner’s back. Make careful to perform this outside or in a place with a floor drain, as there may be a lot of water on your system when you do this.
Step #4. Brush
Get a small brush or unused but clean toothbrush for this step. Then, fill a small container with soapy water.
For this stage, you’ll need a small brush or an unused but clean toothbrush. Fill a small container with soapy water and do the same.
Step #5. Final touches
Get a little brush or an unused but clean toothbrush for this stage. Soak a small bottle in soapy water next.
Finally, this is how to dismantle an LG portable air conditioner.
Your air quality will increase after cleaning and reassembling your air conditioner, we can assure you. Lower utility expenses are a bonus because it won’t use a lot of power. When in doubt, seek the advice of an expert.
Step-by-step on taking apart a portable AC
If it’s still connected in, unplug it first. After that, you’ll need to remove the air filter from the machine. You’ll need to open the front cover of many portable air conditioners to get to the air filter.
To remove the complete front panel, you first need to remove the screws. In some cases, the front panel can simply be removed, whereas in others, screws are required. Fortunately, removing the panel is as simple as unscrewing the screws. If the panel still won’t come off, use the screwdriver you used to remove the screws to gently pry it open. Make sure you keep track of the screws and where they came from so that you know what to do when you have to put everything back together again. ”
Finally, remove the screws that hold the AC unit to the cabinet lid. Remove the air conditioner from the inside with this method. However, exercise caution – the units can be rather heavy, so enlist the aid of another person if you intend to move them. When attempting to store it in a location that requires the use of a stairwell, this is especially true.
Why take it apart?
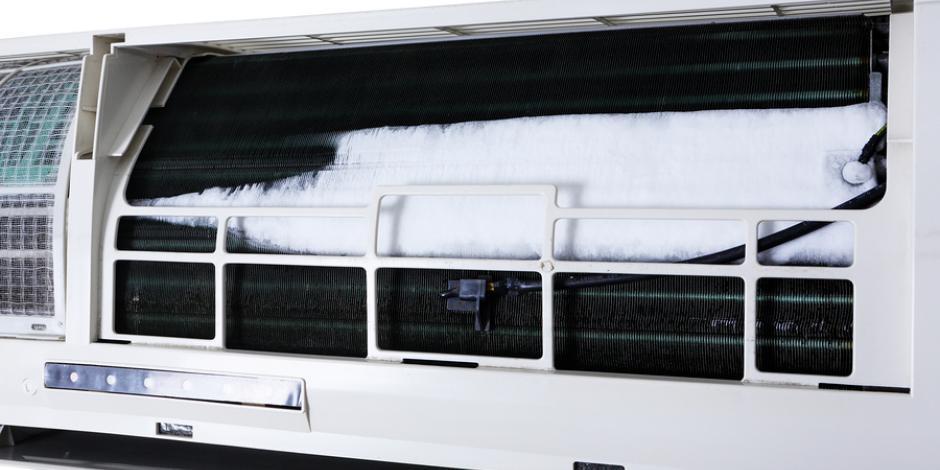
Now that you’ve disassembled it, you’ll be able to fix any pieces that were damaged in the process. Locate the evaporator and condenser if you intend to clean it yourself If you don’t know where to look, these are the parts that have the largest dust buildup and aluminum fins around.
However, you should concentrate on the areas where the greatest dust has accumulated. Simply wipe away the dust with a towel and then vacuum over the metal fins. Using a vacuum cleaner will ensure that all the extra dust is removed from the floor.
The next time you use your air conditioner, it will operate cooler and more efficiently as a result of this. For the time being, keep the heat on and your portable AC unit somewhere dry so it’s ready to go when the weather warms up again.
Putting it back together is as simple as screwing the pieces back into position.
Conclusion
Finally, this is how to dismantle an LG portable air conditioner.
Your air quality will increase after cleaning and reassembling your air conditioner, we can assure you. Lower utility expenses are a bonus because it won’t use a lot of power. When in doubt, seek the advice of an expert.
Nguồn: https://iatsabbioneta.org
Danh mục: Conditioner