How do you mount a wall-mounted window air conditioner? To help you better grasp and comprehend the process, we’ve outlined around seven steps. You’ll be able to accomplish it on your own after reading this article.
- How To Sleep On Tempur Pedic Neck Pillow? Comprehensive Guide
- How To Make A Dorm Bed Comfortable? More Tips to Optimize Your Dorm Room for Sleep
- Window Air Conditioner How It Works
- How To Check The Freon In A Home Air Conditioner? Ultimate Guide
- How To Get Rid Of Old Bed Frame? A Step-by Step Learning Guide
In the United States, window air conditioners are the most popular type of AC. Compared to portable air conditioners, they are more cost-effective.
Bạn đang xem: How To Install A Window Air Conditioner In A Wall?
The installation of a window air conditioner necessitates consideration of a number of aspects. Drilling through a wall is necessary if you wish to use it as a shelf.
But don’t worry, we’ll walk you through the installation procedure. To begin, think about what’s on the other side of the wall you’re going to drill into. You need to know if there are any wires or pipes inside the wall before you begin any remodeling. Puncturing certain parts could cause problems with your water and electricity.
Another consideration is the room’s height. To that end, we’d want to warn you that you’re going to require a few things.
Before You Start
Choose a window that is close enough to an electrical outlet to be practical. The power cords on most window air conditioners are between 5 and 6 feet long. To find an outlet, look at the side of the AC from which the cord extends. In addition to the manufacturer’s instructions, make sure you have your owner’s manual on hand.
Required Tools
- Sniper’s tool
- Using a tape measure
- Screws and brackets supplied by the manufacturer
- Scissors (depending on the model)
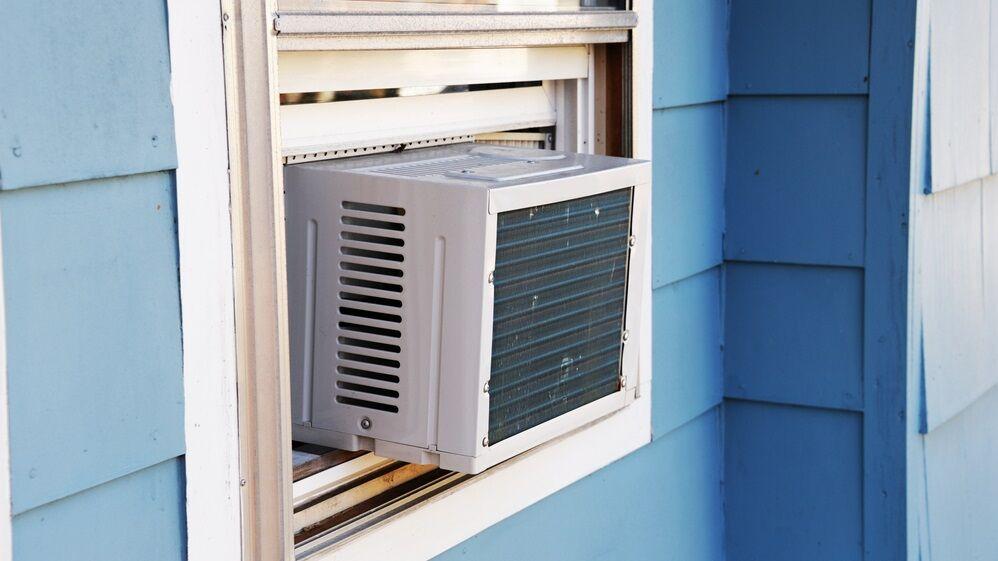
How to Install a Window Air Conditioner
Step 1: Remove Your AC and Find the Center of Your Window
Remove it carefully from the packaging. The unit’s backside has the potential to be a source of injury.
Take everything out of your package to make sure it arrived complete. Mark the middle of the window’s width with a pencil after measuring it. Installing the side panels will be easier and more uniformly distributed if you mark the spot where they will be attached.
Step 2: Open and Prepare Your Window
Let fresh air in by opening a window. If the manufacturer provides a weather strip, install it immediately. Installing or removing the AC might harm your window if air leaks in via microscopic cracks. These strips assist prevent that.
If you don’t have one of these weather strips, your air conditioner will still work.
Step 3: Attach the Side Panels
Place the panels in their proper locations on your unit by sliding them there. Once they’re all the way in, use the included screws to fasten the adjustable panels to your window AC.
Ensure that all the screws are connected to avoid any gaps, which can allow warm air as well as allergens and pollution to enter your house.
Step 4: Insert Your AC in the Window
It’s preferable to utilize two persons for this phase, according to an expert. Closing the window and locking the AC are safer with an extra set of hands, even if you can lift it yourself.
Get the A/C out of the way and place it in the window. Then, using the window on top of the AC, shut it tightly. There should be a position where the window fits snugly.
Make sure you raise it carefully because most of its weight will be on the outside. After you shut the window, your air conditioner should be in place and safe to use.
Step 5: Install L Brackets
Xem thêm : How To Build An Air Conditioner Support Bracket? Step-by-Step Tutorial
Everything is now in order. You’re about to wrap things up and secure everything. Most manufacturers include at least one L-bracket to keep the window in place during the installation process.
Make sure to screw the L-bracket or brackets to the top of the opening window. After installing window ACs, the major issue is that they’ll push the window up, therefore this stops that from happening.
As a last resort, we recommend using one of your own tools to secure the air conditioning unit’s window to the wall.
Step 6: Attach Panels
Add window padding to the open window’s sides if it’s available (top picture above). Extend the side panels to reach your window if no cushioning is included with your model (bottom picture above). Then, using the screws provided by your window’s maker, join the two side panels to the glass.
Step 7: Secure Unit and Start Cooling
The AC can be attached to the inner window sill using brackets and screws provided by some manufacturers. Some manufacturers do not consider this an additional layer of protection to be necessary. Screw them in now if they’ve been provided.
That’s all there is to it! Turn on your air conditioning by plugging it in. You should notice a difference in the temperature of your room instantly.
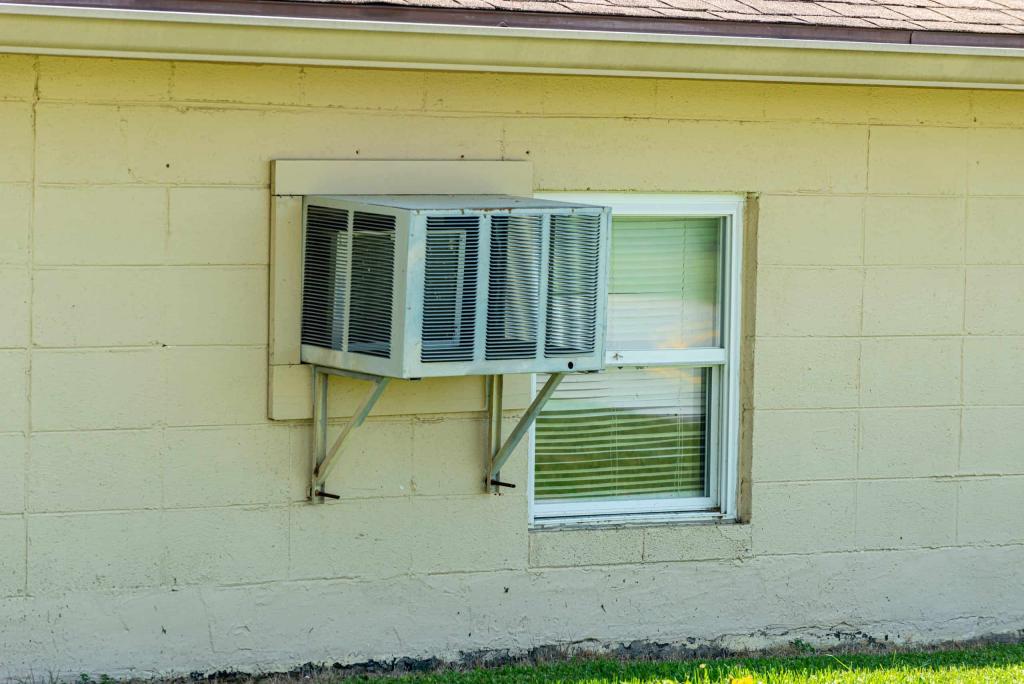
Steps To Install A Window Air Conditioner In A Wall
Let’s go on to the process of putting in a wall-mounted window air conditioner. They’re all right here:
Step #1. Determine your dimensions and materials
The hole in the wall should be the same size as your unit. However, we’ll be adding more room for the casting and stoppers later on.
So, figure out the proportions that are big enough to fit your air conditioner, and then add a few inches to that. Our next stop will be to procure the necessary supplies. For both the interior and exterior of your AC, you can use whatever materials you desire.
We’ll use wood as an example because it’s more readily available and easier to cut. In addition, the following items may be required:
- It’s made of wood (plywood and for the stoppers)
- A jigsaw and a drill
- A nail gun and screws or nails
- Caulk
- Paint
- a ruler and a pencil
Step #2. Cut a hole
Draw the wall’s outline with a pencil or marker of your choice. Make sure it’s straight and the measurements are exact before you start working with it.
Make a hole by following the lines with a drill or jigsaw. To get rid of the clutter and make sure the cut is straight, remove the original wall.
Step #3. Make an inner border
Make a box based on the measurements you gathered by measuring the sides of the opening. After that, you may wonder how we’ll proceed with the case.
It will act as the inside boundary of the hole, resulting in a cleaner output and a place for your air conditioner to live. Also, to hide the holes you created in the wall.
In order to secure this box to the wall, you can use a nail gun or an electric drill. If your wall is made of drywall or wood, this phase will be easier, but if it’s made of bricks or stones, it will take longer.
Step #4. Prepare your plywood
Xem thêm : How To Insulate A Window Air Conditioner For The Winter? Step-by-Step Tutorial
The plywood should be cut to the measurements of the space left in the opening. Your AC will benefit from the added support provided by this wood. And we’ll put it all around your home.
Make certain that the plywood is robust and thick enough to hold the device in place while it is being installed. Cut the plywood to the appropriate size based on the acquired specifications. Then, only the AC’s body should be measured. There are two places where you can take measurements: the center of the unit, and the upper portion of the unit.
Use the dimensions to cut a hole in the plywood and see if your air conditioner will fit.
Step #5. Attach a stopper
Gather four 34-inch thick wood sticks. The AC unit’s plywood stopper will be made from this wood.
Nail or screw the sticks into place on either side of the aperture. Just make sure that it is strong enough to support the weight of your plywood and air conditioners before you buy it.
Keep in mind that this will keep your air conditioner from coming apart.
Step #6. Insert the plywood
Attaching the stopper is the last step before inserting the plywood. Use a nail gun and some nails to fasten it in place.
Check to see if the overall border is strong enough to hold your AC. See if you can get it snug enough by wriggling it around a bit. Don’t be afraid to voice any doubts you may have at this time. Caulk may be used to seal all of the wood’s joints, giving you an extra layer of security.
Step #7. Finishing touches
When it comes to wires and breakers, don’t forget to call in a professional. Asking for help is the best option for those of us who lack expertise.
Check to see if the unit’s exterior can be adequately drained. In addition, if it’s 10 feet or more off the ground, you may want to construct a grill box or cover.
It’s also possible to add an exterior casting using your leftover wood. You can paint the wood to give your wall a pop of color.
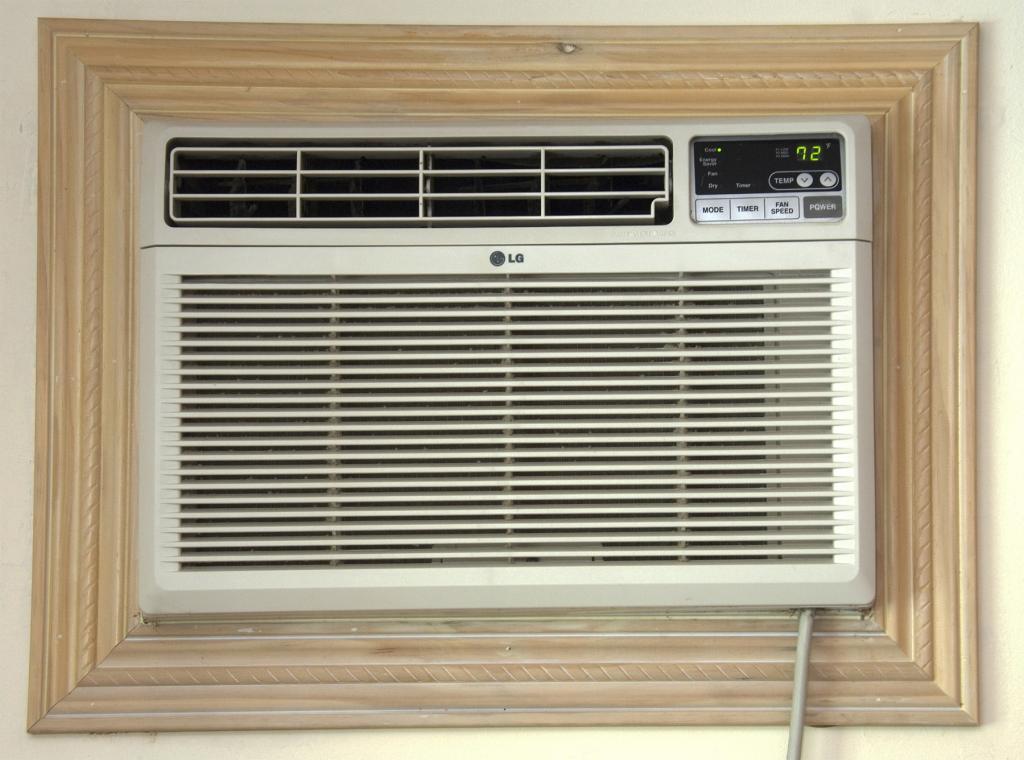
A varnish can be used to give the wood a more natural aspect, or you can choose any color you desire. At long last, with a few more precautions, turn on your air conditioner and enjoy the crisp, clean air.
Wrapping Up!
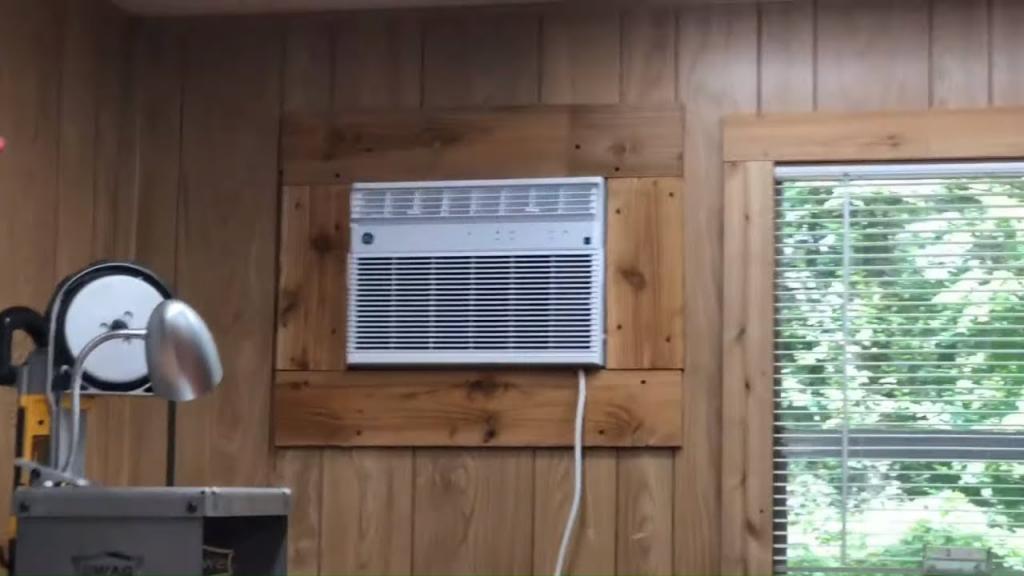
A window air conditioner can be installed this way, as well.
Isn’t it true that it’s neither simple nor difficult? We sincerely hope you’ve gained some insight from the data we’ve supplied.
The item you installed is now operational! Let us know how things are going.
Wishing you the best of luck and a wonderful day!
Nguồn: https://iatsabbioneta.org
Danh mục: Conditioner