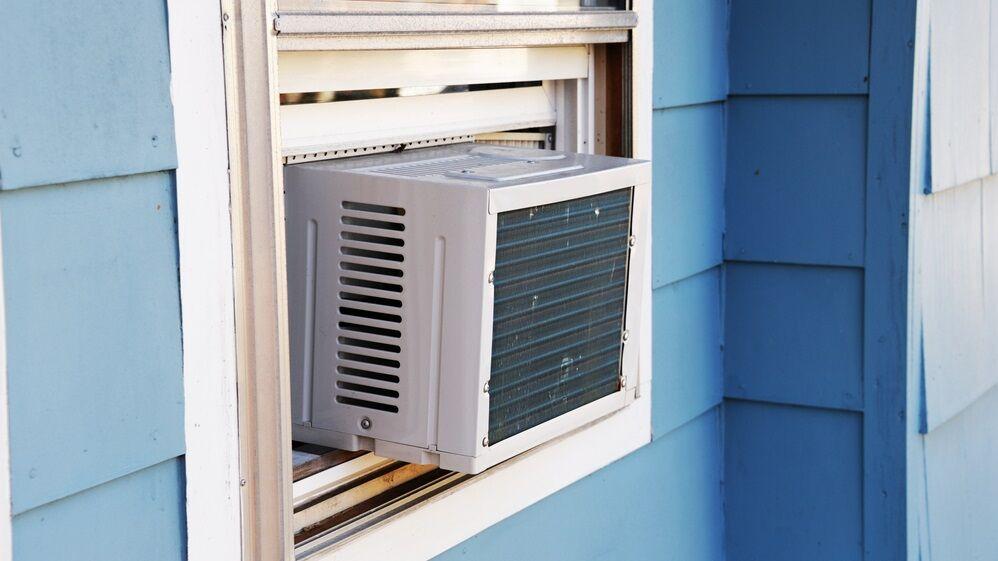
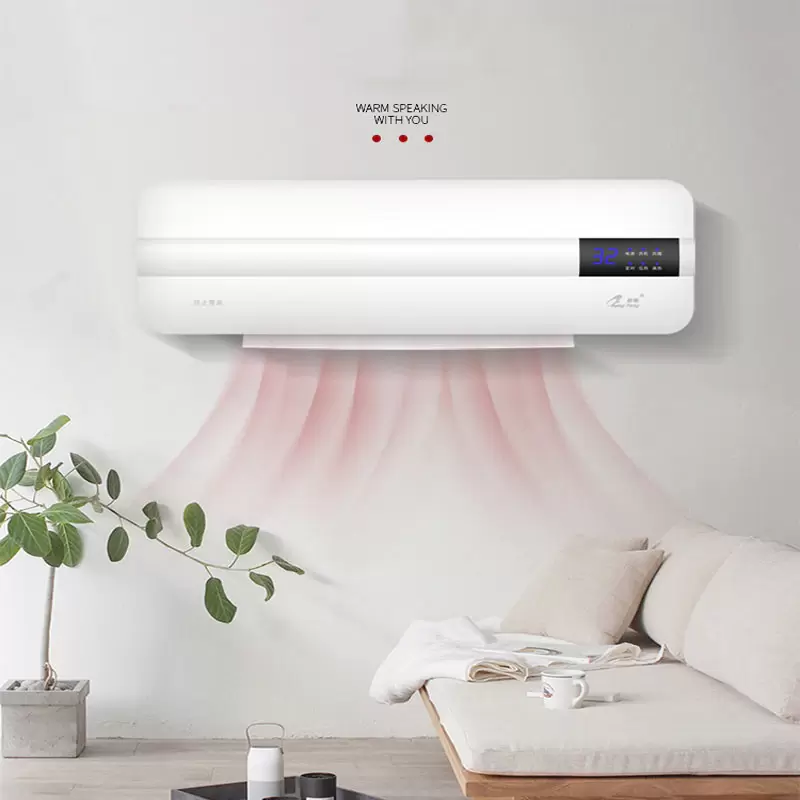
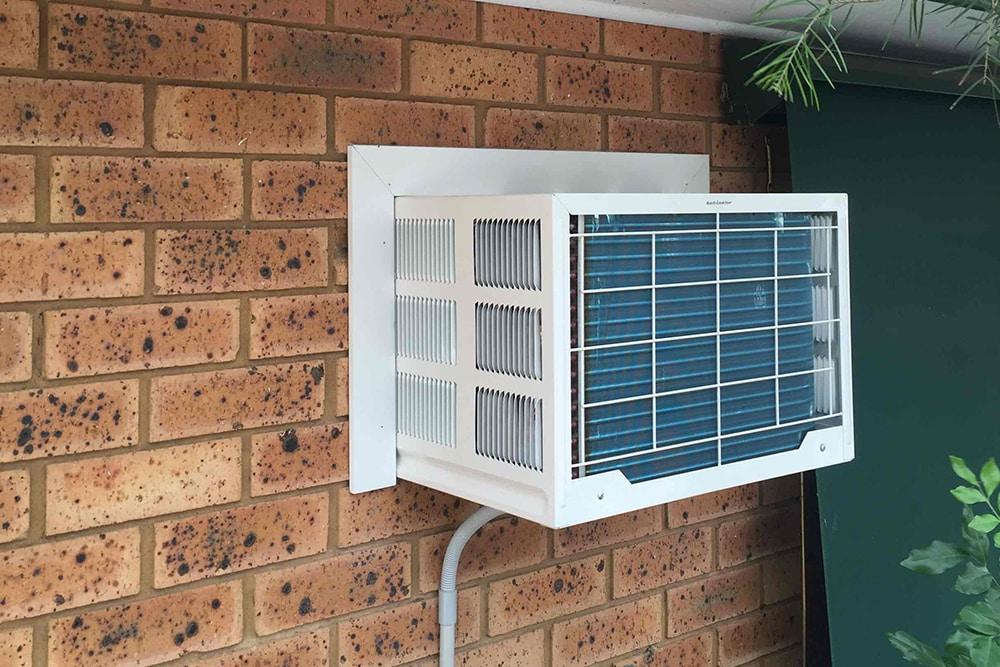
An air conditioner that is attached to the wall, despite being similar in size to the window air conditioner, is generally considered to be more energy efficient. One advantage is that unlike window units, it does not need to be removed and stored during the winter. In just six simple steps, you can install a wall-mounted air conditioner.
- How Many Amps Does A Window Air Conditioner Use? Complete Guide
- How To Insulate A Window Air Conditioner For The Winter? Step-by-Step Tutorial
- How To Clean Frigidaire Air Conditioner Filter? 3 Common Types Of AC Units In Frigidaire
- How To Make An Air Conditioner Colder? What You Need To Know
- How To Fix A Leaking Air Conditioner? Complete Step-by-Step Guide
Steps To Install A Wall-mounted Air Conditioner
In this instruction, you will learn how to install an air conditioner that is attached to the wall.
Step #1. Select the place
There may be pipes and cables running through the studs in your wall that aren’t visible to the naked eye. You’ll need to find the studs first before deciding on the ideal place to put the studs. It’s possible to use a stud finder to help with this.
Determine where in the room to place the air-conditioning unit. Consider the symmetry of your room, as well as the dispersion of air. In order to give the room a more structured appearance, place the air conditioner in the middle of the room. In addition, the room’s cold air will be spread equally this way.
Of course, you need to pick a location near an electrical source so that you don’t have to go through the trouble of installing an outlet. Also, I’d recommend figuring out where the wall is. If it gets too close to the floor or ceiling, it should be avoided. As a result, dust won’t get into the filter, and condensation won’t form on the ceiling.
Step #2. Make sure you mark the walls
The top of the wall opening will be formed by a line drawn horizontally with a level. Three lines are needed to complete the rectangle. There must be a 2 inch margin between the rectangle’s long sides and the length of the unit. Using a level, check to see if the lines are straight.
If you’ve never worked in this field before, it can be difficult for you. You may have a hard time with this step. Before making any adjustments to your wall, I recommend that you drill and cut a few holes.
Step #3. Create the hole
Using a handsaw, you can cut the wall and trace the lines that you drew on it. After the drywall is removed, the study and the insulating foam will be clearly apparent. The insulating foam covering your aperture should be removed and the foam cut off. Don’t throw it away, because you’ll need it in the next stage.
Step #4. Install the sliding opening on the exterior.
An exact copy of the drywall opening can be drawn on the exterior of the siding. To ensure straight lines, always use a level. Puncture the siding with a hole made in the rectangle you drew on the exterior. Having said that, you’ll be cutting the rectangle in half anyhow, so make it big enough.
Make a hole in the wall. The beginning of the show is nearly finished. Remove the studs that are obstructing the doorway. The entrance must be large enough to accommodate the complete air conditioning unit.
Step #5. Connect the frame onto the opening
Create a rectangle frame out of two-by-four lumber. To maintain symmetry, the space inside the frame should match the opening exactly. Glue or nail the frame into place inside the wall’s aperture. To keep it in place, drive nails through the studs and into the frame.
The frame will hold the air conditioner in place. The unit should not be mounted directly on the wall because of this. There must be a support system in place for the gadget to keep it from malfunctioning or being damaged.
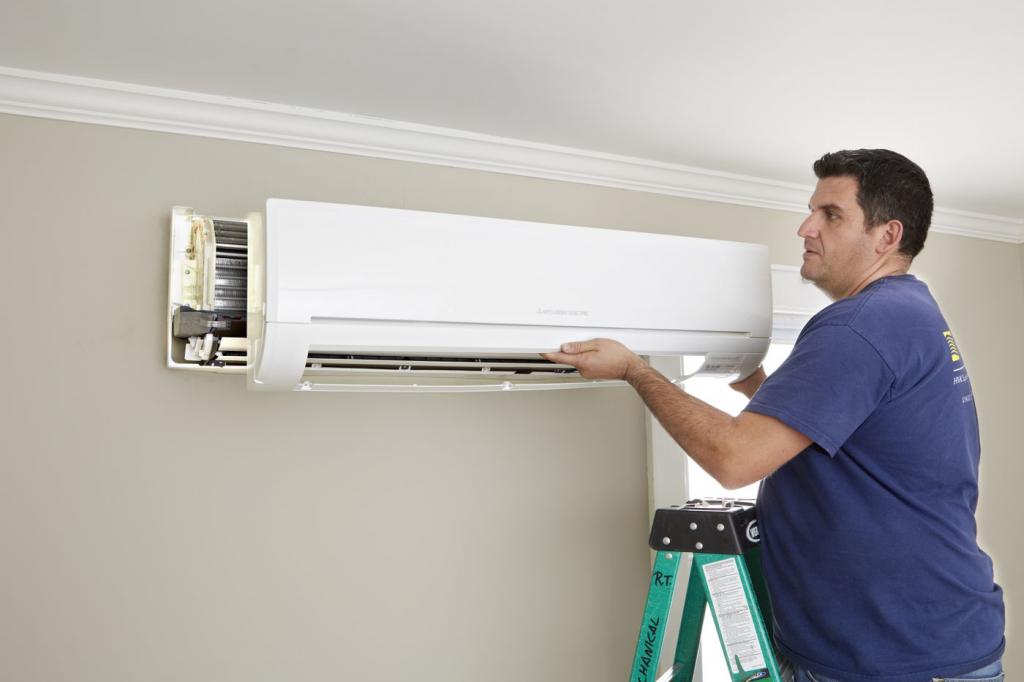
Step #6. Place the AC unit
There’s no reason why this thing can’t be hung up now! Once the unit is installed, look for the holes for screws on the device’s lips or edges. Using the screws you previously installed, screw into each of the holes in the frame.
Since the AC’s support relies on it, do it right the first time. Check the edges for any openings that could allow hot air to escape. The insulation foam you’ve set aside can be used to plug any holes you find.
Benefits Of A Wall Mounted Air Conditioner Unit
The following are some benefits of installing wall-mounted air conditioning:
Benefit #1. The wall-mounted ACs can be considerably less expensive
The cost is the most intriguing component of purchasing this model of air conditioner. Many folks can’t afford the most expensive air conditioners on the market today.
For wall-mounted units, this is not the case. You may save money while still keeping your house cool with wall-mounted air conditioners.
Benefit #2. They are available in various styles
A wall-mounted air conditioner has a wide variety of styles, fashions, and designs to choose from that will encourage you to get one. It also implies that you can select from a number of different air conditioners depending on the layout and size of your room or building.
Benefit #3. They will not hinder the purpose of your windows
If you use your windows to support your air conditioning, they won’t do their job. It is best to stay away from windows if your air conditioner is wall mounted. There will be no obstructions in the way of your windows, allowing you to take in the beautiful scenery outside of your home.
Conclusion
Installing a wall-mounted air conditioner is easy when you follow the procedures outlined above, and the benefits of doing so are also mentioned. Making the supplies, drilling the hole, and finally mounting the frame are the basics.
However, individuals who are new to the process will succeed if they are willing to put in the time and effort to learn and demonstrate the method carefully.
An air conditioner on a wall can now be put in place. Hopefully, you’ve gained some insight from this article. Listed below are a number of articles that you may find interesting.
Nguồn: https://iatsabbioneta.org
Danh mục: Conditioner